Julie Bowersett

juliebowersett{at}gmail{dot}com
Navigation
Search
Categories

Blog Writing Course Alumni

From Guide to Art Schools

CraftGossip

Entries in quilting (4)

Tuesday
Aug312010

Machine Stippling

I recently finished a very large project, large both in the actual size of the item and the time it took me to complete.  I have been working on a 4-foot by 6-foot banner for a group holding a religious retreat weekend and it has taken me about two months to finish.  I was given a picture of the design that I was being asked to recreate and had fun putting together lots of brightly colored fabrics.  I can’t show you a picture of the completed project just yet – it wouldn’t be fair to post a picture on the internet when no one involved in the weekend has had a chance to see it.  But I will show you a little piece of it because I want to explain how I did the stipple stitching on it.
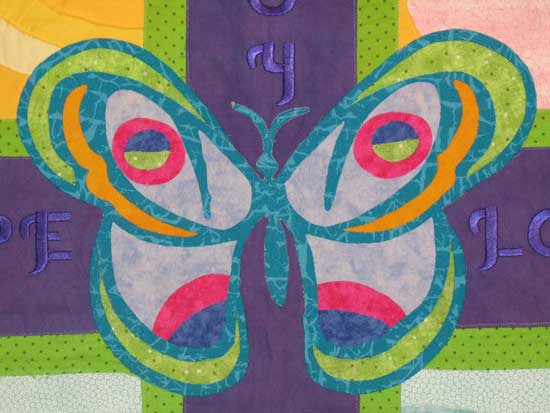
At the center of the design is a large butterfly.  After fusing the various pieces in place I thought it needed some stitching to add some detail.  Let me tell you right now that I am a lousy machine quilter.  I try, I really do.  I’ve created dozens of projects with free motion quilting but I am never really happy with my work.  I even used to practice by making quilts to donate to charities who gave them to children because I figured the kids didn’t mind if my stitching was not perfect.  I love the look of stippling but again, have never mastered it.  I certainly wasn’t going to attempt it on a 4x6 piece of heavy, pieced canvas.  Instead I used a machine embroidery stipple design (you can find one similar to mine here) and let my embroidery machine do the stippling for me. 
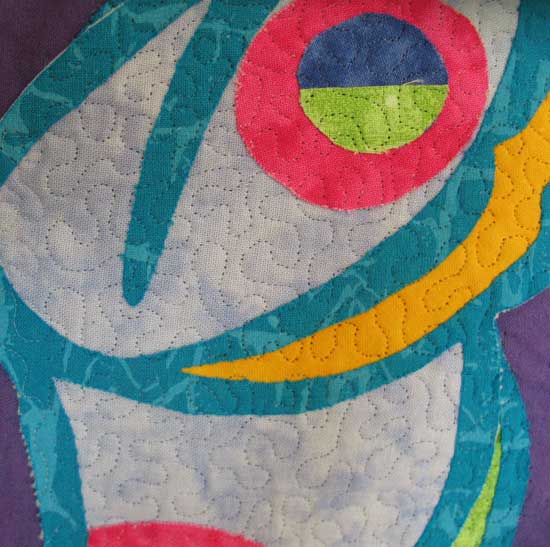
I have used this design so many times and on so many different projects.  This time I had to apply a little creative thinking since I wanted to embroider a butterfly-shaped area instead of a rectangle.  I set up my machine as usual and began by walking through the first several stitches of the design, advancing one stitch at a time to ensure that the stitches fell within the area I wanted to stitch.  I started stitching the design and whenever I got to an edge of the design where I wanted the stitches to stop, I stopped the machine and manually advanced the design a few stitches at a time until the needle was once again within the area I wanted to stitch.  This sounds time consuming and tedious – I certainly thought it was going to be – but I was surprised at how quickly I was able to complete the task.  I had to stitch the design twice, once on the left side of the butterfly and once on the right.

I’m pleased with the way this stitching turned out and am going to store away this idea to use on other projects.  I really have found so many uses for this stippling design – it is probably my most-used file.  Give it a try.

Saturday
Aug072010

Bag of the Week 31

Hand-dyed Tote

A number of years ago our ASG Chapter held a challenge.  Everyone who wished to participate was asked to create a tote bag from one of Nancy Zieman’s (then free) patterns.  At our annual meeting everyone brought their bag to show off.  It was amazing to see how everyone interpreted this simple tote bag.  Lots and lots of creativity.

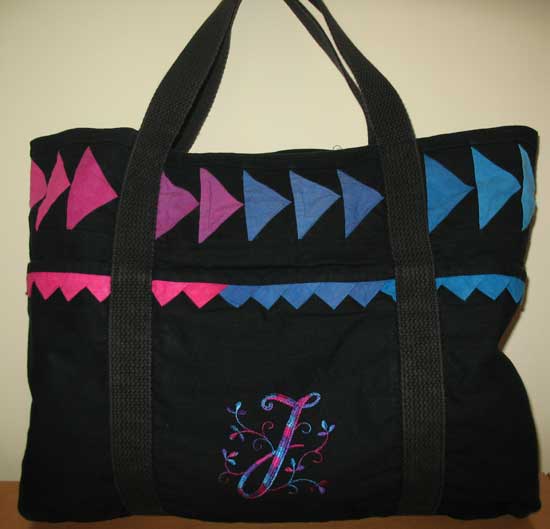
At that time I was very interested in hand dying fabrics.  I had dyed a number of fabrics in a graduated colorway between pink (red) and blue and had just completed a vest using some of these fabrics.  I had lots of scraps left over so I decided to use them in this project.

The bag features a flying geese pieced panel around the top and folded prairie points below.  I embroidered my initial using variegated thread in the same colors (but I must admit I didn’t care for the striped effect I ended up with).  There is an external pocket with a zipper closure between the handles. 

I’m planning a detailed series of posts on the hand dying procedure and showcasing some of the other projects I made with this same fabric.  Check back.

Friday
Jun112010

Bag of the Week 23

Curvy Strip-Pieced Bag

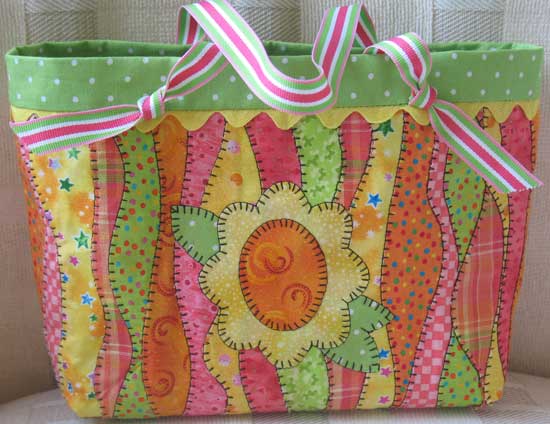
Remember the Ribbon Handled Bag I blogged about previously (you can find a tutorial for this design here)?  Well, this is another version of that bag.  This time I took my inspiration from Hope Yoder’s Chit Chat Backsack pattern and created the fabric for the body of this bag from her instructions which she calls Curvy Wurvy piecing.  This technique is fun and very easy to do.  The curved strips are layered on top of each other and fused to a foundation.  I added the blanket stitching along each edge for added definition.  The flower appliqué is from Hope’s pattern and is also available as a machine embroidery design on her website.  It is fused into place and stitched with the same blanket stitch.  I added jumbo rickrack in the seam between the top band and the body and added striped ribbon handles.

This colorway is my absolute favorite:  hot pink, orange, yellow and lime green.  You can see a plaid fabric in this project with those colors.  The first time I used that piece of fabric years ago I based my design around those colors and have been using them ever since.  I am hoarding every scrap of that plaid and dearly wish I could find more.  It may be my most-used fabric ever. 

Wednesday
Feb172010

Bag of the Week 7

Chubby Little Snowman Pail

Chubby Little Snowman had a carrot nose,

Along came Mr. Bunny and what do you suppose?

Hungry little bunny, looking for his lunch

Ate the snowman's carrot nose, nibble, nibble, CRUNCH!

 (as sung by my three-year-old)

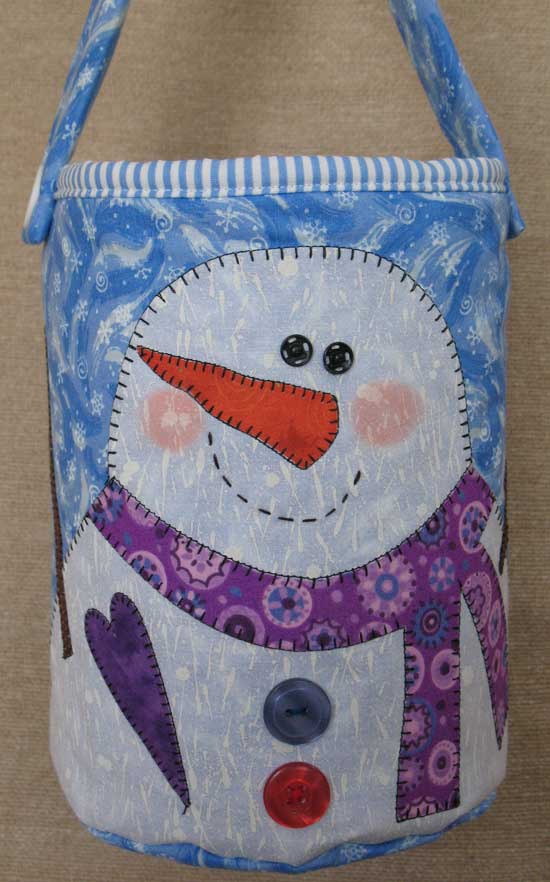
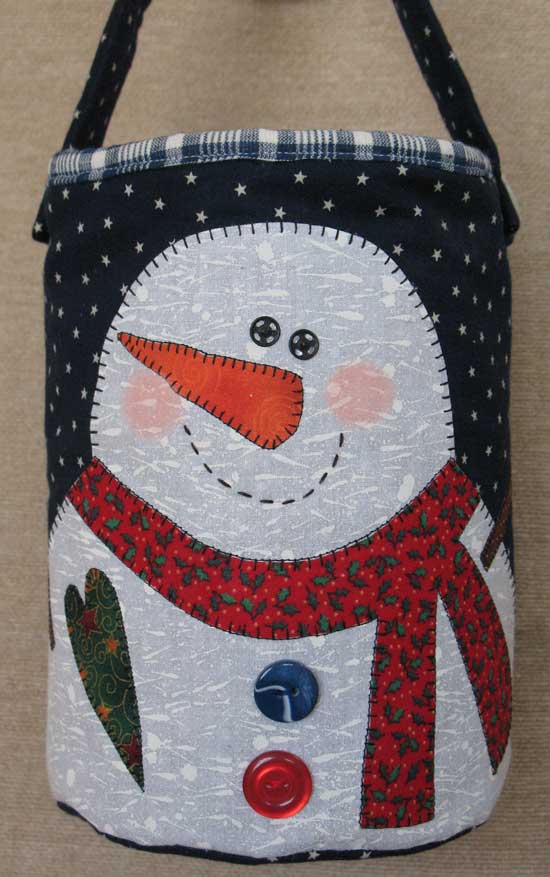
Those of us here on the East Coast have had more than our share of snow this year.  And here comes another bucketful of snowy goodness guaranteed to warm your heart even when there are icicles all around.  Farmyard Creations has designed a fabric pail adorned with a snowman, complete with snaps for eyes, an appliquéd carrot nose and buttons down his front.  You begin by layering the outer pail fabric with batting and then fusing on the various pieces of the snowman.  Each piece is machine appliqued with a blanket stitch.  The mouth is hand embroidered, snaps form the eyes and the cheeks are blushed with powder blusher.  This outer layer is then stitched into the pail form and lined.  The quilted handle is secured to the pail with more buttons.

These pails make a wonderful container for homemade goodies at the holidays or for packaging other gifts.  They also make a nice container for holding holiday cards.  There are other designs in this same line by Farmyard Creations including a Santa, angel, bunny and bear.  The patterns appear to be out of print but they are frequently available on Ebay.  From what I can tell, the designer behind Farmyard Creations, Karla Eisenach, has now formed a new company with her daughters called Sweetwater which designs and markets quilting fabric, patterns and scrapbooking supplies.  They have a really wonderful blog which showcases many of their beautiful creations.