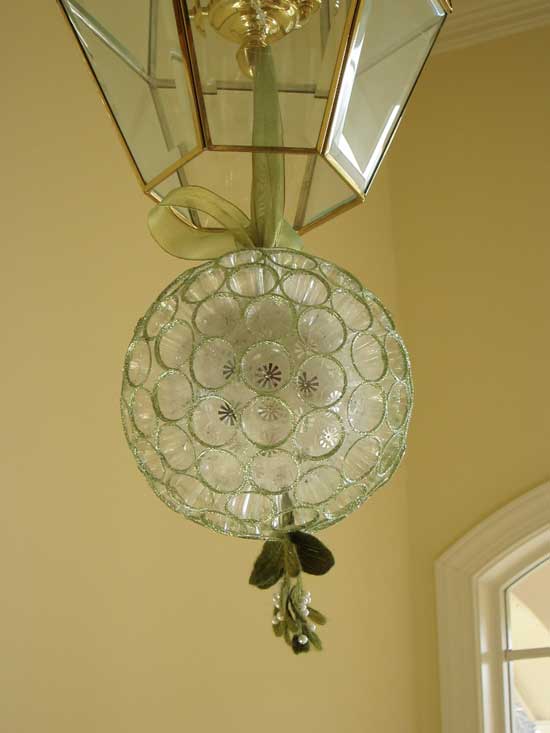
This is my attempt to recreate a Christmas decoration from my childhood. You can read the blog post associated with these instructions here.
Here's what you will need:
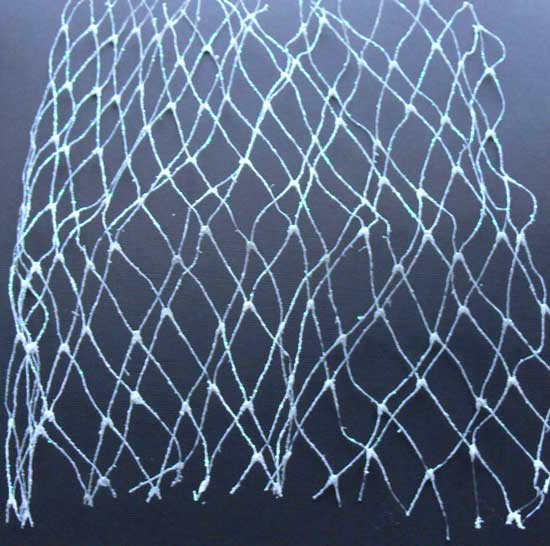
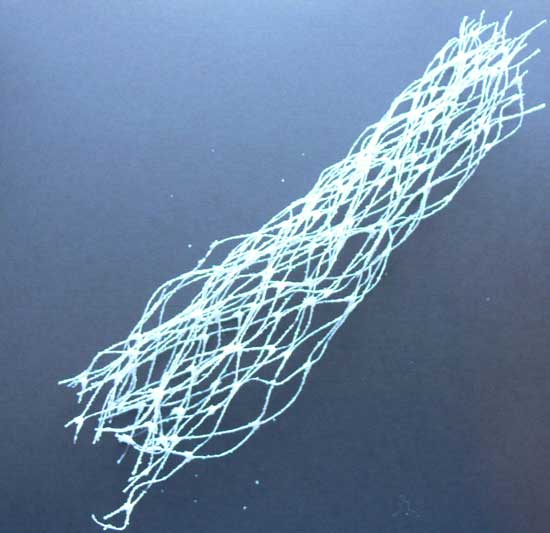
Mini plastic cups -- you can use medicine dose cups or, do as I did and collect cups used for communion at my church. These are a bit smaller than the medicine cups. I used about 120 for this project.
4-inch styrofoam ball
Paper clip
Flame source (a candle works well)
Glitter
White glue
Snowflake sequins
Sequin pins
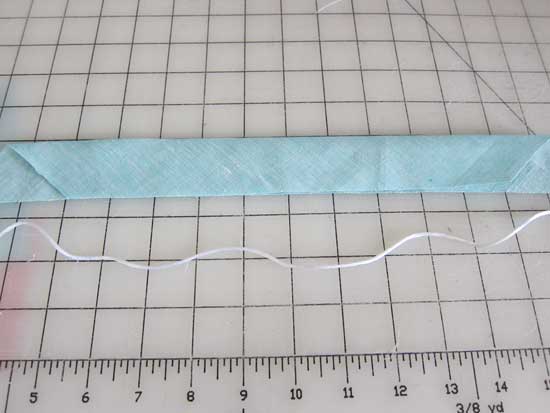
Ribbon
2 wood floral picks with wire
Green wool blend felt
Green wool roving
Variegated green thread
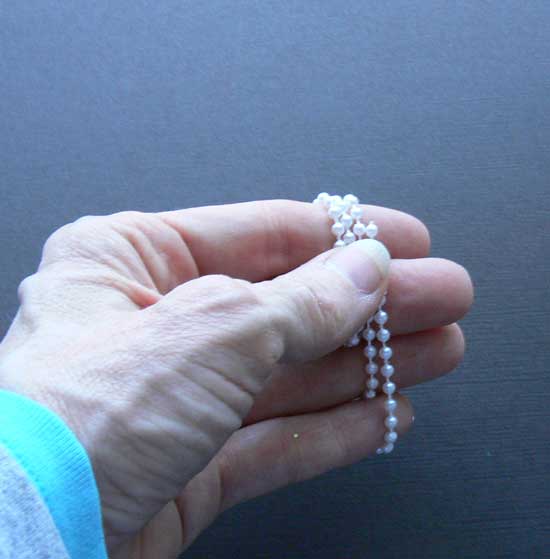
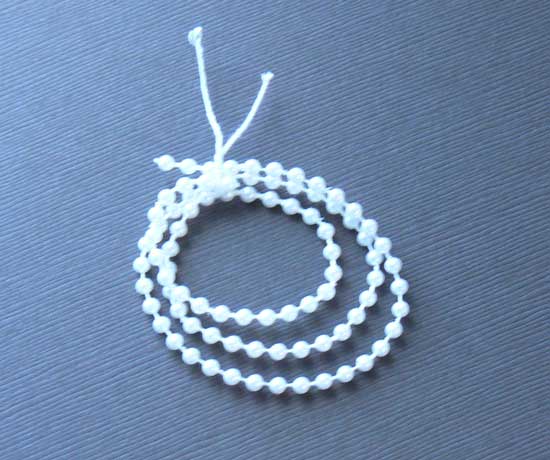
Pearl beads
Sewing thread
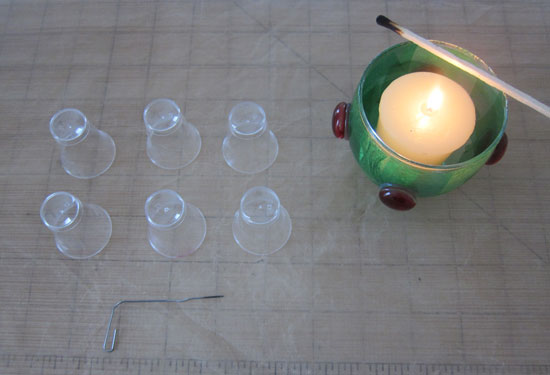
Begin by melting a small hole in the bottom of each cup. I used a paper clip to do this (bend one end out straight). My first thought was to choose a very fine paperclip so the hole would not be too big. That was a mistake. I ended up having to re-do the holes with a larger clip so the hole was big enough to accommodate the pin that will go through it. I lit a candle so I could easily re-heat the wire after every one or two holes.

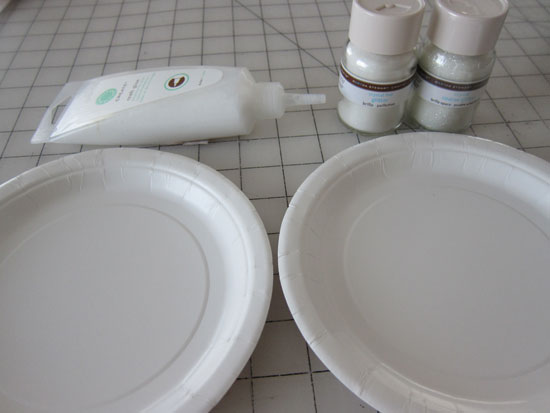
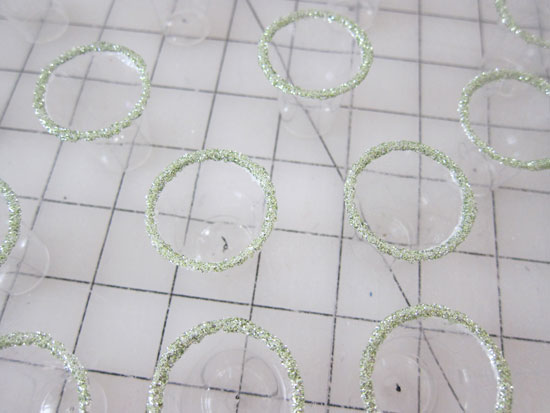
Next, it’s time to glitter the edge of the cups. Assemble your supplies: two paper plates, white glue and your chosen glitter.
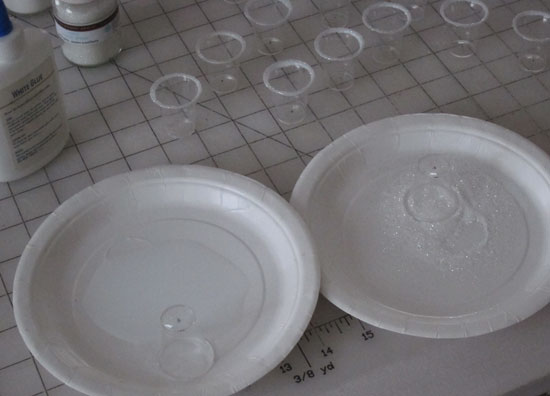
I originally planned on using a clear/white glitter. Here are the plates, one with a blob of glue and the other with a pile of glitter, and some of the finished cups. Simply dip the open rim of the cup into the glue and then into the glitter. Stand on end and allow to dry.
After finishing a number of the cups in the clear glitter I decided it would not have enough presence in the finished product. So, I pulled out my other glitters and did a little test. Here are four different colors of glitter that I auditioned:
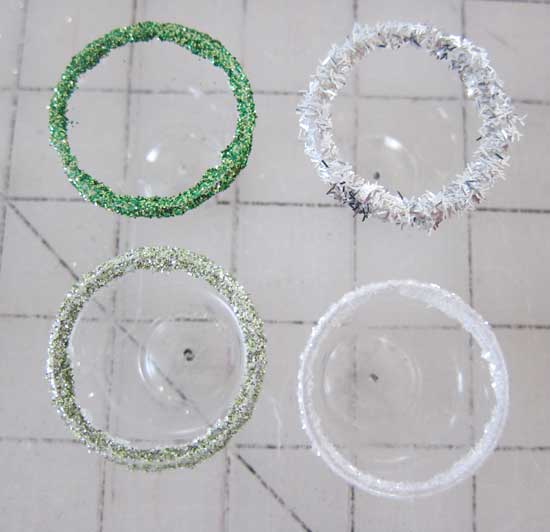
In the end I chose the pale green in the lower left corner (the darker green in the upper right was more like the kissing ball I remember from my childhood).
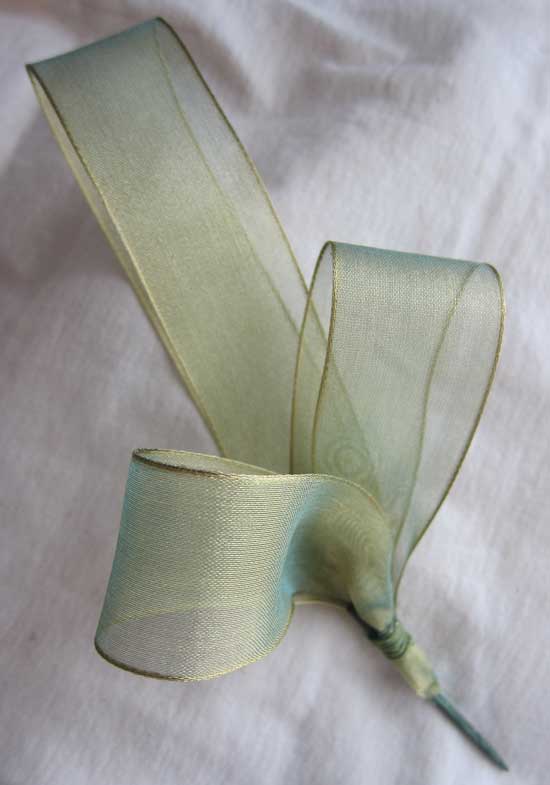
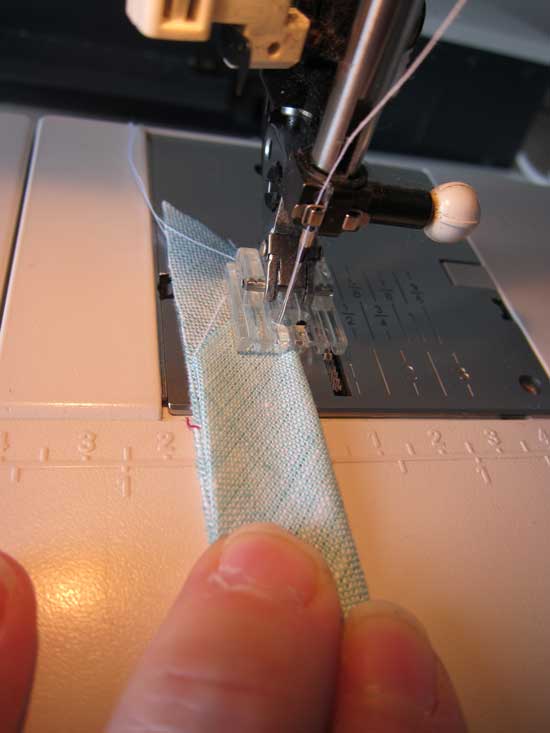
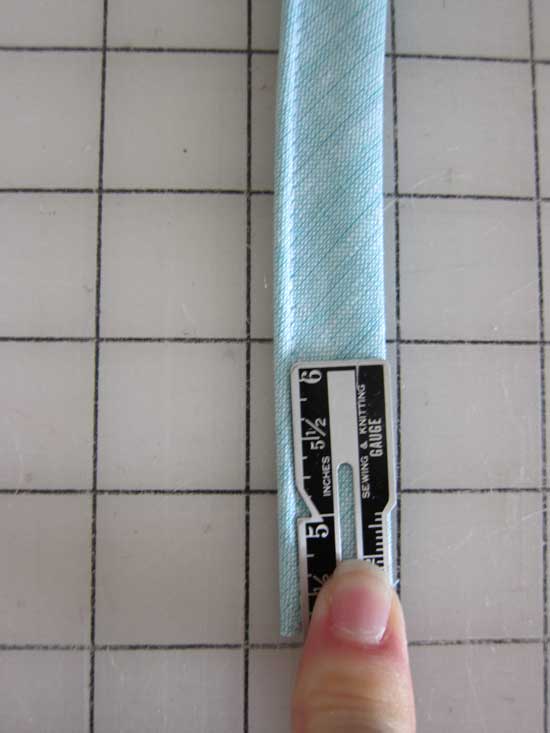
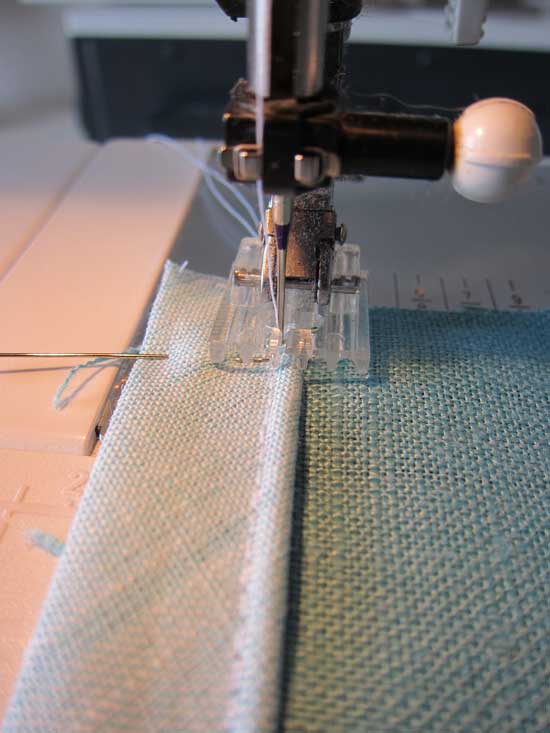
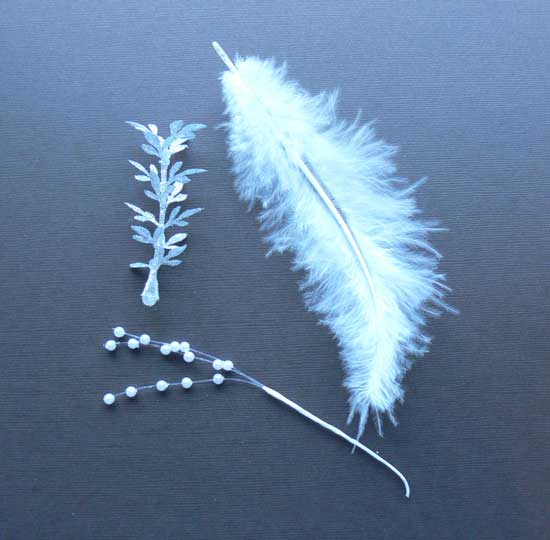
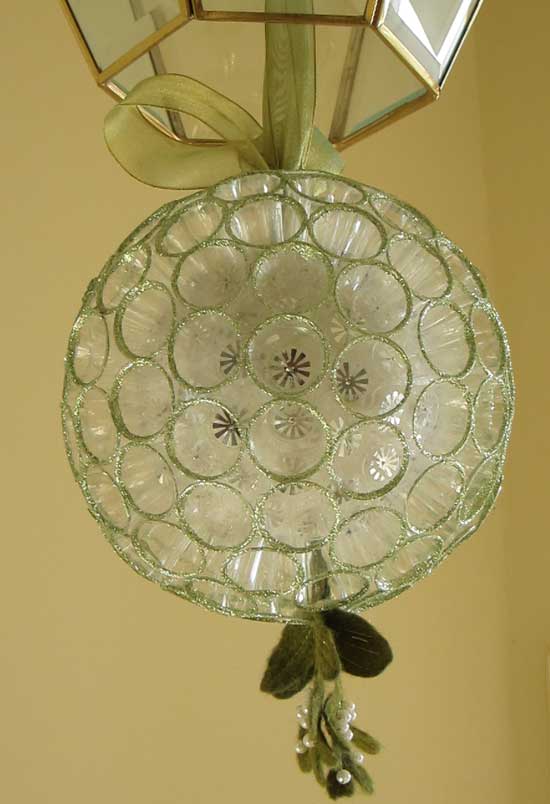
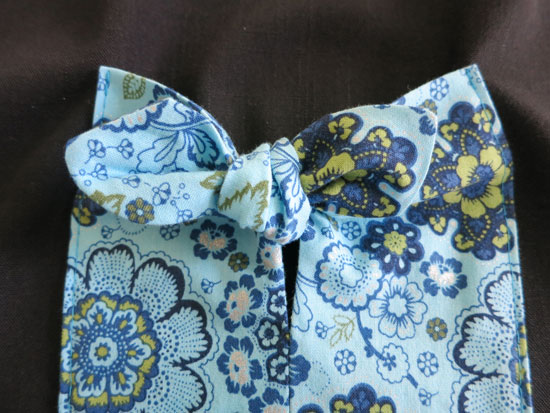
While the glue and glitter dry make your ribbon bow for hanging. I used a pale green iridescent ribbon. Fold the ribbon with one long loop (for hanging) and two shorter loops and wire the bow onto a wooden florist pick.

After the hanger is made push the pick into the Styrofoam ball but do not glue it into place yet. It is easier to install the cups on the ball without the hanger in place so remove it once you have made the hole. Use the pick to make a similar hole on the exact opposite spot on the sphere – this is where the mistletoe will go which will be made later. So, if the sphere is hanging from the ribbon loop the other hole will be facing directly down from the bottom of the sphere (see the picture at the top of this post).

Gather your pins and sequins. I used snowflake sequins though you could choose to use another shape if you like.
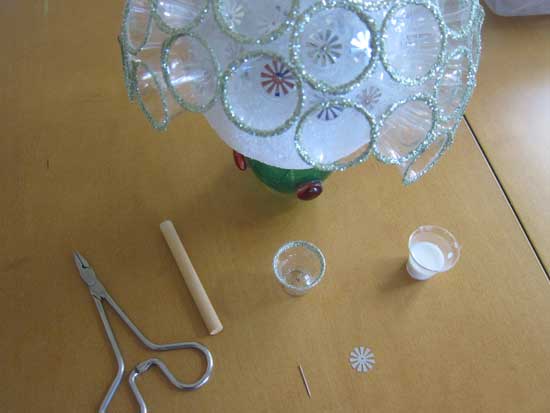
Here are the supplies you will need for the next step: your glittered cups, an extra cup filled with white glue, pins, sequins, a short piece of dowel (or a pencil), and a hemostat (I found this invaluable for placing the pins in the cups).
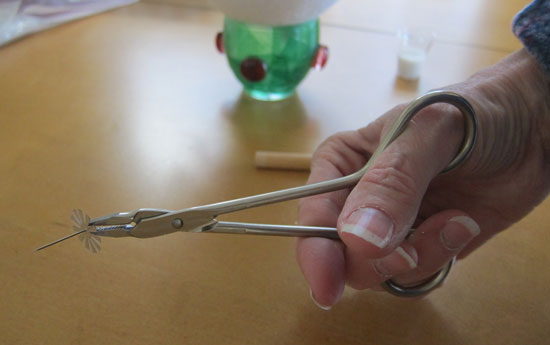
Place a sequin on a pin and pick it up with the clamp then place the pin through the hole you melted in the bottom of one of the cups.
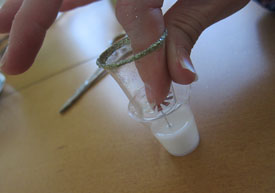
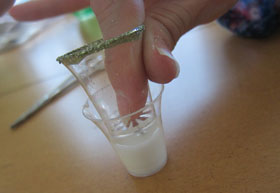
Hold the pin head and sequin down in the cup and dip the sharp tip of the pin into the cup with glue.
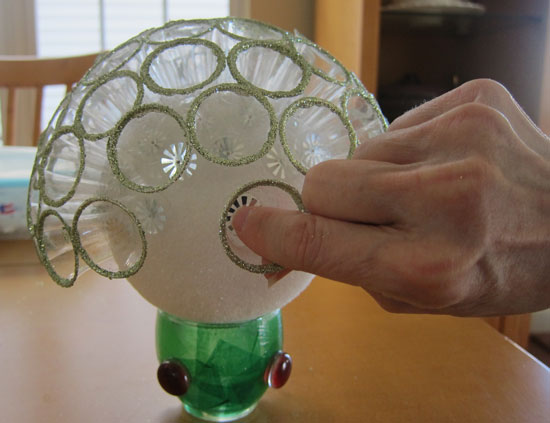
Press the pin into the Styrofoam ball. I found it helpful to balance the ball on a small cup.
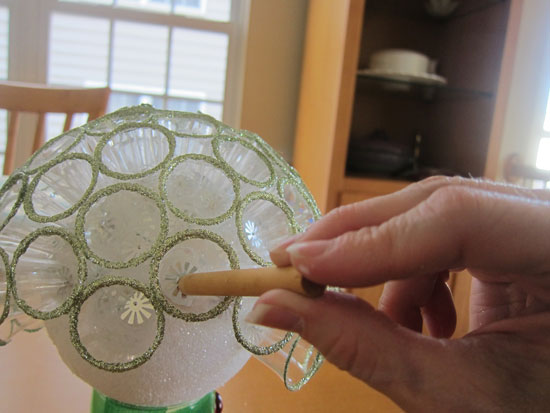
Use the dowel or pencil to make sure the pin is pushed in as far as it will go. Continue to cover the entire Styrofoam ball in this manner, but do not cover the holes where the hanging loop and mistletoe will go. Set the ball aside to dry well.
MAKING THE FELTED MISTLETOE
The internet is full of tutorials for making felt mistletoe. My pattern comes from the magazine Quilting Arts Gifts, 2010. I adapted the instructions for my own use. You can purchase a download of the original instructions here.
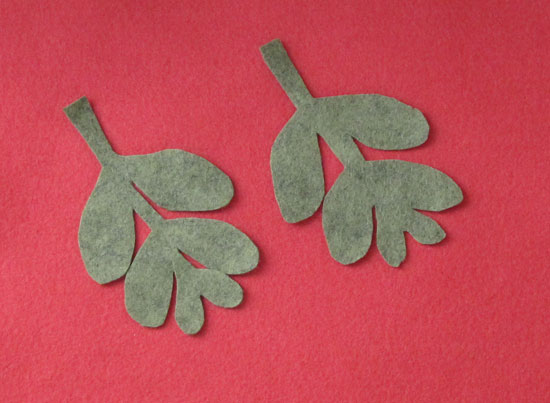
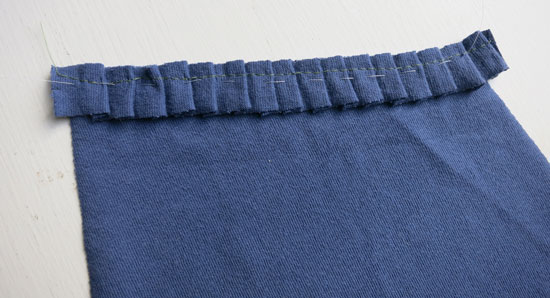
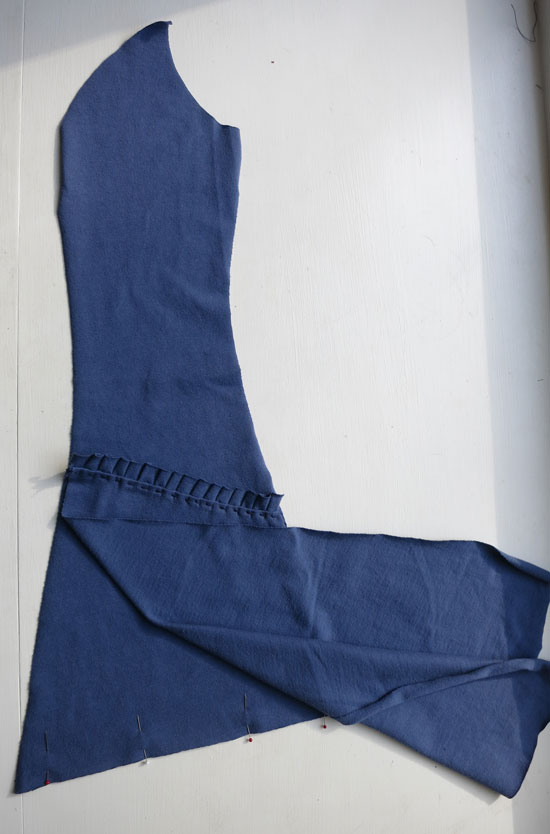
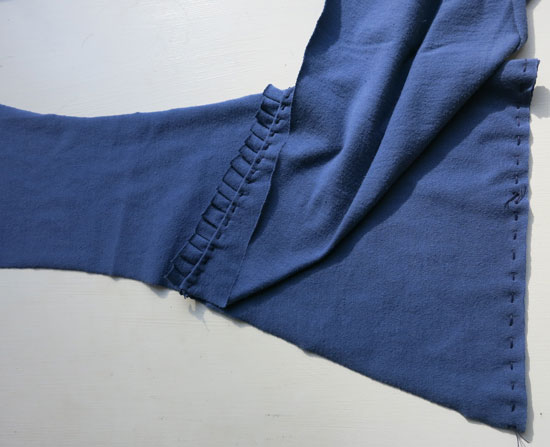
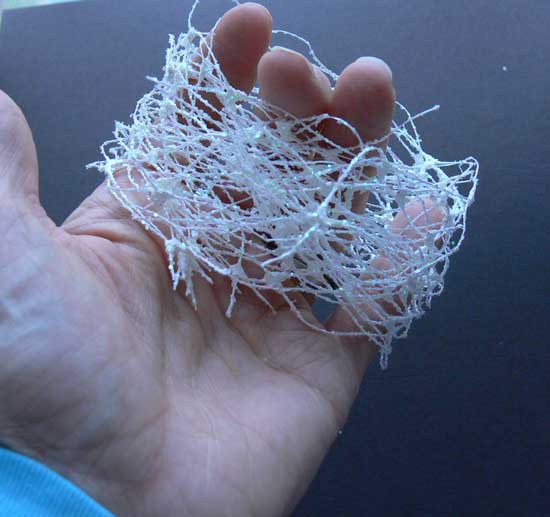
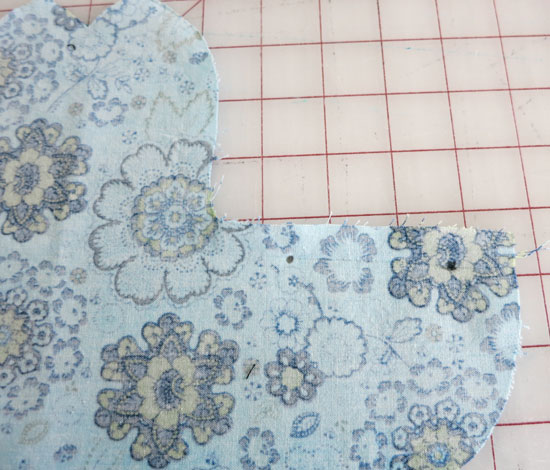
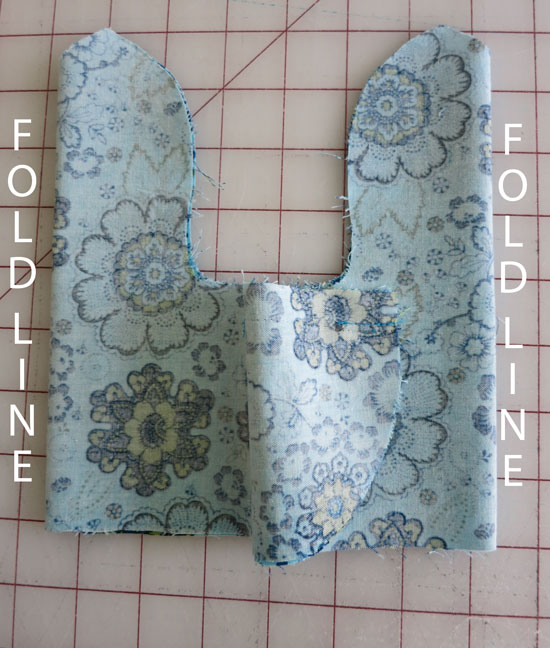
I began by cutting out some mistletoe shapes from wool felt.
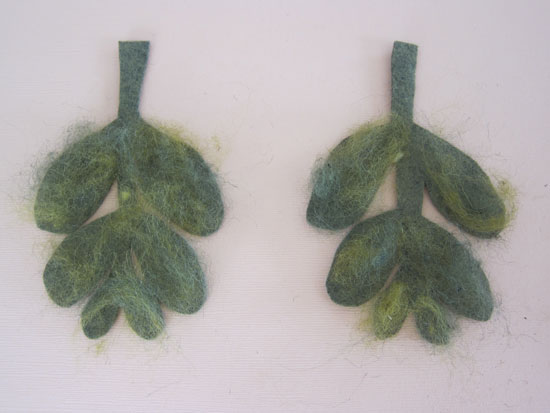
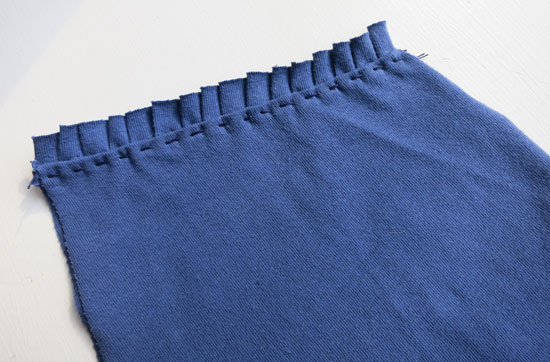
Using the green wool roving (I used a variegated variety with several shades of green) cover one side of the felt pieces with a thin layer. Needle felt the roving to the felt layer (I used a needle felting machine but this can also easily be done by hand).
Continue adding and needle felting the roving onto the felt base. Turn the piece over and add roving to the back as well.
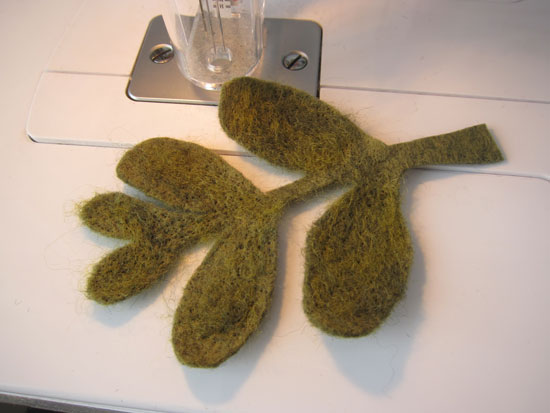
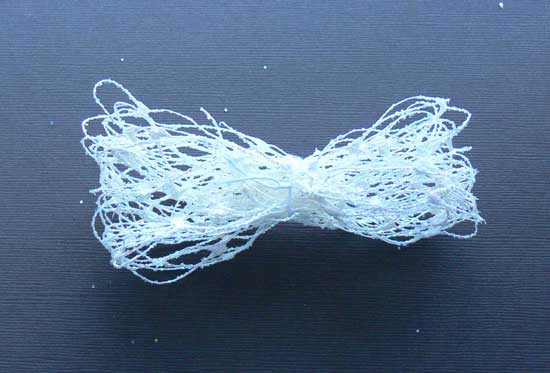
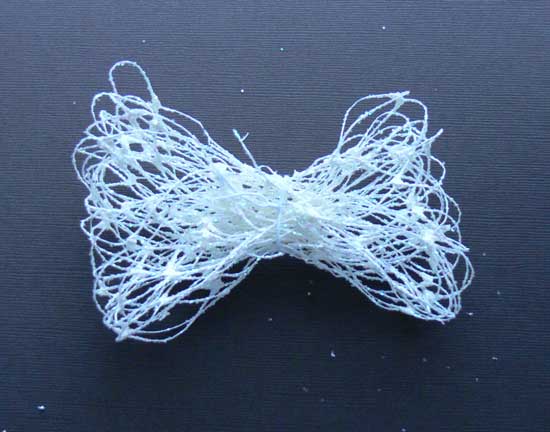
This is the completed piece.
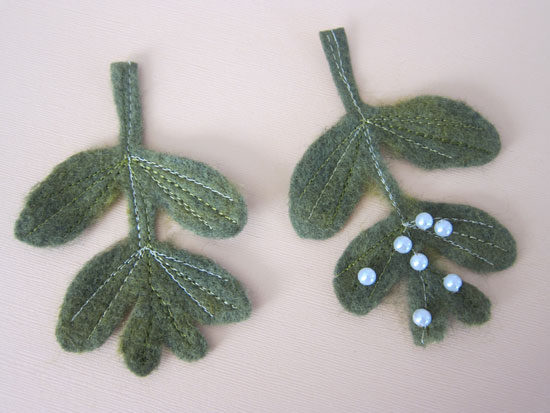
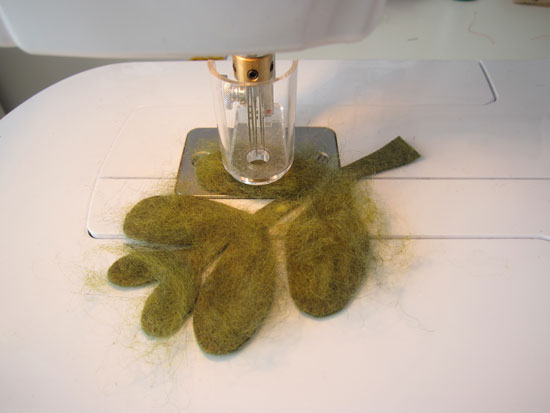
Using the green variegated thread, add some vein detail to the leaves with a machine straight stitch. Hand sew pearls in place as desired. I made two leaves and placed them back-to-back.
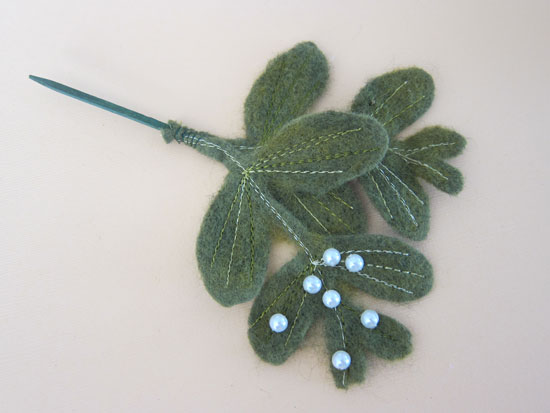
Wire the stem of the leaves to another wooden florist pick.
Once the cup-covered ball is dry, coat the wooden picks with glue and press them into the previously made holes. Allow these to dry well before hanging.


 Julie Bowersett