


Santa Pin Tutorial
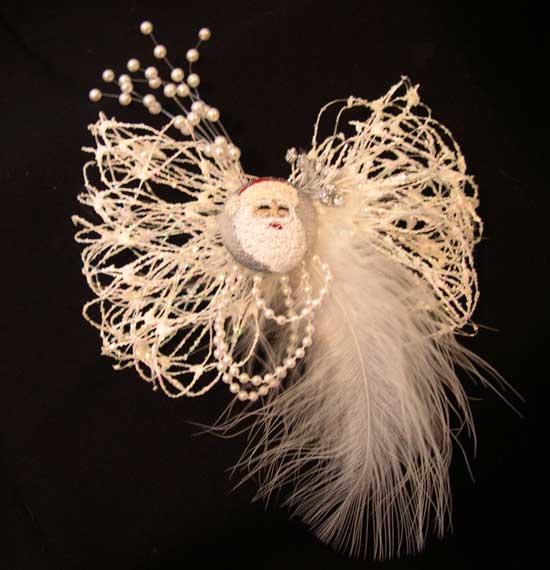
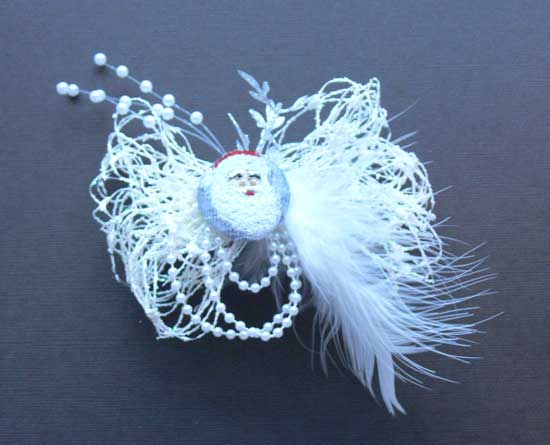
Here you’ll find the instructions for making a holiday pin like this one. Please use these instructions as inspiration, and create your own, one-of-a-kind work of art. Start with a large item for the background, then layer on feathers, pearls, beads, flowers, whatever pleases you. Then add a focal point on top.
Here’s what you will need:
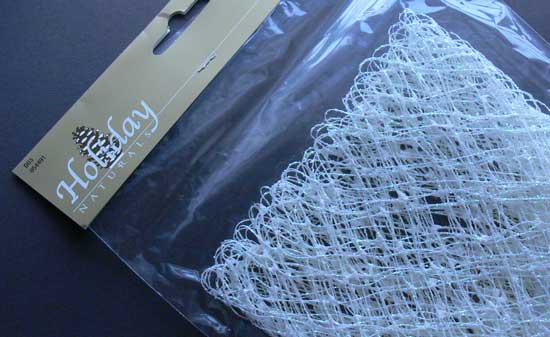
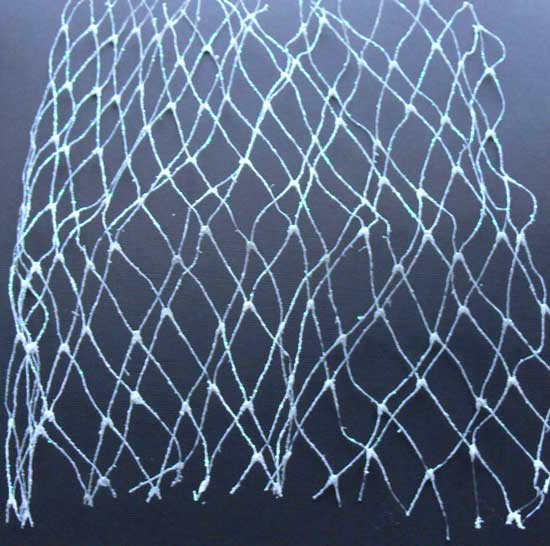
This is a glittered netting available at craft stores around the holidays. It comes in lots of colors: white, silver, gold, red.
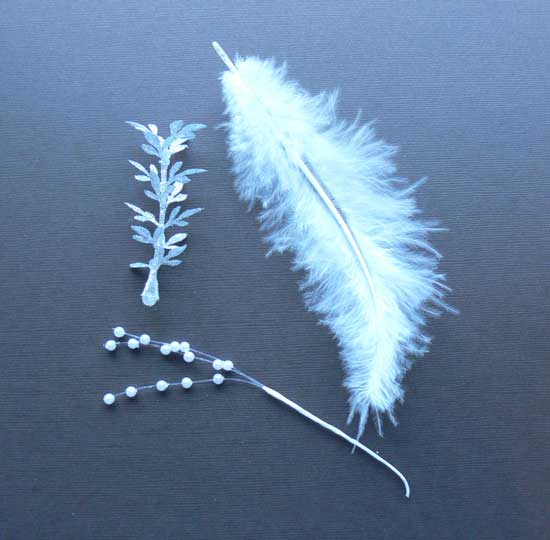
Some floral picks (I used ones that were covered in silver glitter), pearl sprays and feathers.
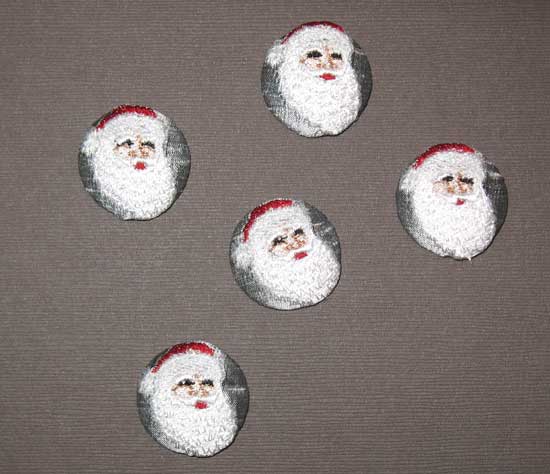
For my little Santa faces, I used Evy Hawkins' Holiday Button Covers from A Bit of Stitch. I stitched these out on silver colored dupioni silk, then covered a Dritz button cover with the design. You will need one for each pin you wish to make.
You will also need about half yard of strung pearl roping (this usually comes on a roll like ribbon), some craft wire, a pin back and a hot glue gun with glue.
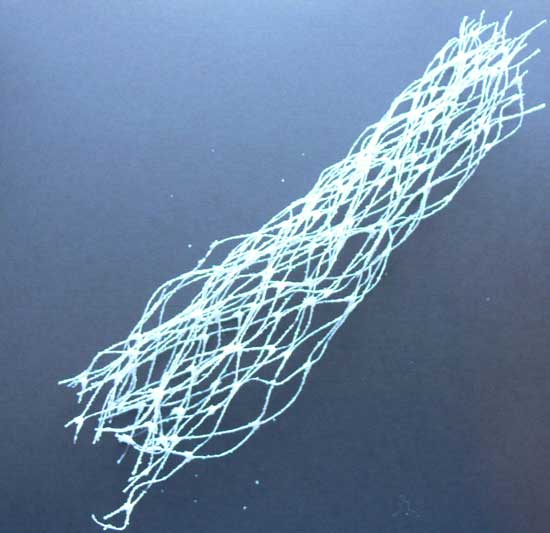
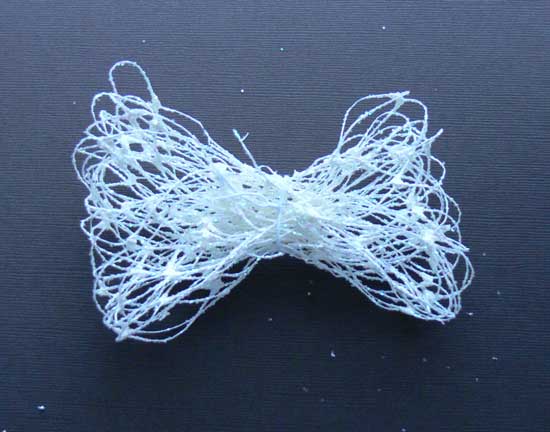
Begin by making the net background. Unroll the netting into a single layer and cut a piece about 12 inches long.
Scrunch the piece into a flattish tube.
Wrap the netting around your hand, overlapping the cut ends by an inch or two.
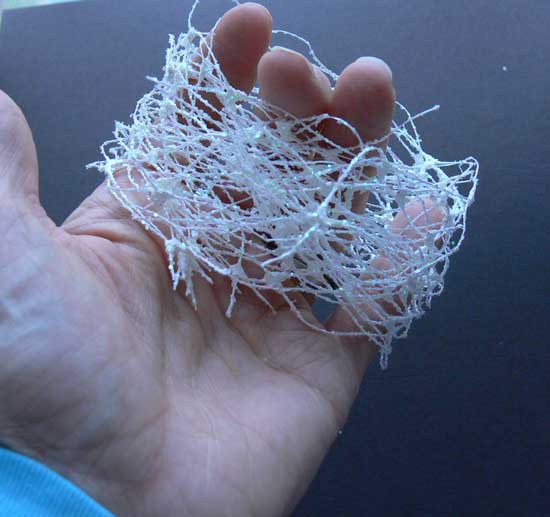
Twist a small piece of wire around the center of the netting, securing the cut ends and crimping the center a bit.
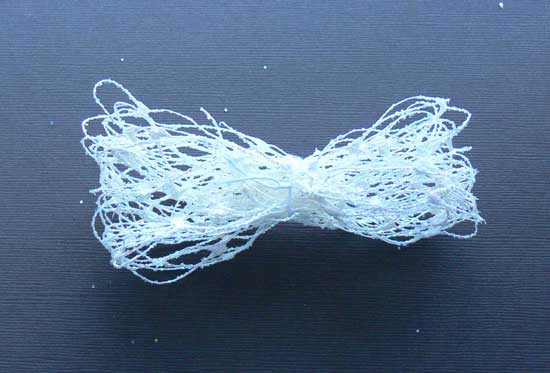
Gently fan out the folded edges of the netting loop like you are fluffing a bow.
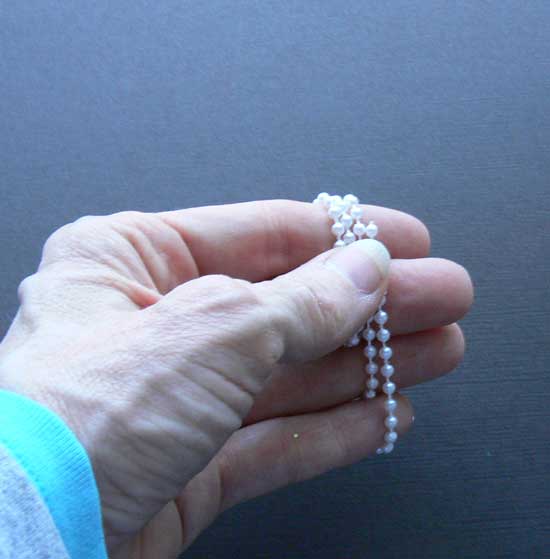
Cut a piece of pearl roping 16” to 18” long. You are going to form a triple loop. Use your hand as a guide for forming the loops. The first pass wraps around two fingers, the second pass around three fingers, and the third pass around four fingers, as in the picture below. Overlap the two ends by an inch.
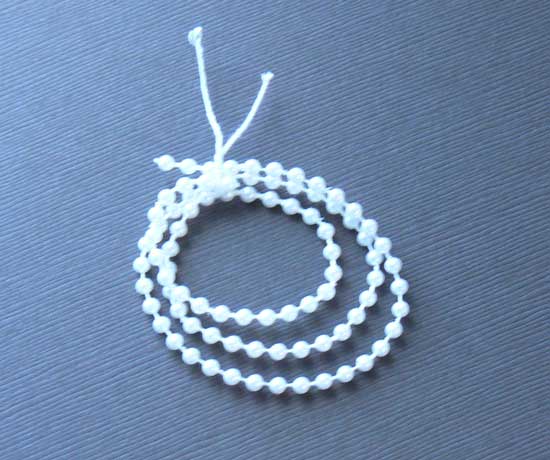
Twist a piece of wire around all strands, securing the two cut ends.
Using the photo below for guidance, assemble the components of the pin. Lay down the netting background and glue on the feather and the pearl spray. The feather should hang down off the bottom right of the pin in approximately the 4:00 position. The pearl spray should be oriented at the top left at approximately the 10:00 position.
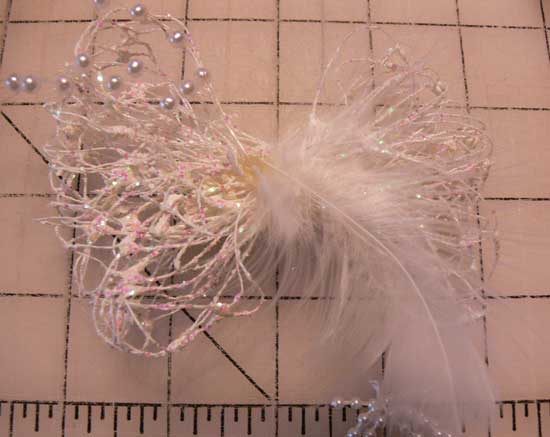
Next add the floral element straight up at the 12:00 position. The pearl loops hang down at the 6:00 position.
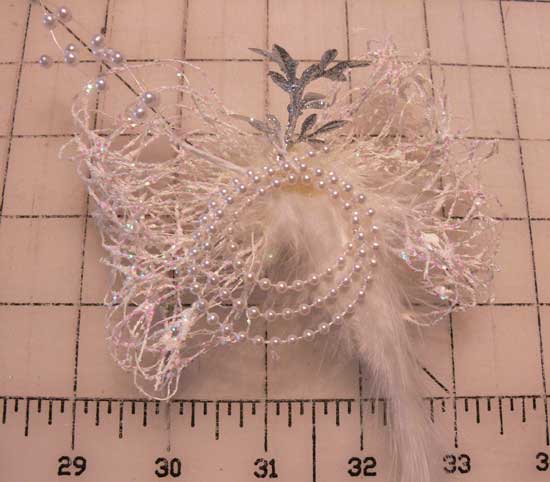
Glue the Santa button in the very center, covering all of the glue used to attach the other elements. Turn the pin over and attach a pin back with glue or by sewing.
 Julie Bowersett
Reader Comments