


Monday
Mar122018
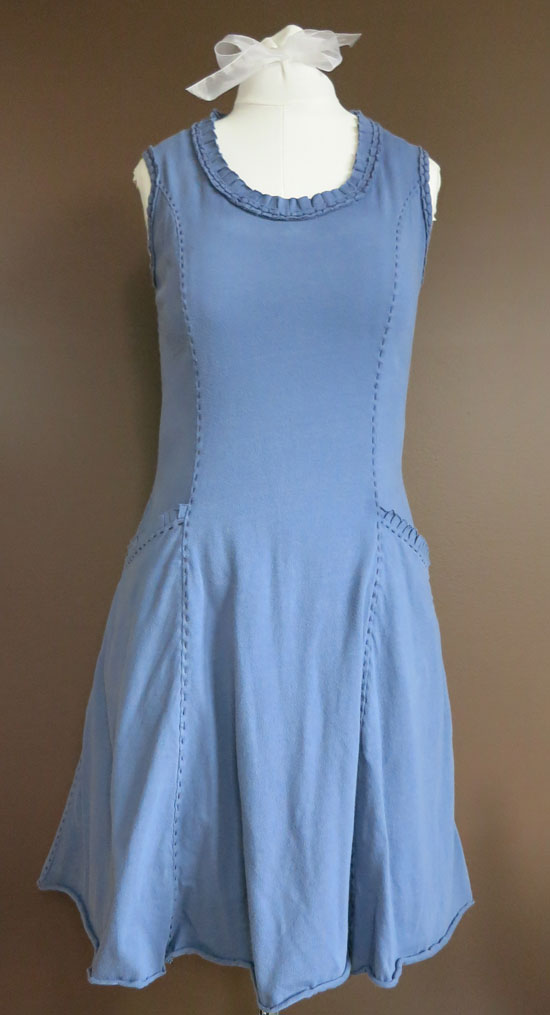
Princess Seam Pockets
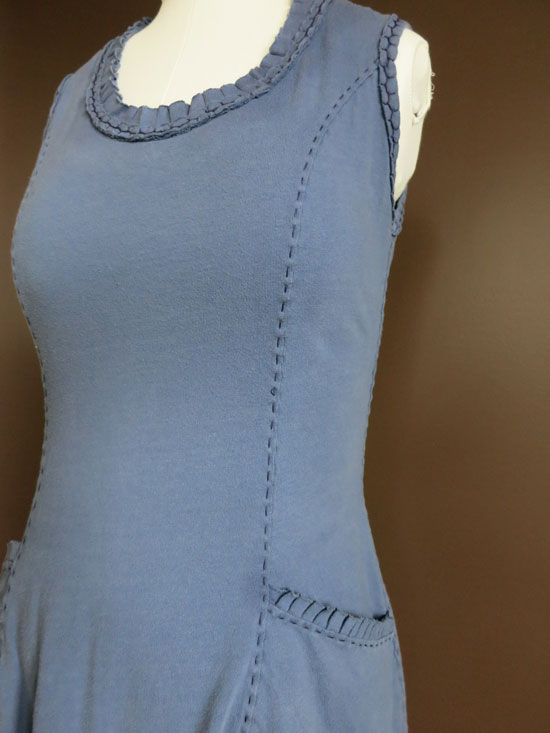
This is my favorite pocket, and when I am making a princess line garment, I almost always add these pockets to it. The process requires a bit of pattern work but it is very straightforward and easy. These pockets can be added to any type of garment with princess lines, a top, jacket or dress. You may need to adjust the measurements given to suit your own proportions. If drafting a jacket, make the bottom of the pocket end just above the hem allowance. These instructions are for a pocket with a slalnted opening which I find the most visually pleasing but feel free to make the pocket opening straight across if desired.
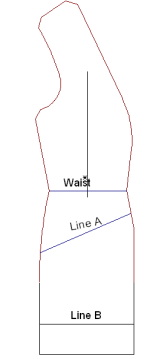
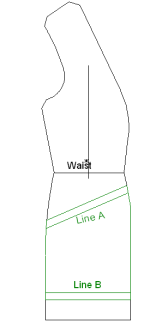
- The only changes are made to the side front piece. On this pattern piece mark the waist (if no mark is given it is the narrowest part of the pattern piece).
- Draw a point 2 inches down from the waist along the edge with the bust curve
- Draw a point 4.5 inches down from the waist along the other vertical seam
- Connect these two points with a line. Label this line “Line A”.
- Draw points 10.5 inches down from waist along both seam lines. Connect these two points. Label this line “Line B”.
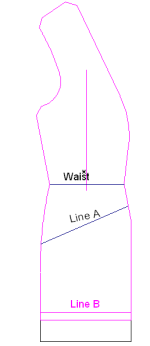
- Lay a piece of tracing paper over the pattern piece. Trace Line B and all of the lines of the side front piece above this line [pink] (do not include Line A). Make sure you draw a grainline on the new pattern piece. Add a seam allowance below line B. Label this new piece “Upper Side Front”.
- Lay another piece of tracing paper over the pattern piece. Trace Line A and all of the outside pattern lines below this line [blue] (do not include line B). Make sure you draw a grainline on the new pattern piece. Add a seam allowance above line A. Label this new piece “Lower Side Front”.
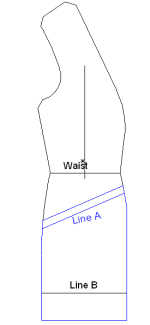
- Lay another piece of tracing paper over the original pattern piece. Trace Line A and Line B and the outside pattern lines between these two lines [green]. Add a grainline. Add a seam allowance to both Line A and Line B. Label this new piece “Pocket Facing”.
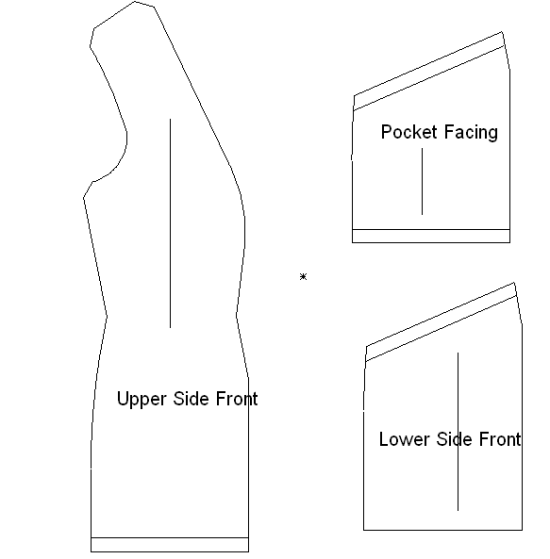
- You will not use the original pattern piece. You should now have three separate pieces (upper side front, lower side front, and pocket facing). This is approximately what your three pieces will look like:
CONSTRUCTION
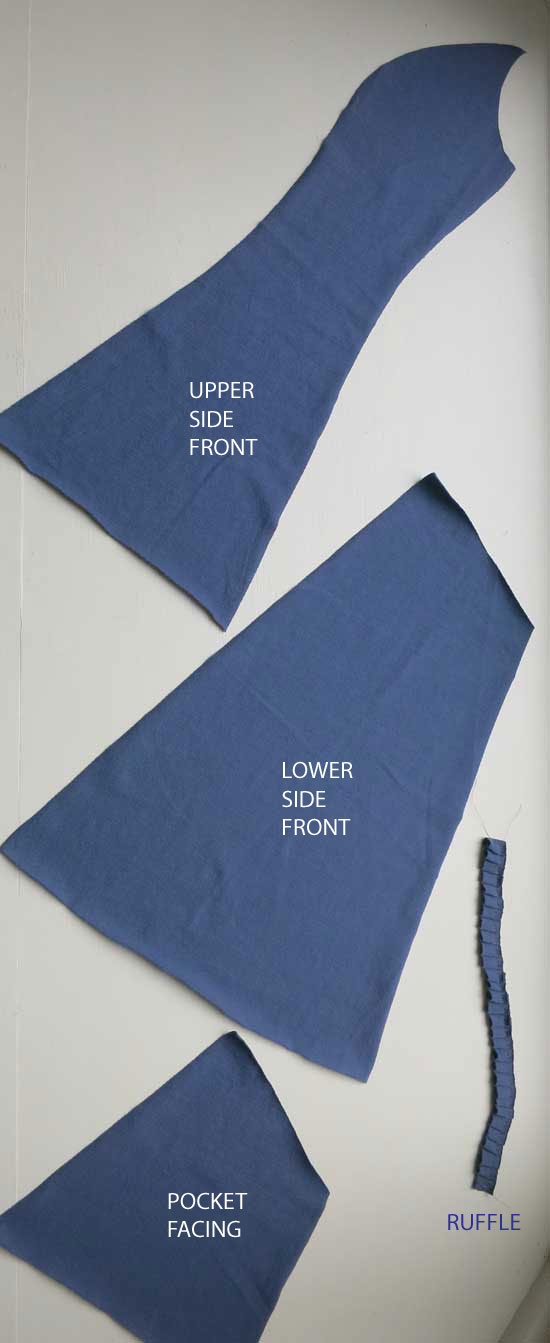
The accompanying pictures are examples that I hand sewed. The same procedure is used for machine stitching.
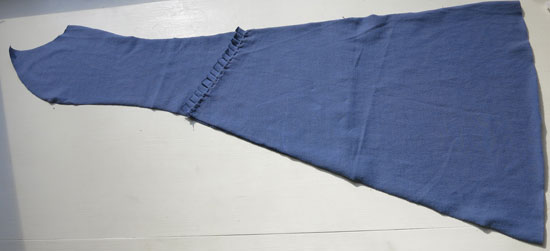
- If desired, pin piping or ruffle to the top, slanted edge of the lower side front, matching raw edges, right sides together. Baste in place.
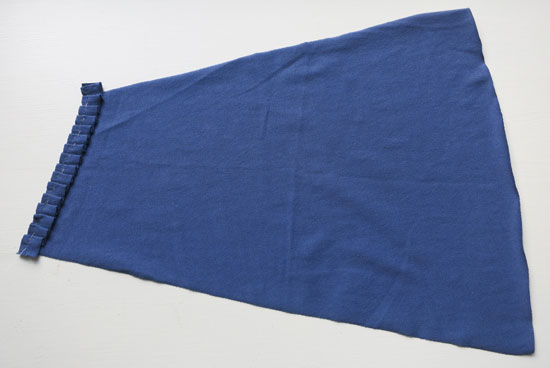
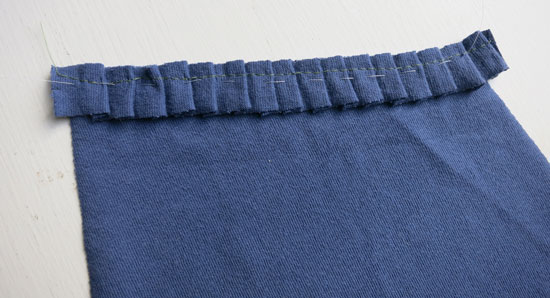
- With right sides together, pin slanted edge of pocket facing to upper edge of lower side front, sandwiching ruffle in between layers. Stitch. Press seam open then press facing to inside. Topstitch below ruffle if desired.
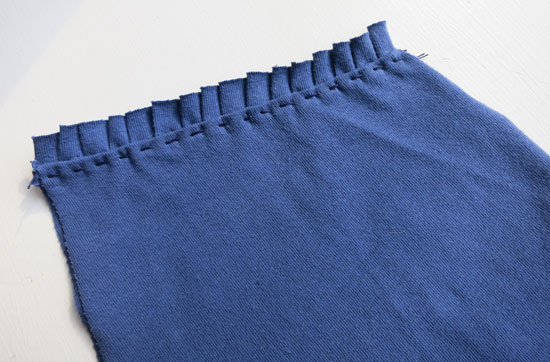
- Open out pocket facing and with right sides together, pin lower (unstitched) edge of pocket facing to lower edge of upper side front. Be certain to align so that the highest point of the upward slant on the pocket edge will be along the bust curve side of the upper side front. Stitch. Do not press this seam open.
- Fold lower side front down over pocket facing to form pocket, having raw side edges even. Baste along the two vertical sides through all layers.
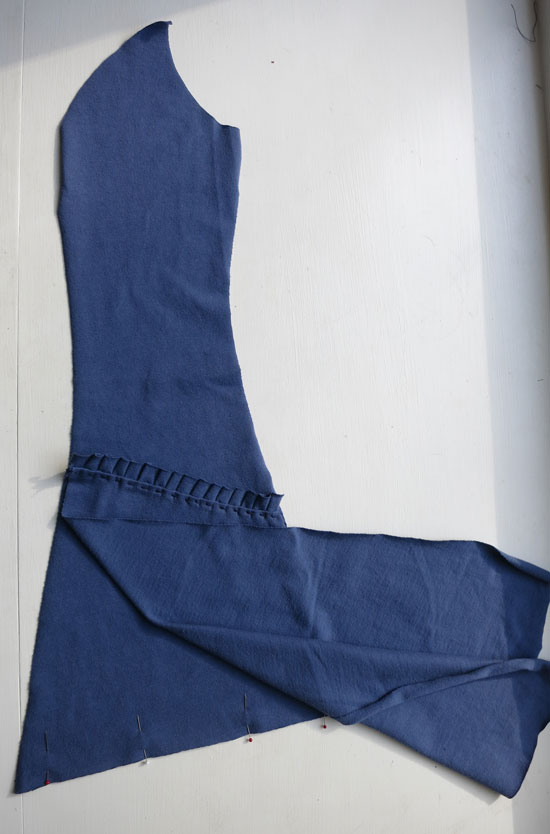
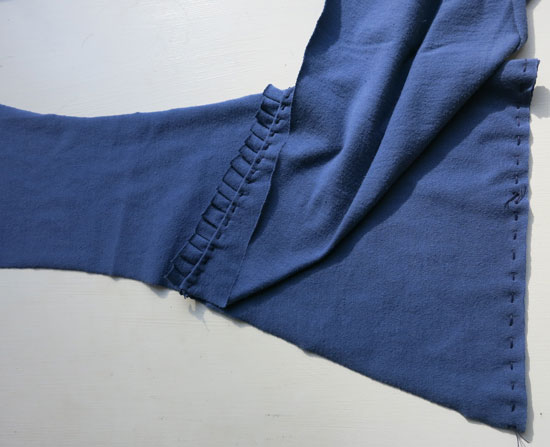
- Attach the front to the side front section. The pocket will lie best and be less bulky if this seam is pressed towards the center front. Clip the seam allowance just above the pocket; press the lower portion toward the center front and the upper portion open.
- Construct remainder of garment as usual.
tagged  Alabama Chanin, garments, pattern work in sewing, tutorial
sewing, tutorial 