Patch Pocket with Bow
 Saturday, April 7, 2018 at 8:13PM
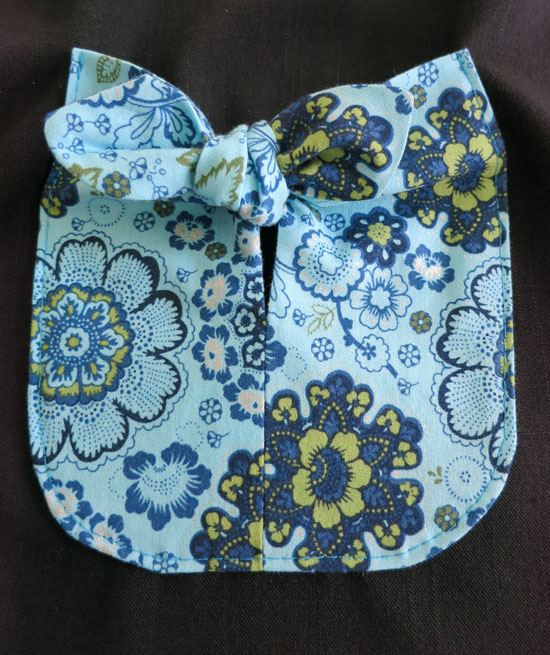
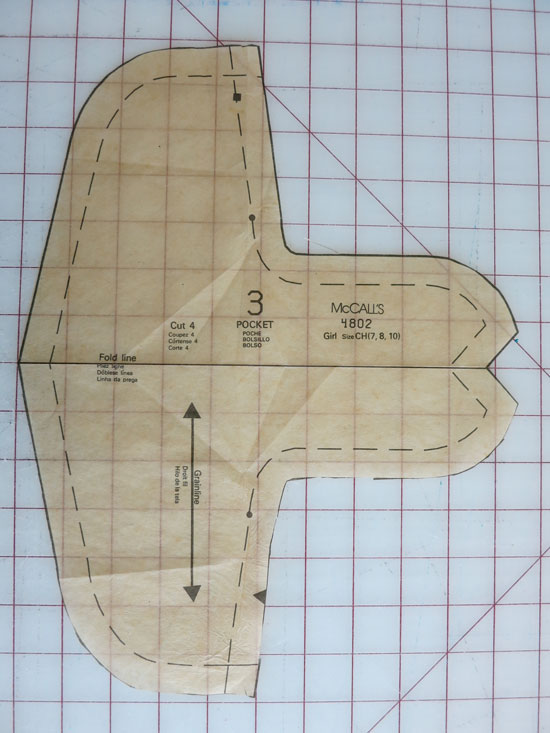
With some stitching and folding, this oddly shaped pattern piece becomes a cute patch pocket with a tied bow. The grid underlying the pattern piece is 1" square. You can use that as a guide to draft your own pattern piece, or you can copy and print this picture, scaling so it prints out at full scale. You can also scale the size down if you'd like to use it on small children's clothing. The example in the following pictures was made at 80%; remember that your seam allowance will be smaller if you scale it down. At 80% the seam allowance ends up being 0.5 inches.
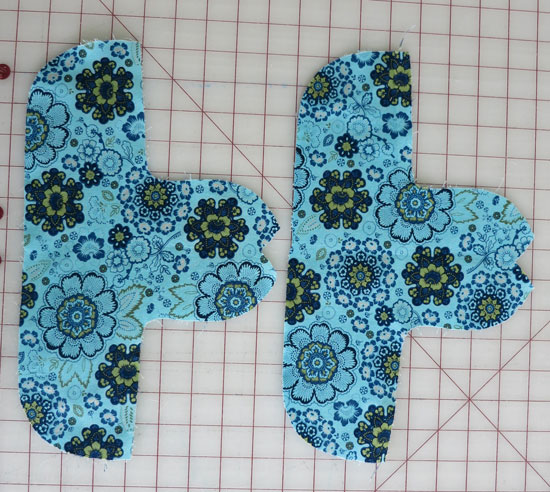
You will need two pieces of cut fabric for each pocket you wish to make.
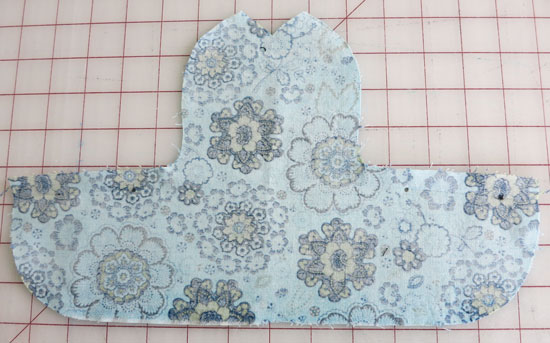
Mark each pocket piece with the circles and squares noted on the pattern. The far right marking, above, is the square, the other two are circles.
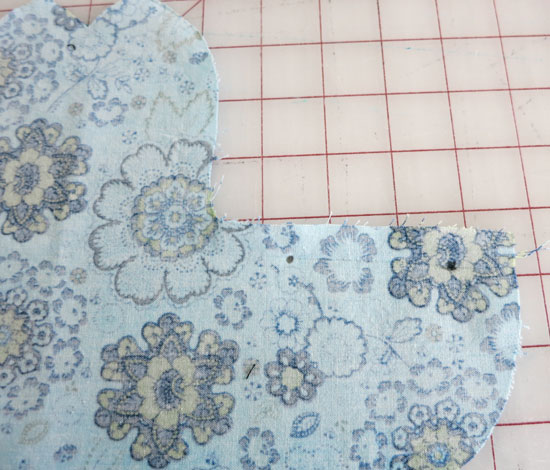
Close up of markings.
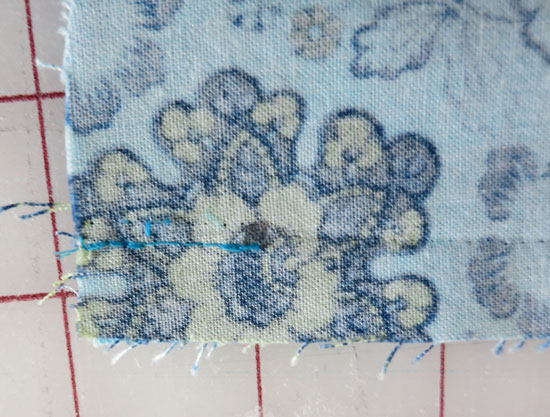
Place two pocket pieces right sides together and sew from the edge to the square, back-tacking at the beginning and end of the stitching.
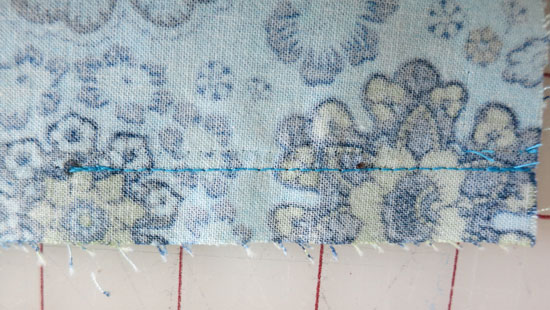
On the opposite side of the pocket, sew to the circle.
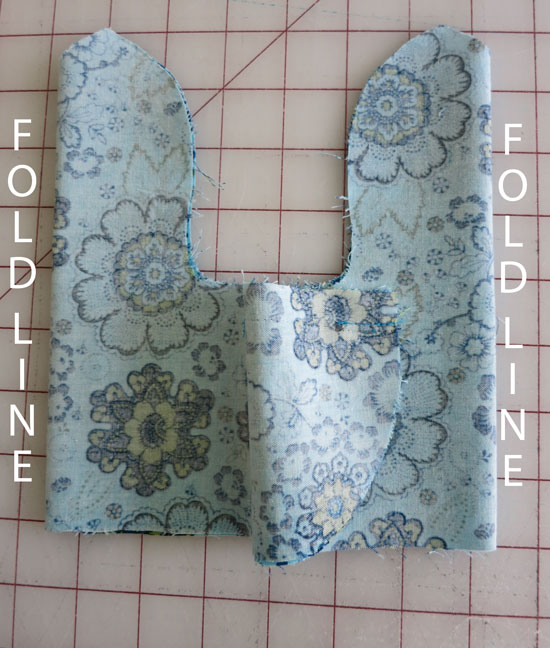
Fold the pocket along the fold lines marked on the pattern piece, folding the tie pieces in half and matching raw edges.
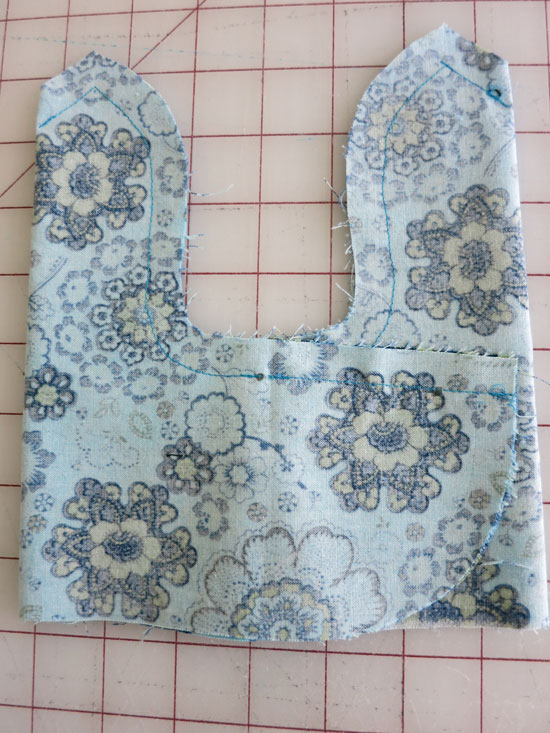
Beginning at folded edge, stitch tie area and continue stitching to the circle. Repeat on other side. You will need to fold the rounded edge of the pocket out of the way to keep it clear from stitching.
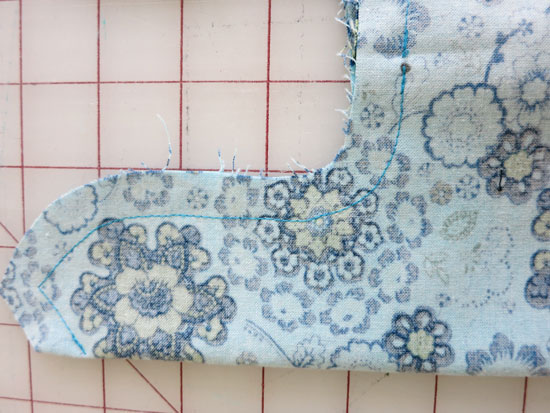
Close up of stitched area.
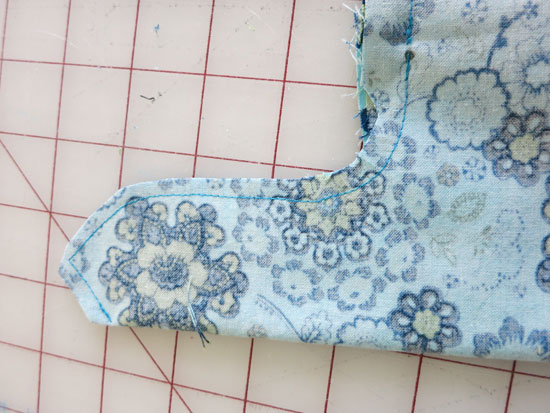
Trim the seam and clip the curves.
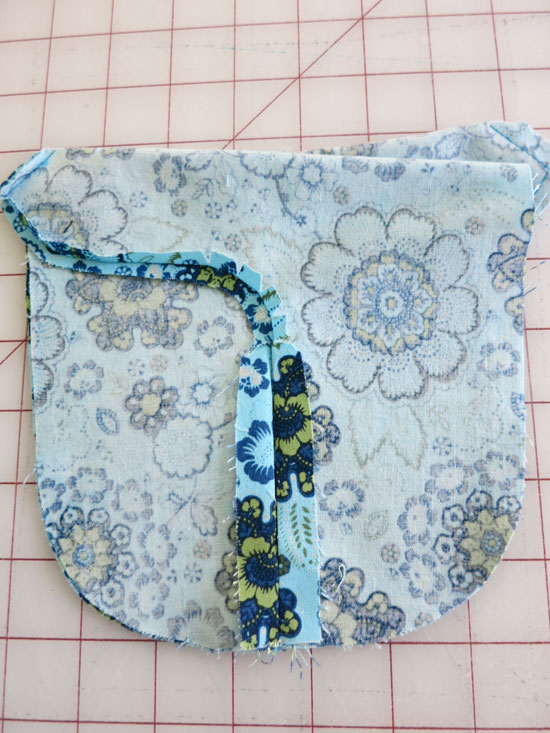
Press open the seams. Match the two seams that were sewn in the first step (sewing to the square and circle) right sides together, matching the remaining raw edges. The piece should look like a pocket shape on the bottom with two ties on the top.
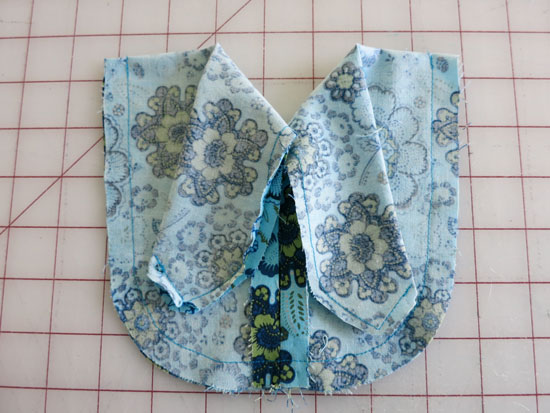
Beginning at the upper fold, stitch around the perimeter of the pocket, ending at the other folded edge.
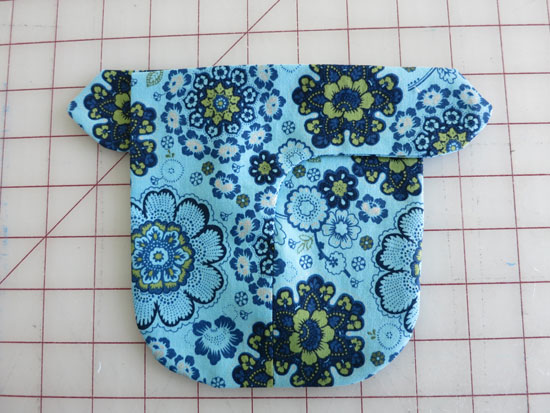
Turn the pocket through the opening above the square. Push out the tie ends (a knitting needle or chop stick works well) and press the pocket flat. If you wish, whip stitch the opening above the square (or position the pocket so this opening is on the inside of the pocket.)
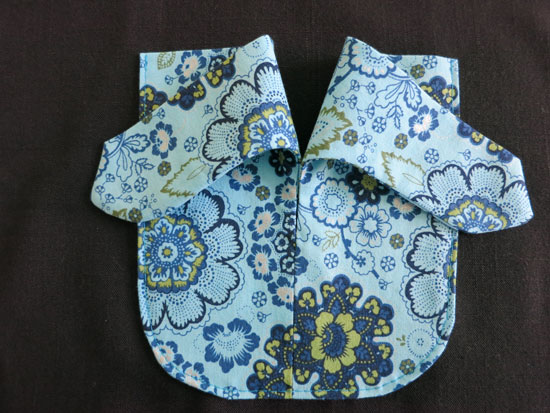
Place your pocket onto the item you wish to sew it to. Stitch from the top edge of the pocket around the perimeter, ending at the other top edge. Be sure to backstitch to reinforce the top of the pocket.
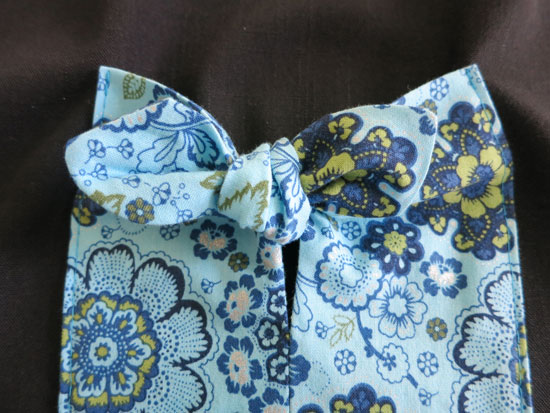
Tie the two loose ends into a bow.
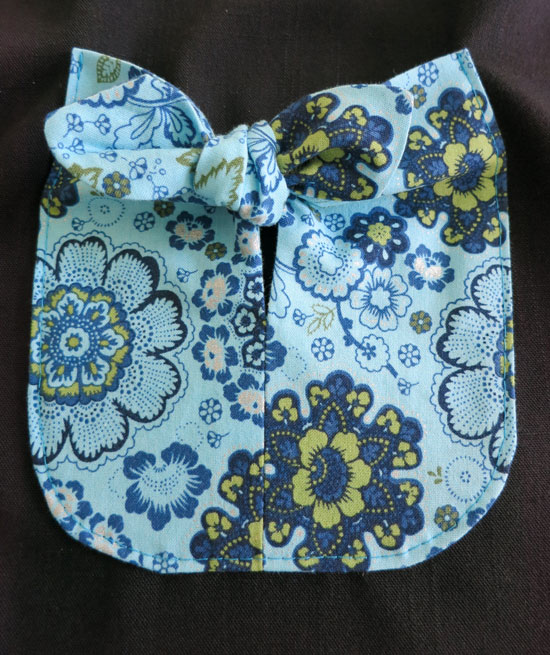
Repeat as needed and enjoy your bow pockets!


Reader Comments