Julie Bowersett

juliebowersett{at}gmail{dot}com
Navigation
Search
Categories

Blog Writing Course Alumni

From Guide to Art Schools

CraftGossip

Entries in tote (12)

Friday
Nov112011

My Silhouette Bag

I'm leaving this morning for three days away by myself.  I'm heading off to a workshop with the folks at Alabama Chanin where I'll have the chance to make my own AC-inspired garment under their tutelage.  I'll be traveling with a new friend who I met through our shared admiration for Natalie Chanin and her creations.  To say I am excited would be an understatment.

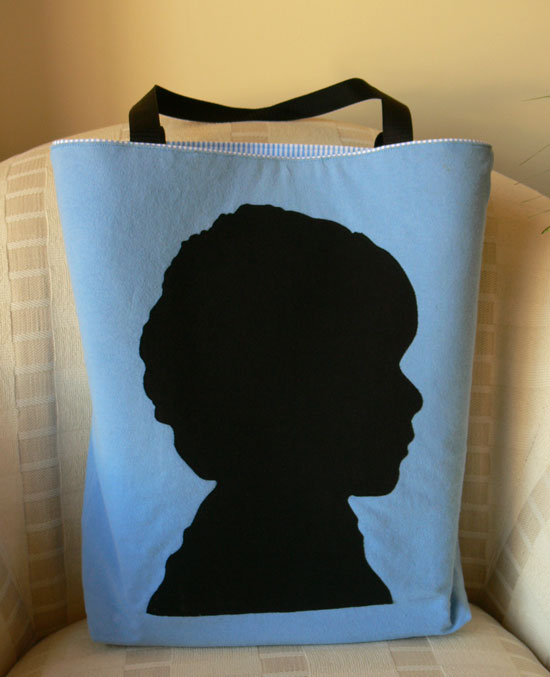
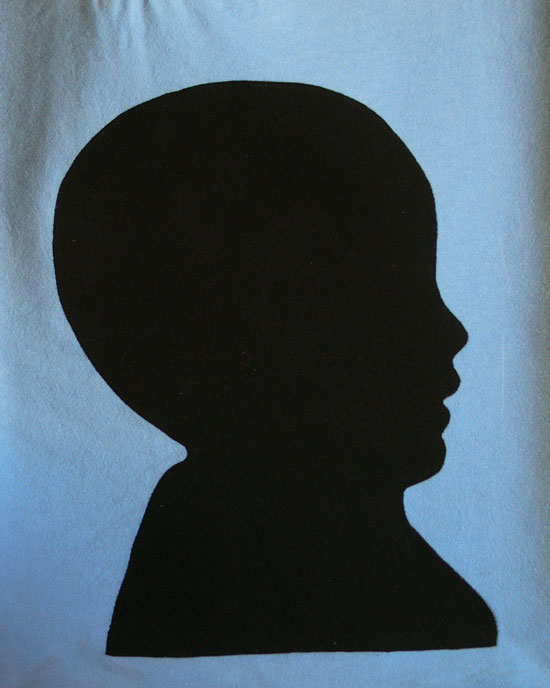
But I'm also a little sad about leaving my sweet boys behind so I'm taking them with me, figuratively speaking.  I've made a little tote bag with their silhouettes on it to use as my carry-on bag (out of old t-shirts, no less). 

This was a fun and easy project (the hardest part was getting the kids to hold still long enough to get a good picture).  I'll share the details of how I did this when I get back.

I'm hoping to have a chance to post pictures from the workshop while I'm there.  Stay tuned!

Saturday
Jul302011

Tutu Tote

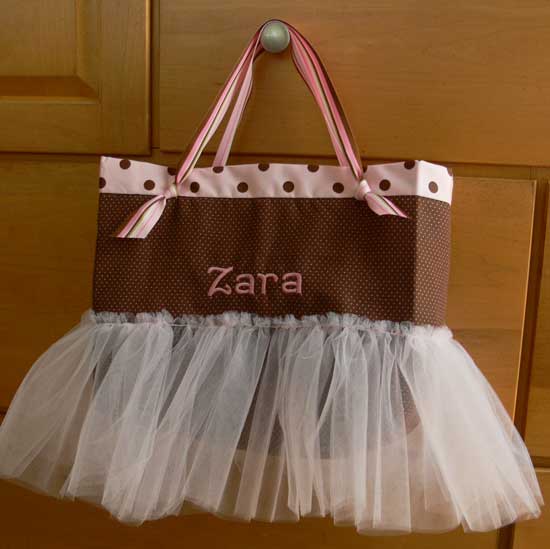
Another little girl's birthday party today, hurray!  I am really enjoying making little gifts for the girl friends of my two sons.  It is finally an opportunity to sew some frilly stuff.  Today's party theme was princesses so I created a little bag for the now-3-year-old birthday girl that is reminiscent of fairies and ballerinas. 

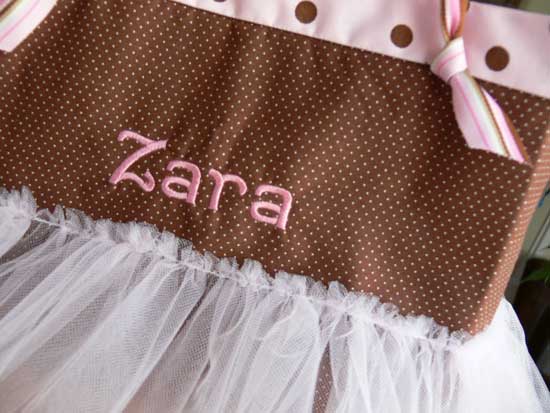
I made this bag using the instructions for my ribbon-handled tote which you can find here.  Since the outer fabric I was working with was fairly light weight, I added a layer of thin batting before embroidering the recipient's name on the front.  For the tutu portion I cut tulle 12" deep by the width of the fabric.  I pieced together three widths and then folded the long strip in half lengthwise, making a very long 6" strip.  I stitched a gathering stitch just inside the folded edge, drew up the stitches and pinned the tutu around the bag, overlapping the two ends.  I stitched it in place on top of the gathering stitches on the outer portion of the bag before inserting the lining as per my tutorial.  Striped ribbon handles finished it off.

I love the pink and chocolate brown color scheme (as you can tell from two other projects I've recently completed here and here) and I've just about depleted my stash of these fabrics so I guess it's off to the fabric store next week to restock.  I'm sure I will have many other girly-girl birthday parties in my future.

Thursday
Dec162010

Bag of the Week 50

Folded Quilted Tote Bag

Many years ago (before I had kids) I used to attend a sewing retreat with the Richmond Chapter of the American Sewing Guild at Holiday Lake 4H Camp in Appomattox, VA.  Our sewing space was a lovely lakeside cabin with beautiful views.  I met so many nice people at those retreats, and one year I watched as a number of the ladies made this fantastic tote bag.  I went home and made one for my mom out of fabrics I had in my stash.
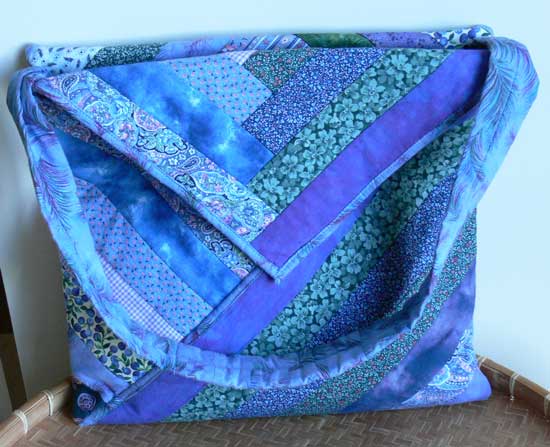
This bag is terribly difficult to photograph – it has lots of nooks and crannies that are just impossible to show properly.  In the photo above there is a pocket underneath the triangular flap and an identical one on the opposite side of the bag.  In addition, in the center of the bag (between the top folded edges is another pocket.  PLUS I added a zippered pocket on one inside wall.  This bag starts out as a flat square, 31” in this case, which is then folded and stitched into the tote you see.  It is a fun and easy project.  Below are instructions for folding your finished square into the bag.  You can make your square in any method you choose.  My sample is strip-pieced onto a solid fabric foundation (with a thin layer of batting between) and the edges bound.  You can also use whole cloth for both sides and either bind the edges or stitch right sides together and turn. 

1.        Fold square diagonally with right sides together to form a triangle.
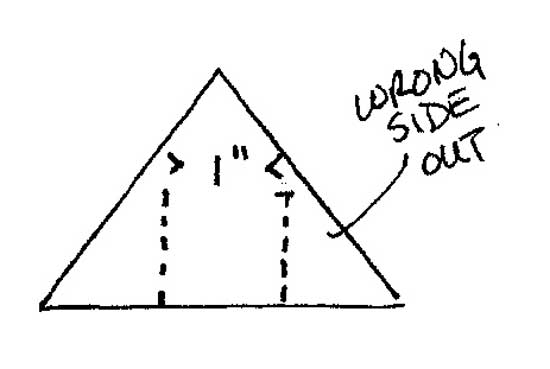
2.       Measure along the folded edge, divide this length into thirds and mark.  Beginning at the folded edge, draw a perpendicular line at these points stopping 1 inch from the top of the triangle.  Stitch along these lines, backtacking well at the top.

3.       Turn the side points to the outside of the bag along the stitching line – they will overlap and form a pocket on each side.  Stitch the two layers together where they overlap.
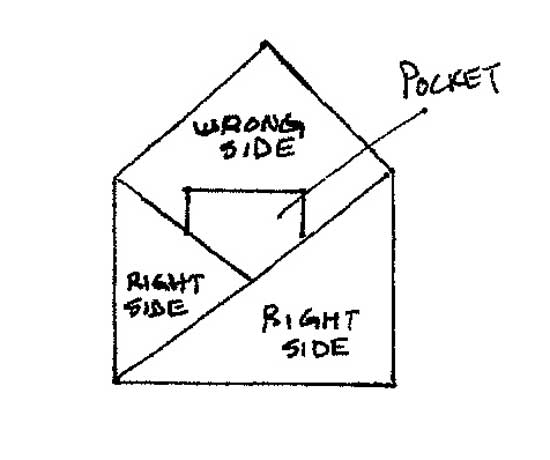
4.       Add a strap by stitching the ends to the inside of the bag, centered over the side seams.  Customize your bag by adding pockets to the inside of the bag before assembling.

Sunday
Oct032010

Bag of the Week 39

Rooster Toile

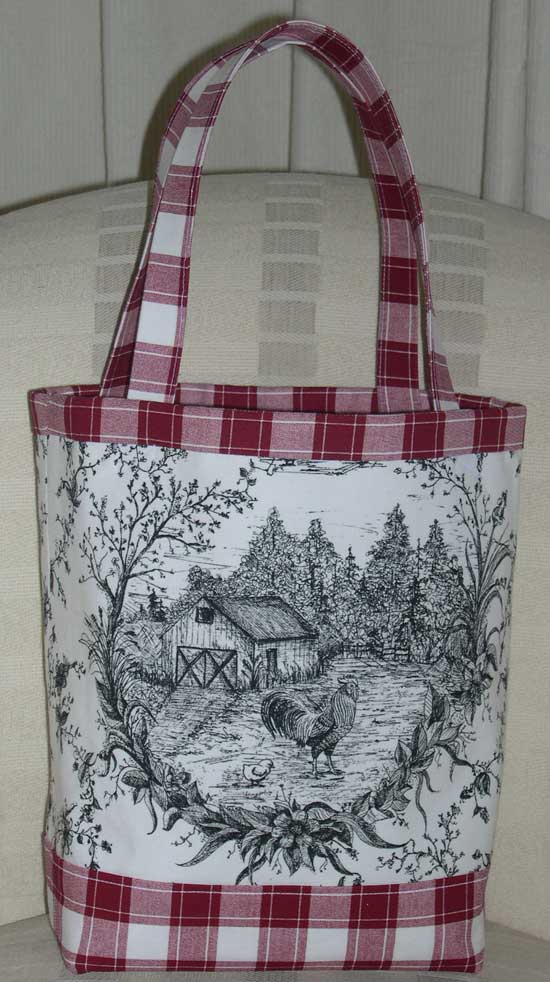
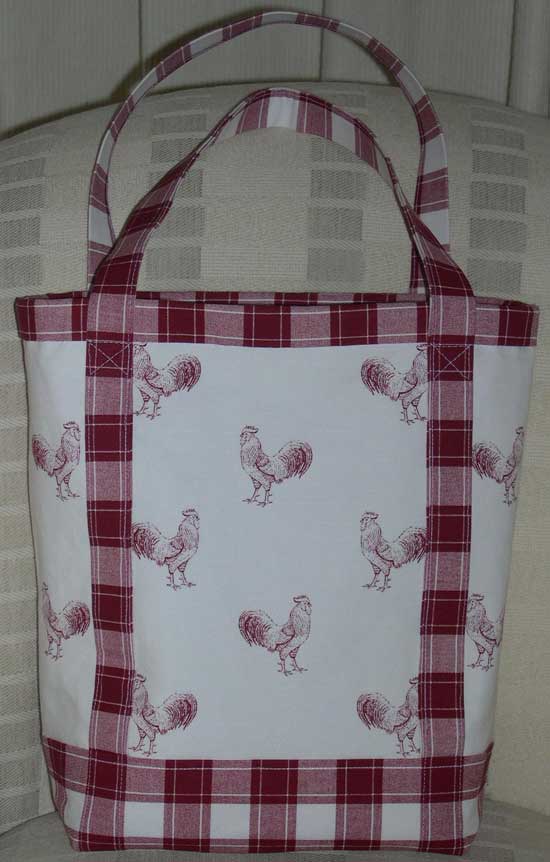
For this week’s offering I am pulling out an old picture of a tote bag I made and donated to a silent auction.  The bag is a simple rectangular tote that I made fully reversible.  One side features a black and white toile farm scene complete with a rooster.  The reverse side features a red and white rooster print.  I used a matching red buffalo plaid as the top edge, bottom and straps.

Sunday
Sep192010

Bag of the Week 37

Kimono Tote

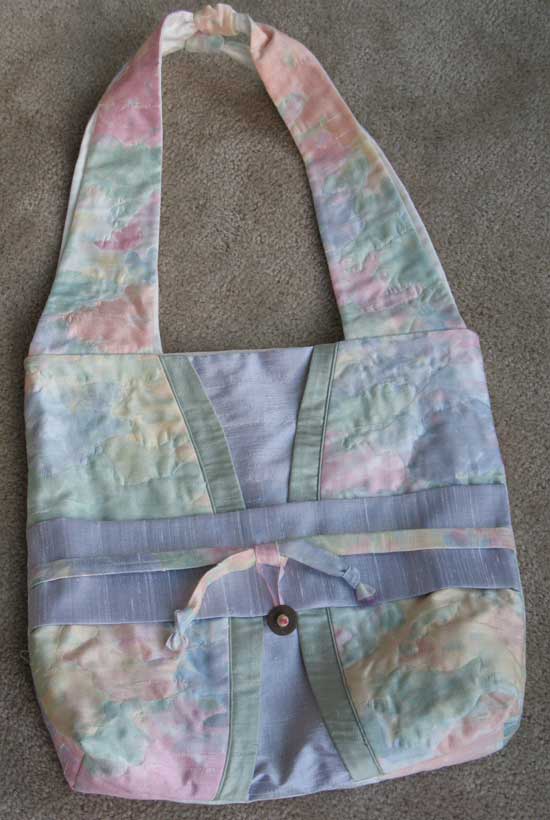
This beautiful bag was designed by Nancy Shriber who specializes in sashiko quilting with a contemporary feel.  I have taken many classes from Nancy and she is one of the most gifted and inspiring teachers I know.  She has been featured in Threads magazine and lectures and teaches around the country.  This pattern, described as a tote bag inspired by a traditional Japanese Kimono, is part of her Garment Series line.  I chose a lovely watercolor-inspired fabric for my bag and accented it with contrasting silk dupioni.  The band around the center mimics an obi, and I accented it with a Chinese coin.  I also machine quilted the base fabric, following the natural color pattern of the fabric.  I made this bag for a silent auction several years ago.