Bag of the Week 50
Folded Quilted Tote Bag
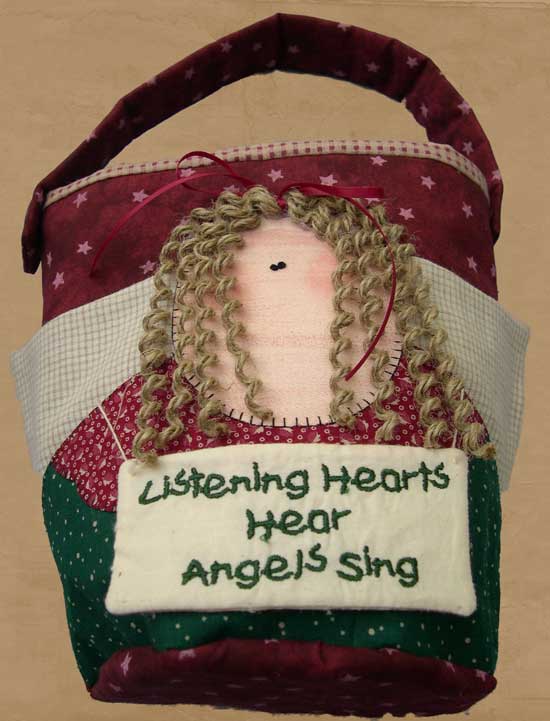
Many years ago (before I had kids) I used to attend a sewing retreat with the Richmond Chapter of the American Sewing Guild at Holiday Lake 4H Camp in Appomattox, VA. Our sewing space was a lovely lakeside cabin with beautiful views. I met so many nice people at those retreats, and one year I watched as a number of the ladies made this fantastic tote bag. I went home and made one for my mom out of fabrics I had in my stash.
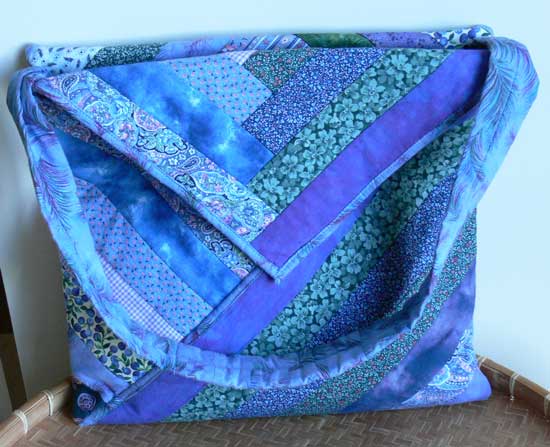
This bag is terribly difficult to photograph – it has lots of nooks and crannies that are just impossible to show properly. In the photo above there is a pocket underneath the triangular flap and an identical one on the opposite side of the bag. In addition, in the center of the bag (between the top folded edges is another pocket. PLUS I added a zippered pocket on one inside wall. This bag starts out as a flat square, 31” in this case, which is then folded and stitched into the tote you see. It is a fun and easy project. Below are instructions for folding your finished square into the bag. You can make your square in any method you choose. My sample is strip-pieced onto a solid fabric foundation (with a thin layer of batting between) and the edges bound. You can also use whole cloth for both sides and either bind the edges or stitch right sides together and turn.
1. Fold square diagonally with right sides together to form a triangle.
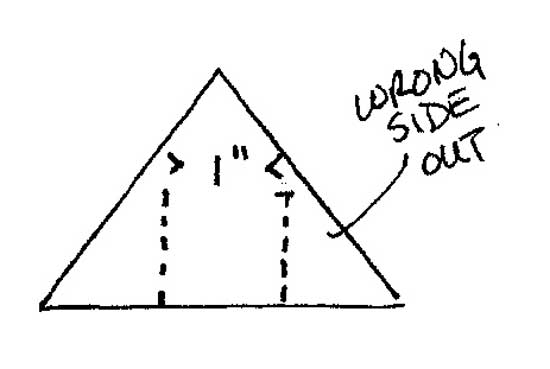 2. Measure along the folded edge, divide this length into thirds and mark. Beginning at the folded edge, draw a perpendicular line at these points stopping 1 inch from the top of the triangle. Stitch along these lines, backtacking well at the top.
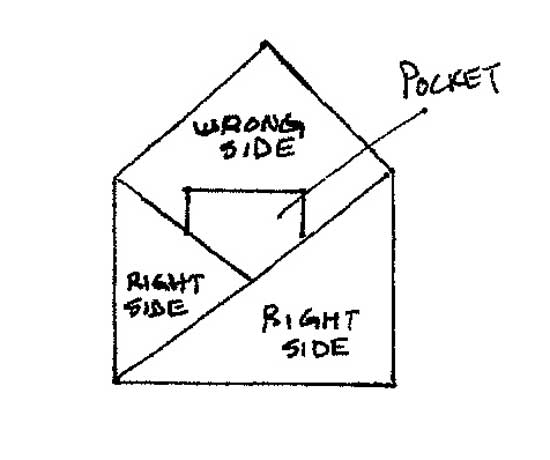
3. Turn the side points to the outside of the bag along the stitching line – they will overlap and form a pocket on each side. Stitch the two layers together where they overlap.
 4. Add a strap by stitching the ends to the inside of the bag, centered over the side seams. Customize your bag by adding pockets to the inside of the bag before assembling.
 Bag of the Week, purses, quilting, sewing