


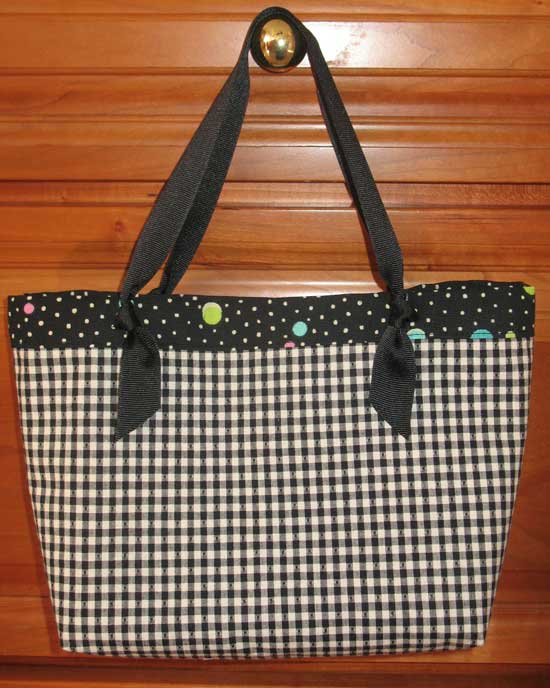
Ribbon Handled Bag
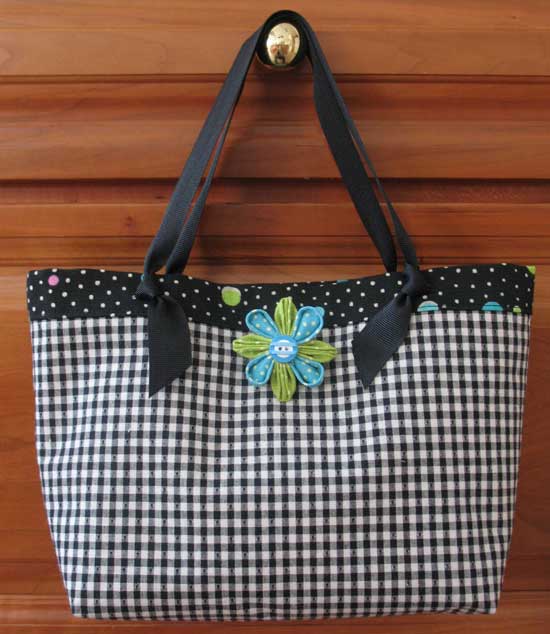
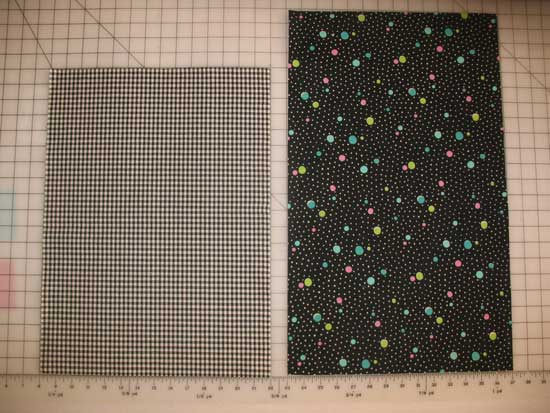
You can make this bag any size you want. The trick is to cut the lining fabric 4” longer and the same width as the outer fabric. I will give the dimensions of the bag I created which is on the small side, great for carrying lunch, a handwork project or a journal and pen.
Cut outer fabric 14” x 19”
Cut Lining Fabric 14” x 23”
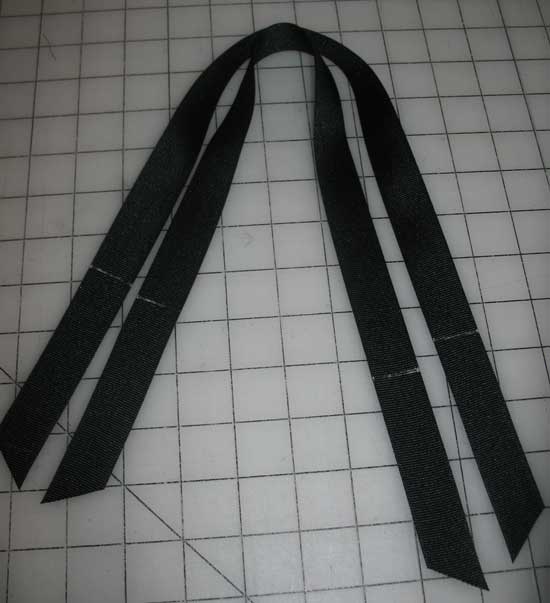
For handles use 1-1/4 yard of 1” grosgrain ribbon. Cut this length in half for two handles.
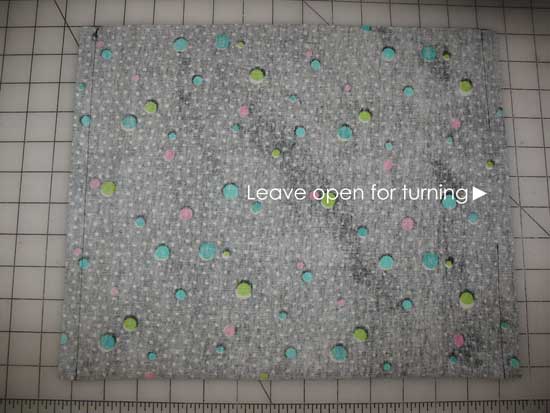
Fold outer fabric in half matching the 14” ends, right sides together. Pin along the sides and stitch ½” from the cut edge of the fabric. Repeat for the lining fabric, leaving a 4” opening in one side for turning.
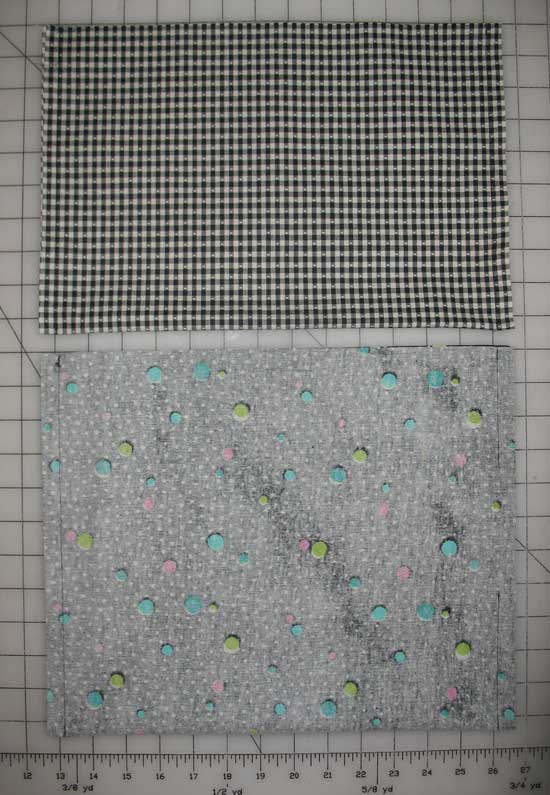
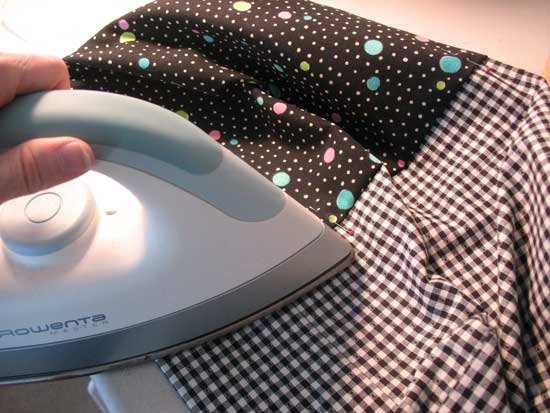
Press the seams flat and then open. A point presser makes this easier.
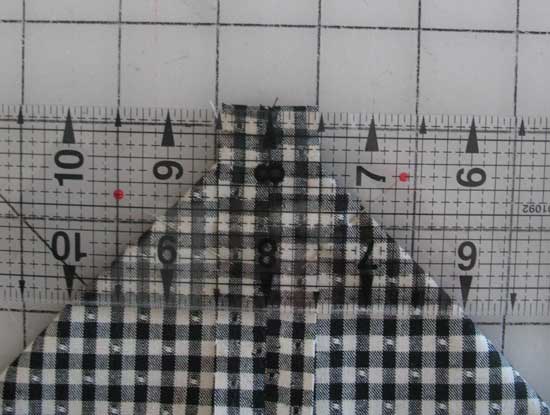
Fold the lower corners of the bag into a triangular shape making a box bottom and matching the side seam with the fold at the bottom of the bag. Sew across the triangle 2” from the point. Repeat on both sides of each fabric piece.
Turn the outer fabric right side out but leave the lining fabric inside out. Make sure you poke out the lower corners of the outer bag. Drop the outer fabric bag inside the lining fabric bag with the right sides of each piece facing each other. Match the side seams on the two bags and align the top cut edges of the fabric. Pin along the entire upper edge.
Sew completely around the upper edge of the bag 1” from the cut edge of the fabric.
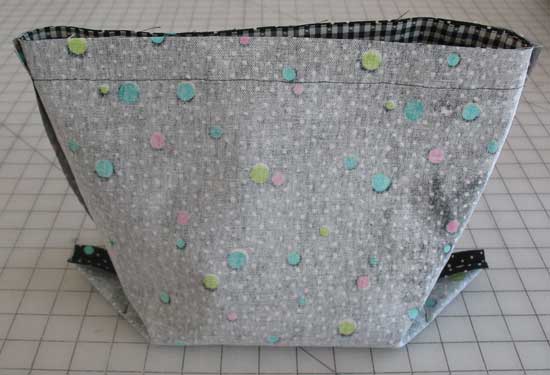
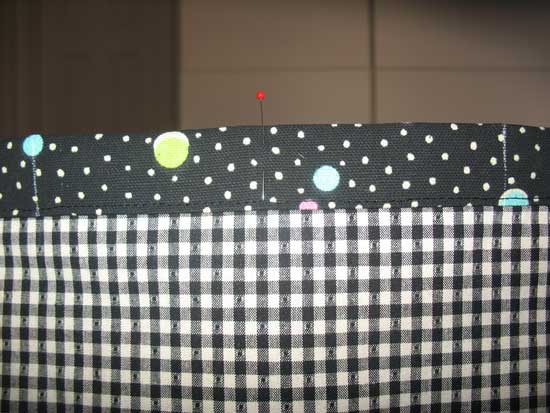
Turn the bag right side out through the opening in the lining. Reach through the opening and finger press the 1” seam allowance toward the lining half of the bag. Press the seam where the two fabric layers join with an iron.
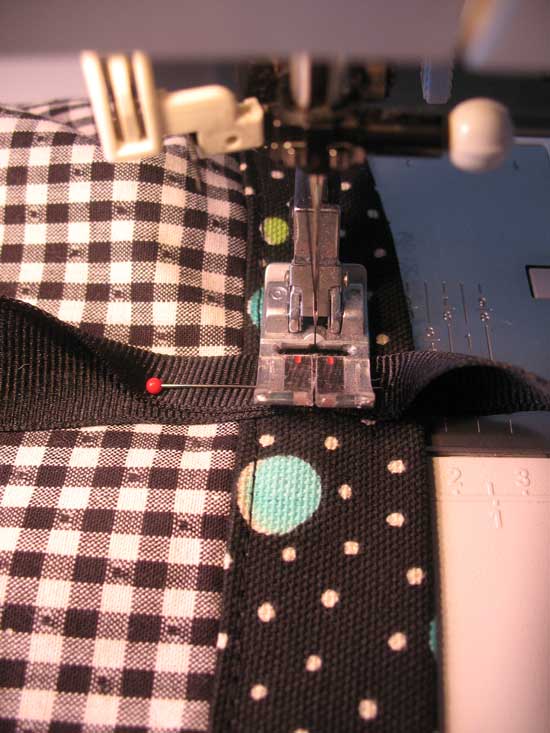
Push the lining fabric into the bag allowing the top 1” to fold over the top seam allowance. Edgestitch along the fold of the lining fabric (or stitch in the ditch if you prefer).

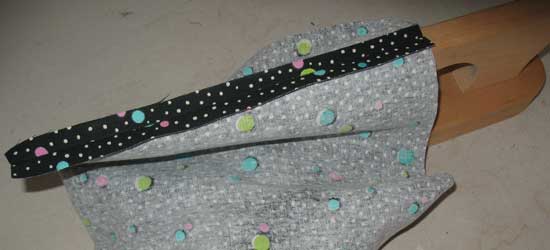
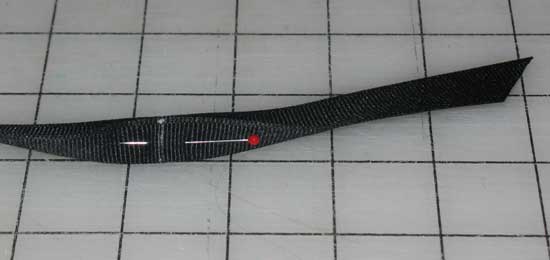
For the handles mark approximately 3” on either side of the center of the top edge of the bag on both the front and back of the bag. Mark the ribbon 4 “down from each cut end and fold the ribbon in half lengthwise at this point.
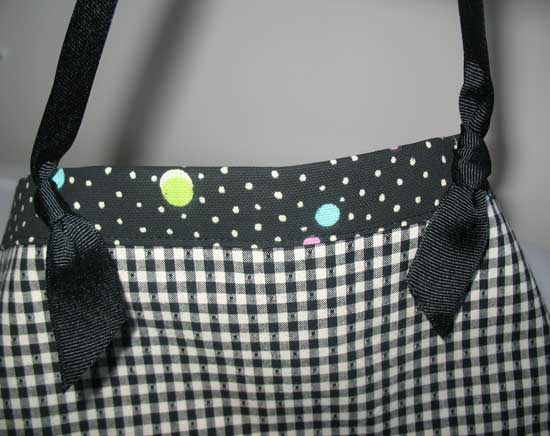
Sew the ribbon to the bag at the marks you made 3” on either side of the center front and back having the ribbon folded in half as you sew.
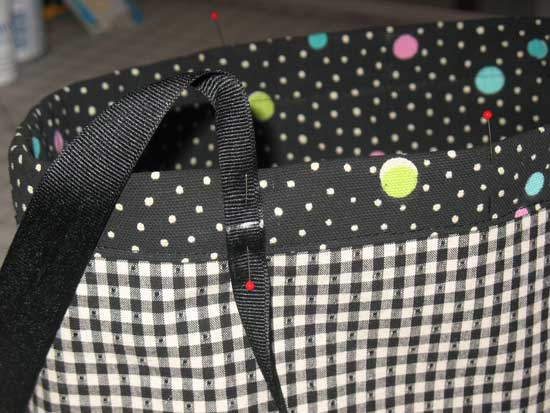
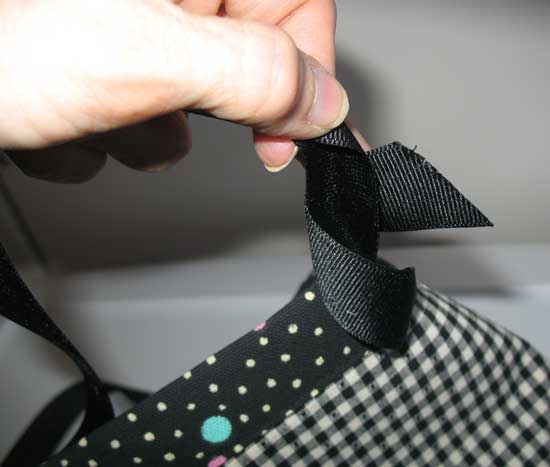
Use the free end of the ribbon to tie a knot over the attached ribbon and leave end hanging.
For details on the kanzashi flower I used on this bag see my post Love in Bloom.
 Julie Bowersett
Reader Comments (1)
Julie - The details to make your bag are easy to understand, very helpful and inspiring. You have a wonderful ability to teach and tell your story well! I really am enjoying your blog. Pat (from your blogging class)