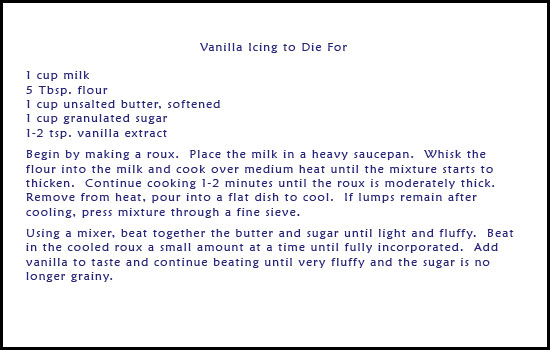
Julie Bowersett

juliebowersett{at}gmail{dot}com
Navigation
Search
Categories

Blog Writing Course Alumni

From Guide to Art Schools

CraftGossip

Entries in icing (3)

Saturday
Nov262011

Icing to die for

I've got a pile of projects that need to be photographed so I can write posts about them.  But that will have to wait until the sun is up again, so tonight I'm going to share with you an icing recipe I discovered this fall and used for my oldest son's birthday cupcakes.

First I should start by telling you that I don't typically like icing.  When I was a teenager I liked to decorate cakes and had my fill of buttercream frosting.  Most often when served a slice of cake or a cupcake, I will scrape the icing off and eat the cake.  The one exception to this is Italian Meringue Buttercream Frosting like I used on my wedding cupcakes.  But this icing is a lot of work and would surely be wasted on a bunch of 4- and 5-year-olds.  So I went looking for another icing recipe.  What I found surprised me.

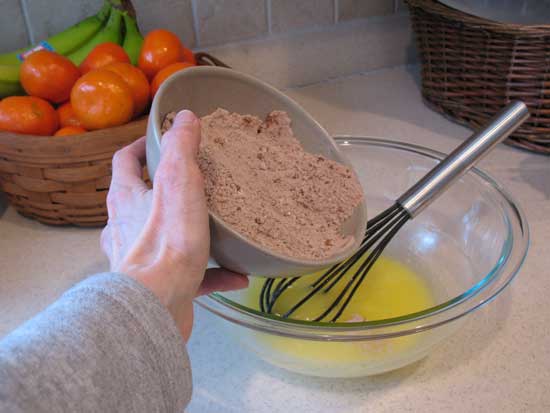
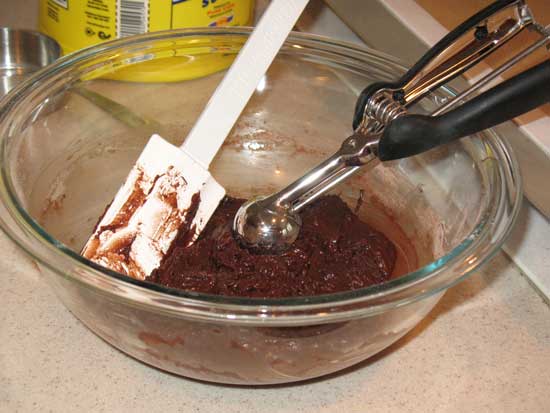
This recipe is unusual because you begin by cooking a roux from flour and milk.   One of the things I like about the meringue icing is that it uses a sugar syrup made from white sugar instead of confectioners sugar which I don't like the taste of.  The recipe I found also uses white sugar.  The original recipe I started with can be found at this link, but it is buried in a lot of comments so I have rewritten it for you here.

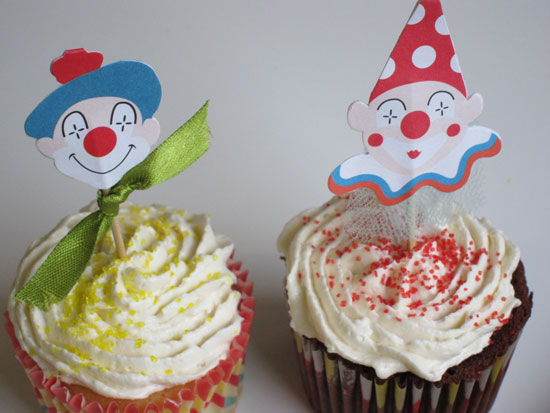
The texture of this icing is almost like whipped cream (there is a grocery store chain in my area that makes a whipped cream frosting for their cakes and this icing is a lot like that).  It is not overly sweet but has the rich taste of butter.  I used a boxed mix for the cupcakes (my favorite is Duncan Hines Moist Deluxe Classic Yellow Cake and Moist Deluxe Devil's Food Cake) and piped the icing on in a swirl pattern using Pampered Chef's Easy Accent Decorator (like a pastry bag with a trigger).  The clown toppers came from Meri Meri.  The cupcakes were a big hit at the party, mostly with the grown-ups (one of my friends ate 4!)

This will be my go-to icing recipe from now on.  It is easy to make, most of the ingredients are always in my pantry and fridge, and the taste and texture are outstanding.  I think next time I make this I will use salted butter as I thought the flavor might be improved a bit with some salt.

Hope you enjoy this.  Some day I will dig out the pictures of my amateur cake decorating from my youth and we can all have a really good laugh.

Wednesday
Dec222010

Christmas Cookies

This was my last big project before Christmas (if I don’t count all of the wrapping I still have left to do).  I wanted to make my boys’ friends at school a little gift.  Last year I made embroidered bag toppers filled with M&Ms.  This year I decided to make cookies and give each child one packaged in an attractive way.  I am not going to go into any detail about baking or decorating the cookies.  There are lots of great sites that can do that much better than I (two that come to mind are Sweet and Bake at 350).  I do want to tell you about two products I used during this project and about how I packaged the cookies. 

I was really in a time crunch by the time these cookies rose to the top of my to-do list so I decided to take a short cut and I am really glad I did.  I used Trader Joe’s fabulous DIY (Decorate It Yourself) Cookie Mix.  This was a truly inspired idea.  TJ packaged together everything you need to make a batch of Christmas cookies:  cookie dough mix, icing, decorating sugar and even the cookie cutters.  All for $3.99.  I wish I had bought a bunch of these as little holiday gifts.  (Note:  I went back today to buy more and they had been marked down to $0.99!  Unfortunately, one of the store employees told me that this was not a popular item and probably won’t be coming back next year.)  You add softened butter and 1 egg to the dough mix and that’s it.  They taste fabulous.  I made my own batch of royal icing and stirred in the icing from TJs.  This icing looks pretty and is easy to use but doesn't taste like anything but sugar.  I piped the icing around the edges and then filled in with a thinned down version of the same icing.  Sprinkles finished them off.

The other product which contributed to the success of my cookies was a nifty little kitchen gadget I purchased from King Arthur Flour called Rolling Pin Rings.  You slip a pair of these rubber rings onto the end of your rolling pin and roll out dough of a uniform thickness.  No more thin edges on your cookies which burn when you bake them.  These things work great and fit a variety of rolling pin sizes.  I love them.

Once I had finished the cookies I had to package them.  I used paper CD sleeves (the kind with the clear plastic window on the front) and gussied them up a bit with some paper tape and a holiday-themed brad.  I slipped one cookie in and sealed the back with a sticker.  I added another sticker with a Merry Christmas message and my child’s name.  I think these look cute and were really easy to make but here is what I would do differently next time.  I would put a piece of greaseproof paper under the cookie because the grease stained the back of the CD envelope.  This made it difficult to keep the sticker on that sealed the top.  Also, the hardest part was putting the brads on and next time I would just use a sticker.

I hope this gives you some ideas about gift giving for next year.  Change the cookie theme and you could use these for a birthday party favor or even for a wedding.

Monday
Mar082010

Making Whoopie Pies

When my oldest son finally went back to school after weeks off due to snow his class had a Valentine’s Day party and they decorated cookies.  Being the Martha Stewart wanna-be that I am, I made homemade buttercream icing for the event (which, I realize, was totally wasted on three-year-olds).  Afterwards I had quite a bit left over and wanted to make some confection that I could use it on.  I found this recipe for mini whoopie pies and decided to give it a try.  The cake portion of the recipe is low in fat, a good foil for the loaded-with-fat icing.

For those unfamiliar with the Whoopie Pie, these cake-like chocolate confections filled with vanilla cream originated in the 1920s.  The first versions probably came from the Amish though they quickly spread north and Maine also likes to claim these treats as their own.  My version is not authentic since the original filling was made with Marshmallow Fluff but it was a delicious way to use up some extra icing.

Here are the ingredients you will need for the cake portion.

Adding the dry ingredients to the wet.

The completed batter.  The recipe calls for rolling out the dough into balls and flattening with a glass.  My batter was far too moist to roll out so I used a cookie scoop which made nice uniform cakes.

After baking.  Make sure you don’t overbake these.  The ones I baked for four minutes were much better than the ones I baked for six which were, frankly, dry.


The finished product.

These were so good I had to “hide” them in the freezer so I wouldn’t eat them!