Julie Bowersett

juliebowersett{at}gmail{dot}com
Navigation
Search
Categories

Blog Writing Course Alumni

From Guide to Art Schools

CraftGossip

Entries in Christmas (8)

Sunday
Dec012013

Have Yourself a Retro Little Christmas: Medicine Cup Kissing Ball

I can't decide which side of the divide this post will fall, retro cool or super square.  Regardless, I decided to recreate a favorite Christmas decoration from my childhood, the medicine cup kissing ball.  I'll be curious to see how many of my readers remember these.  The one my mother unwrapped from tissue paper every December and hung in our front hallway had Christmas-green glitter and plastic mistletoe.  I've changed a few things on mine to update an old classic just a bit.

One of the reasons I love reading craft blog DIY posts is that someone else has gone through all of the trial and error for me.  This project had quite a bit of both trial and error.  I hope you will take advantage of my experience if you decide to make one of these for yourself.  You aren't likely to find any help elsewhere.  A thorough internet search turned up essentially nothing on the subject of medicine cup kissing balls with the exception of one or two posts asking if anyone remembered them.  As I have noted before, when I run across a topic that seems to be missing from the interwebs I like to cover it, since I know I am not the only person out there looking for information.

You can find the instructions over in my Tutorial section or by clicking here.  I hope you enjoyed this walk down memory lane.  I would love to hear if any of you remember these icons or perhaps still own one.  I hope you are busy making your own memories this holiday season.

Saturday
Jan052013

A New Year

I don't think I've ever taken such a long break from blogging.  Christmas time came and went at my house and, though I completed lots of projects, I hadn't the time to get them posted here.  At least one will have to wait until next year, but I've got the tutorial mostly written so I'll be able to get off to an early start.  Christmas with a four- and six-year-old in the house was pretty exciting and busy.  Here is our Christmas card from this year.

It only took about 300 tries to get one shot with all four of us looking at the camera (sort of).

I was busy in my kitchen this year, making some little goodies for friends.  I tried a recipe from Food and Wine magazine for homemade Mulling Spices.  I tried them out myself over the New Year's weekend and they have a much more complex flavor than any I have ever purchased.  I dried the orange slices in my oven

mixed them with other spices

and then packaged them in paper tea bags tied with kitchen twine.

I packaged them up in glassine bags with a tag printed with instructions for use.

I also made Chai Latte lollipops, based on the recipe from Liddabit Sweets Candy Cookbook.  I modified their recipe to suit my own needs by using chai latte mix stirred into a basic sugar lollipop.

I packaged up the lollipops and mulling spices in white bags with some little paper flowers I made which I think conjur up a poinsettia.

Here's how I did these.  I cut three layers from red kraft paper (have I mentioned how much I love kraft paper?) using a die to cut the two larger ones and paper punch to cut the smallest.  I then gave each layer a little dimension by creasing the petals.  Then it was assembly line time.

I glued the three layers together with white glue

then glued three gold beads in the center using Jewel It glue.

The last step was to glue a mini clothespin on the back of each one.  I made about two dozen of these, all told, and used them to adorn all sorts of packages.

Last year I posted that I wanted to sew more garments in 2012 and also spend a little time each day doing some hand stitching.  And, while I don't think I accomplished that every day, I did do an awful lot of hand work last year.  I think I could still sew more garments, but the ones I have been making have been very time consuming.  Combining those two goals, I completed my Alabama Chanin blue dress and have been trying to find the time (and warm weather) to take some pictures.  I promise those very soon.  My blog is now three years old and I hope to add lots of interesting projects to the pages this year.  I hope you'll check back often.

Tuesday
Dec202011

Christmas at My House

First, I have to confess that I have not felt like fully embracing all of the Christmas hustle and bustle this year.  I’ve been slow to get my decorations up, and I’ve taken a minimalist approach to the ones I have put up.  I haven’t stayed up all night trying to get handmade gifts made.  And I’ve barely done any baking.  But I have enjoyed doing the few things I have done and enjoyed even more the slower approach this year.  Also, while taking pictures in preparation for writing this post I realized that I got more done than I thought.  So, here is my Christmas in review, with commentary.

GIFTS

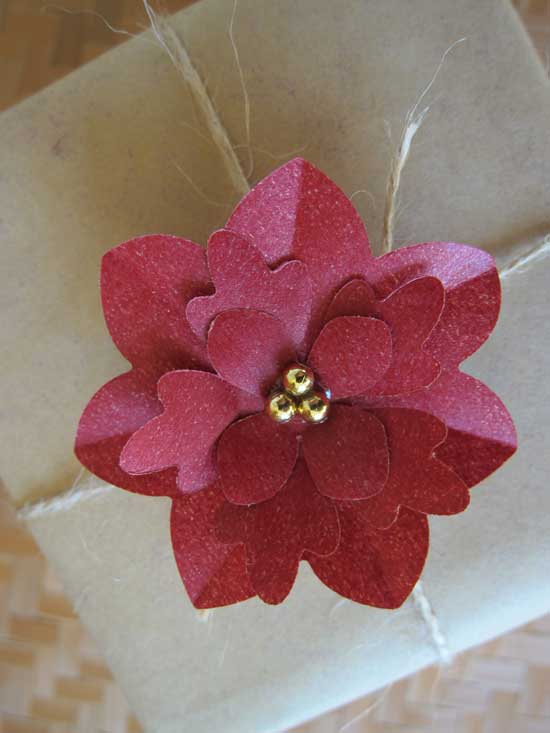
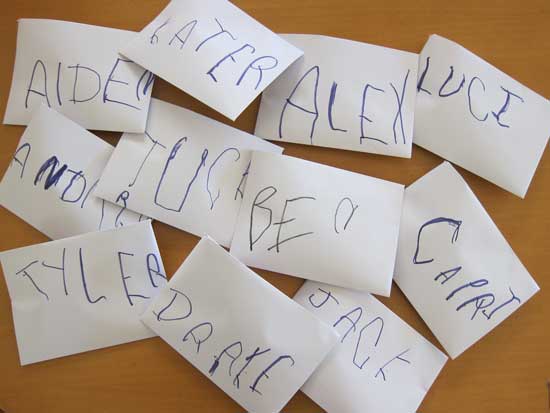
I stitched up a bunch of Nugget Holders (they each hold a Hershey’s Nugget candy bar) designed by Reen from Embroidery Garden.   I added a hanging loop of monofilament. These stitched up really fast and I used them as little gifts for my boys’ classmates.

I enlisted the help of my five-year-old to address the envelopes.

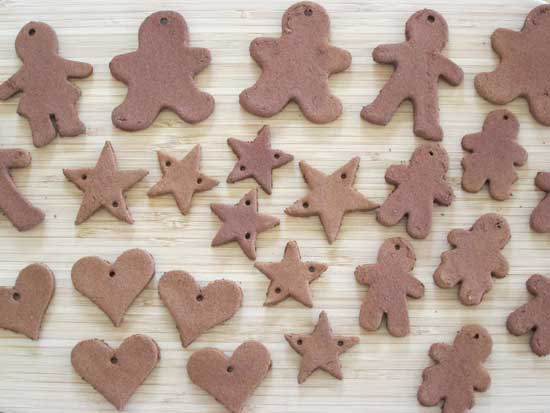
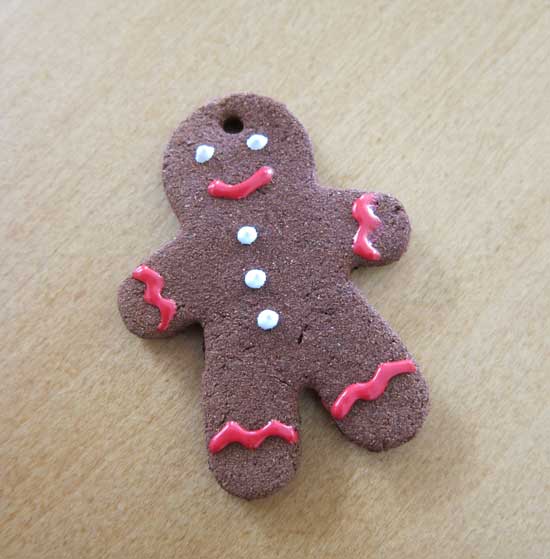
My son and I also made some cinnamon ornaments to give as gifts.  He attends two different school programs and one of them spent the month of December reading different versions of The Gingerbread Man story.  So we made some gingerbread men for his teachers.  We painted features on them with Puffy Paint. 

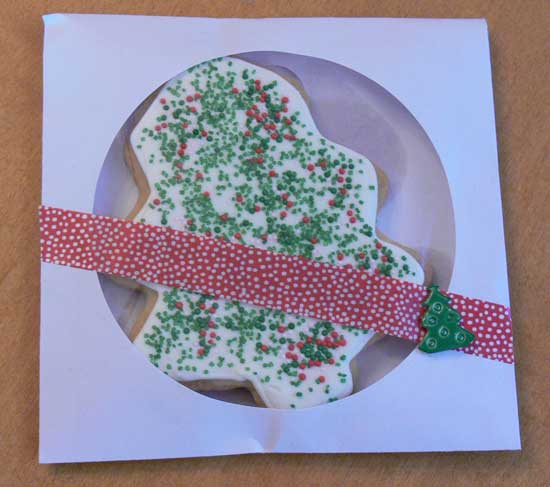
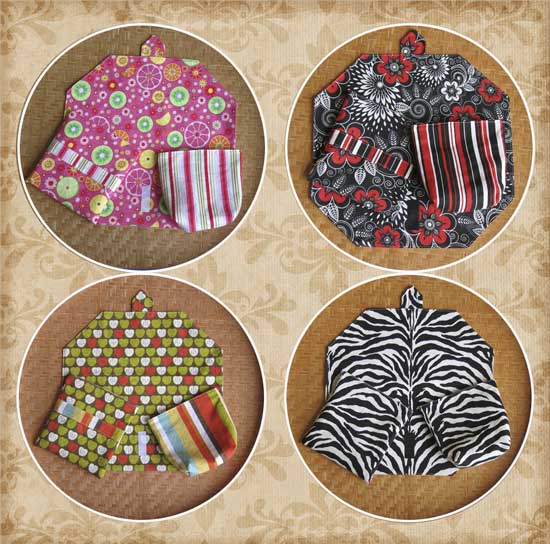
I also made Christmas gifts for both boys’ teachers.

BAKING

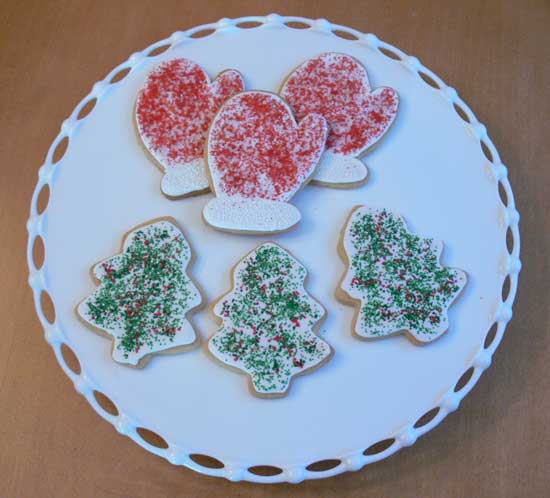
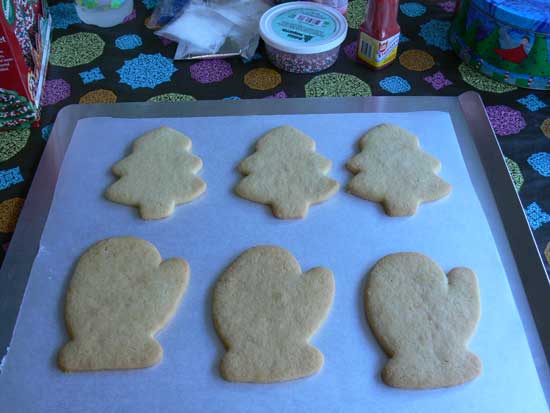
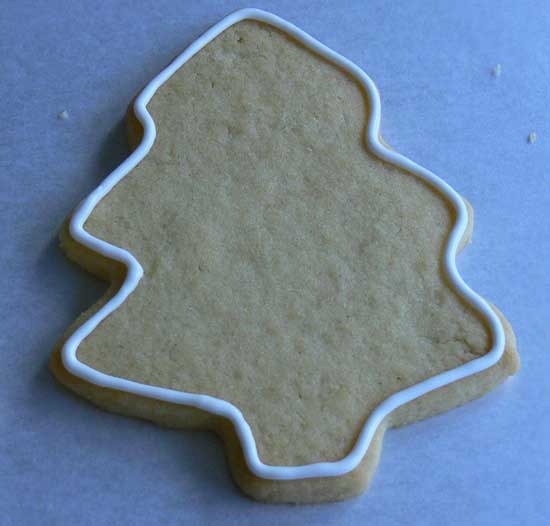
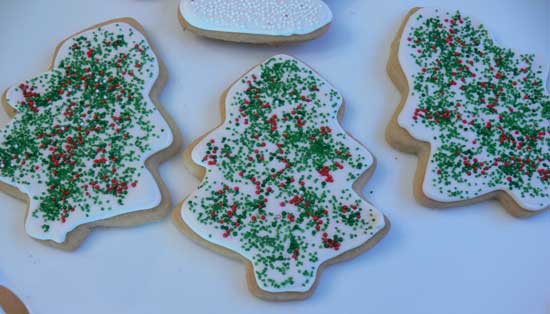
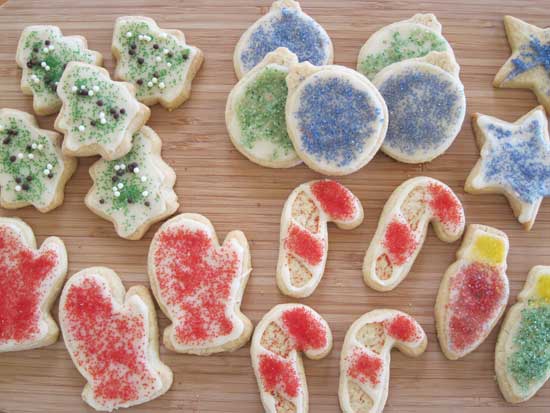
The only baking I did this year were some sugar cookies.  I found the cookie mix that I LOVE from Trader Joe’s again this year (you can read this post where I wax poetic about this mix from last year).  I used the icing and colored sugar included with the mix to shortcut the entire process.  And these cookies taste GOOD!

DECORATING

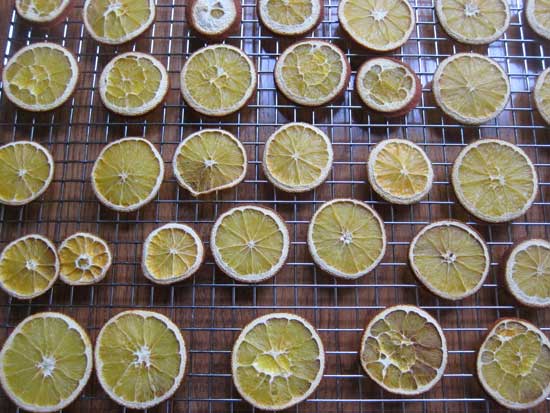
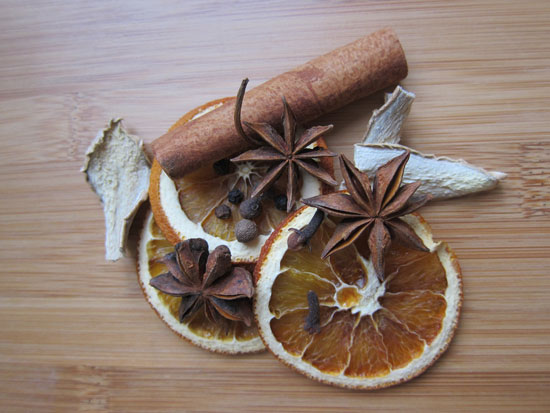
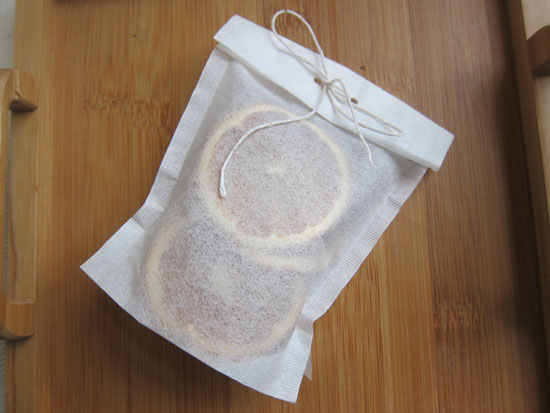
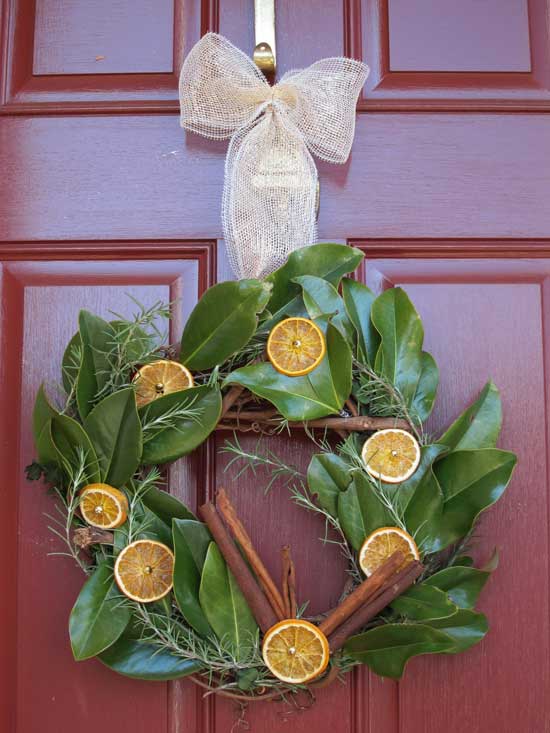
Southern Living magazine had an article in November about making Southern-inspired wreaths, and I fell in love with the one made with magnolia leaves, rosemary and dried orange slices.  I had to make my own.  The greenery gets wired to a grapevine wreath, an idea I like because after the holidays I can strip the wreath down to reuse next year.  I already had a wreath in my stash and plenty of rosemary in my garden.  I found some magnolia leaves at a nursery and ordered the orange slices on line.  To attach the oranges I strung gold beads on wire and poked them through the center hole of the orange slice.  I added some cinnamon sticks in lieu of a bow.  This thing smells heavenly.

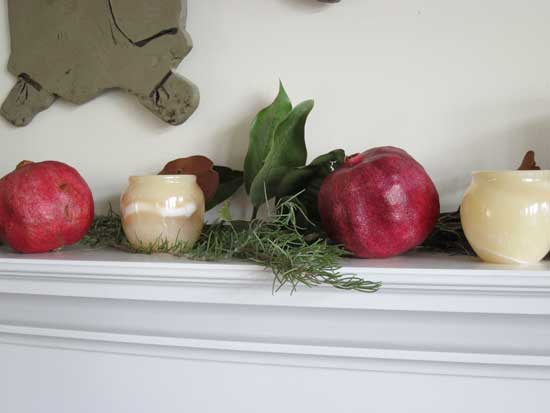
I used the leftover rosemary and magnolia leaves on my mantle along with some pomegranates and candles.  Simple.

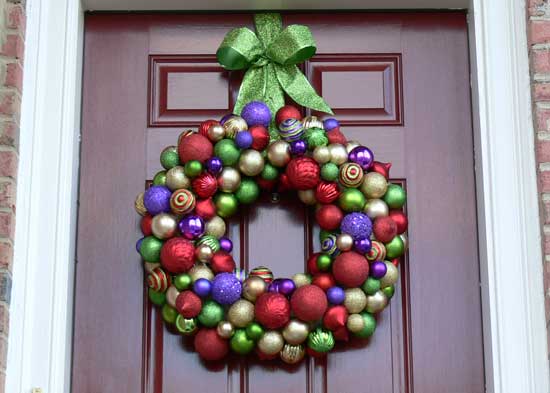
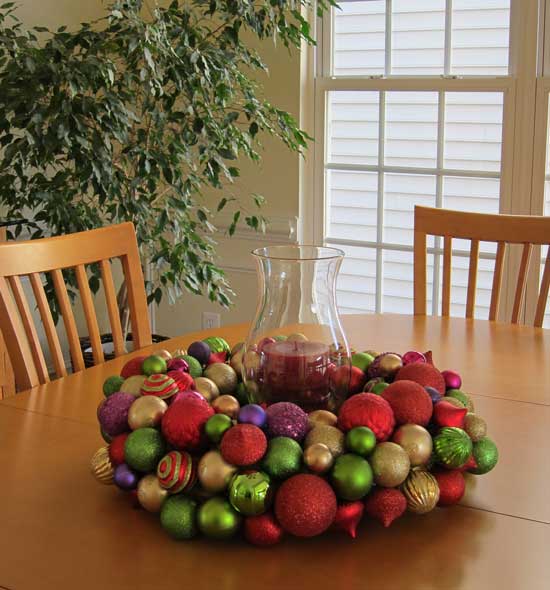
Some of you may remember the elaborate wreath I made last year and wonder why, after all of that work, I wouldn’t use it again.  Never fear.  I have repurposed it for this year, on my dining room table with my mother’s hurricane lamp and candle in the center.

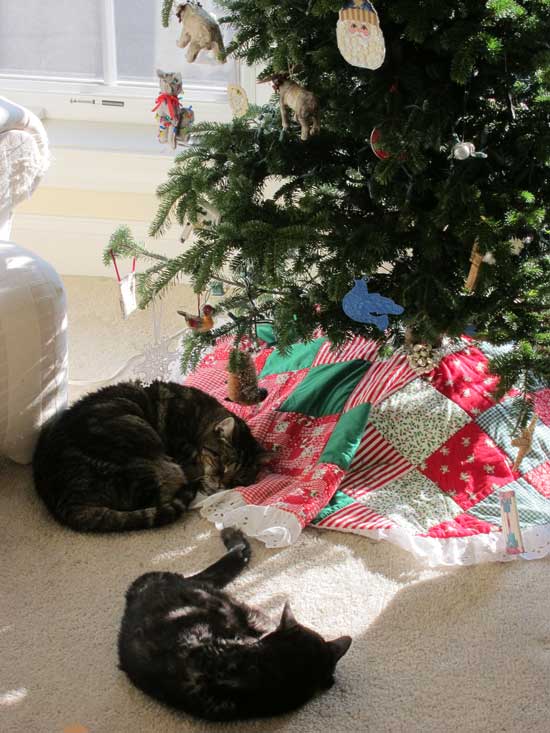
And this year I let my kids decorate the tree.  This translates into three, four, or even five ornaments hanging from the same branch but it does have a certain je ne sais quoi.  Here are my sweet old kitties sleeping in the sun under it.

FAMILY HEIRLOOMS

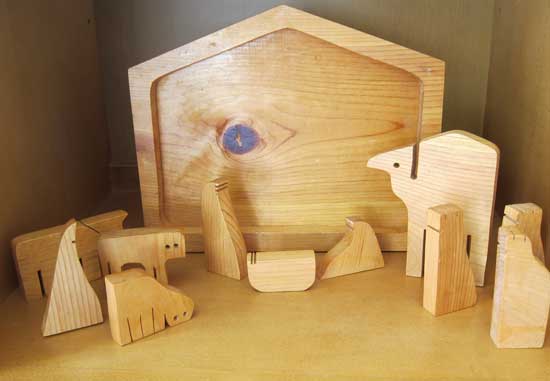
This category could go on forever, given the number of handmade ornaments on my tree and other precious items passed down to me.  But I particularly want to share two.  This is a crèche made by my dad many years ago from a pattern he found in a magazine.  The pieces fit together in the “stable” and there is even a star that is attached to the roof (which I haven’t managed to unpack yet).  I’ve loved this crèche for years and now my children are enjoying it, too.  My house is filled with things that my dad built for me, and now that he is gone they are even more precious.

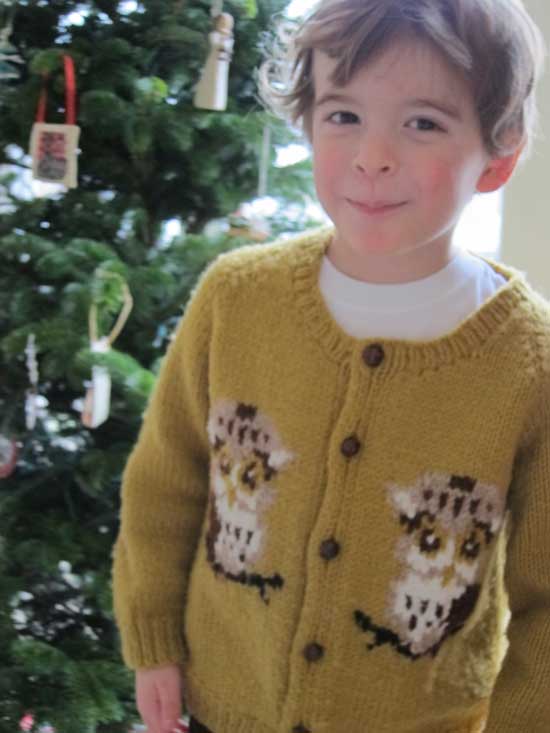
Lastly, my mom knit this sweater for me when I was a little girl.  It has been passed down to various children in my extended family throughout the years and now it is my oldest son’s turn to wear it.  He wore this when we visited Santa earlier this week, and had his picture taken in it.  Owls have a special significance in my family, and this is truly a much-loved family heirloom.

I hope each of you is enjoying your own holiday preparations and finding joy in small things this season. 

Wednesday
Dec222010

Christmas Cookies

This was my last big project before Christmas (if I don’t count all of the wrapping I still have left to do).  I wanted to make my boys’ friends at school a little gift.  Last year I made embroidered bag toppers filled with M&Ms.  This year I decided to make cookies and give each child one packaged in an attractive way.  I am not going to go into any detail about baking or decorating the cookies.  There are lots of great sites that can do that much better than I (two that come to mind are Sweet and Bake at 350).  I do want to tell you about two products I used during this project and about how I packaged the cookies. 

I was really in a time crunch by the time these cookies rose to the top of my to-do list so I decided to take a short cut and I am really glad I did.  I used Trader Joe’s fabulous DIY (Decorate It Yourself) Cookie Mix.  This was a truly inspired idea.  TJ packaged together everything you need to make a batch of Christmas cookies:  cookie dough mix, icing, decorating sugar and even the cookie cutters.  All for $3.99.  I wish I had bought a bunch of these as little holiday gifts.  (Note:  I went back today to buy more and they had been marked down to $0.99!  Unfortunately, one of the store employees told me that this was not a popular item and probably won’t be coming back next year.)  You add softened butter and 1 egg to the dough mix and that’s it.  They taste fabulous.  I made my own batch of royal icing and stirred in the icing from TJs.  This icing looks pretty and is easy to use but doesn't taste like anything but sugar.  I piped the icing around the edges and then filled in with a thinned down version of the same icing.  Sprinkles finished them off.

The other product which contributed to the success of my cookies was a nifty little kitchen gadget I purchased from King Arthur Flour called Rolling Pin Rings.  You slip a pair of these rubber rings onto the end of your rolling pin and roll out dough of a uniform thickness.  No more thin edges on your cookies which burn when you bake them.  These things work great and fit a variety of rolling pin sizes.  I love them.

Once I had finished the cookies I had to package them.  I used paper CD sleeves (the kind with the clear plastic window on the front) and gussied them up a bit with some paper tape and a holiday-themed brad.  I slipped one cookie in and sealed the back with a sticker.  I added another sticker with a Merry Christmas message and my child’s name.  I think these look cute and were really easy to make but here is what I would do differently next time.  I would put a piece of greaseproof paper under the cookie because the grease stained the back of the CD envelope.  This made it difficult to keep the sticker on that sealed the top.  Also, the hardest part was putting the brads on and next time I would just use a sticker.

I hope this gives you some ideas about gift giving for next year.  Change the cookie theme and you could use these for a birthday party favor or even for a wedding.

Tuesday
Dec072010

My Luxe (and Costly) Holiday Wreath

Every now and again a project comes along that seems like a good idea at the time but about midway through I start to wonder what I am doing.  This wreath was one of those projects.

The idea came from my sister, actually my sister’s son-in-law’s sister (got that?) who brought the supplies to make one of these when she came for Thanksgiving.  My sister said it was turning out really cute but more bulbs were going to be needed to finish it. 

I thought I would try to make one myself.  I started with an 18” straw wreath form (from the local craft chain), some plastic Christmas ornaments of various sizes and colors and some floral pins.  Seemed simple enough.

I pushed the floral pins through the bulb hanger into the wreath.  For a while things went fine but after the wreath filled up with bulbs it was pretty difficult to fill the remaining holes without popping off some of the already-placed bulbs.  Plus, this took A LOT of bulbs.  I thought I was forewarned with what my sister told me and bought many more bulbs than I thought I would need.  I still had to go back for more.  TWICE .  Also, using the floral pins meant the bulbs could shift around a bit and things were pretty unstable until the very end (not to mention the blister on my finger from pushing them in).  Eventually I pulled out my glue gun, secured a few bulbs to the wreath form and each other and glued smaller bulbs in place to hide the remaining holes.

I think this wreath turned out beautifully but it definitely took more time, money and effort than I thought it would.  It also weighs a ton.  My sister had suggested that a wreath like this could be used on the front door one year, hanging inside one year and as a centerpiece another year (my mom’s hurricane lamp would look great in the center). 

In the end I used over 120 large/medium sized bulbs and another 30 small bulbs.  I spent well over $50 for the bulbs and another $15 for the other supplies.  Here is what I learned from this project and what I would suggest if you want to make your own:

  1. Use a 12” wreath form.  18” is really too big.  By the time you place all of the ornaments, the wreath weighs a lot.  Plus you will use fewer bulbs with the smaller size.  The finished wreath will end up much bigger than the underlying form.  Mine grew to almost 26” across.
  2. Buy your floral pins at Walmart.  I bought my first batch from the local craft store and paid $3 for a box of 50 (I bought two).  When I needed more I checked Walmart and found packs of 100 pins for $1.
  3. Shop around for ornament selection.  I bought my bulbs at both Target and Walmart.  If you are willing to be flexible with your bulb color, Target had sets of 8 bulbs for $1.  $15 would buy you enough bulbs for this project, but they will all be the same size, and the color selection is limited.  Or do as another friend suggested and pick up ornaments on sale after the holidays and plan ahead for next year.

My wreath is hung, the blister on my finger is healing and I am already forgetting about the troubles I had.  All's well that ends well.

I'm sharing today over at Today's Creative Blog and their Get Your Craft On feature.  Lots of great ideas over there.