Woodland Nature Clip Ornament Tutorial

Collect your materials and grab your glue gun, and in 15 minutes you will have a lovely gift topper that can then be clipped onto a Christmas tree as a decoration.
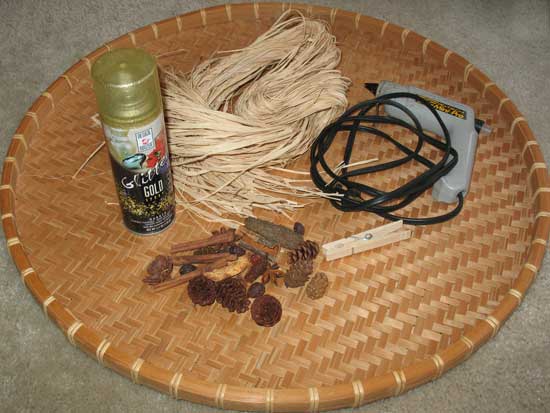
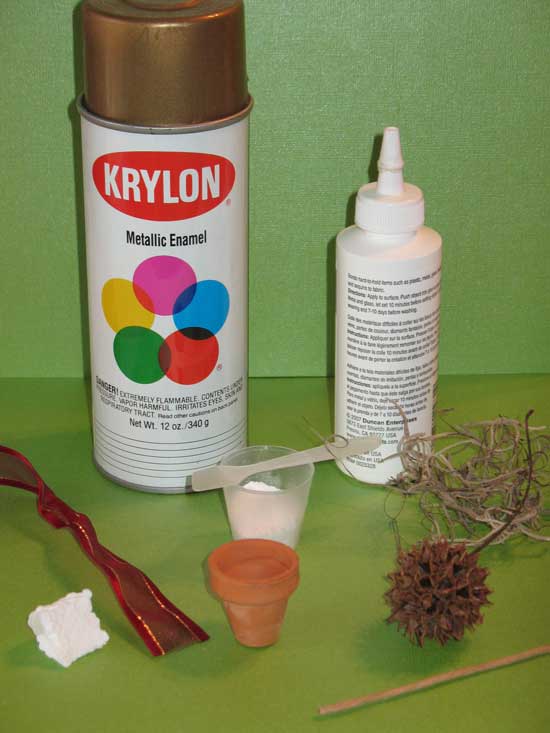
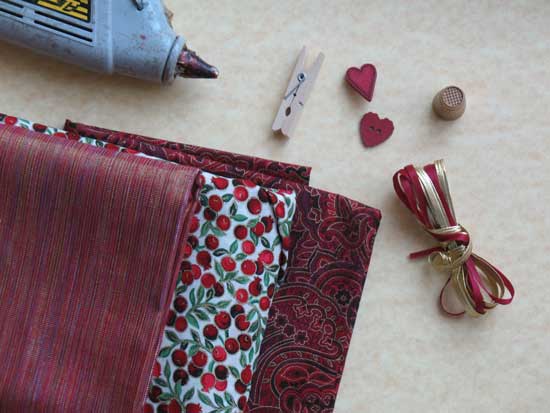
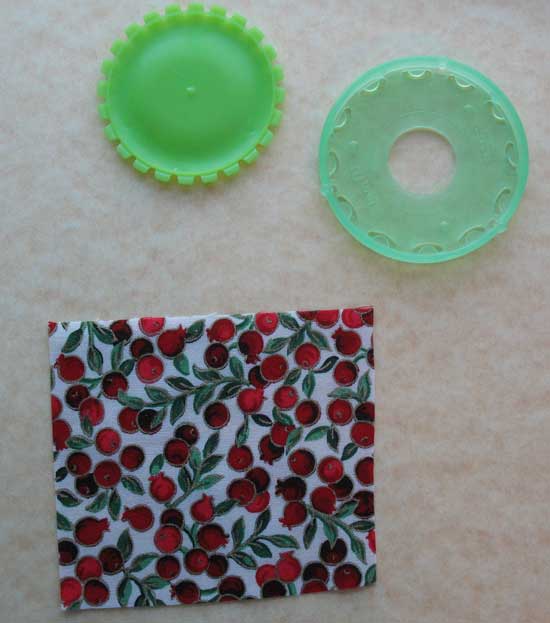
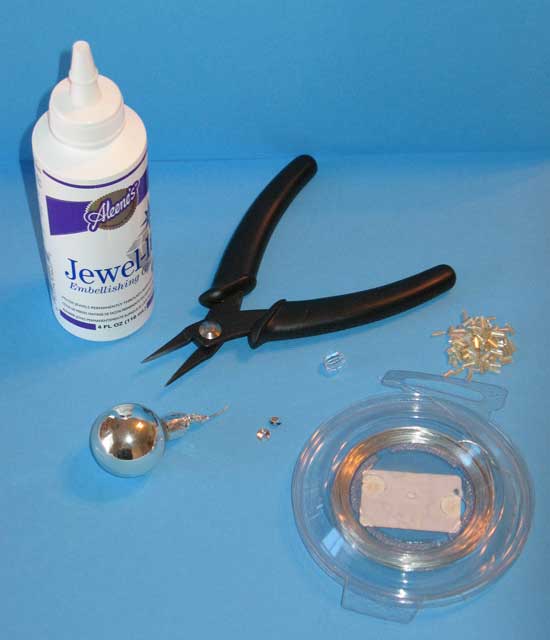
Materials:
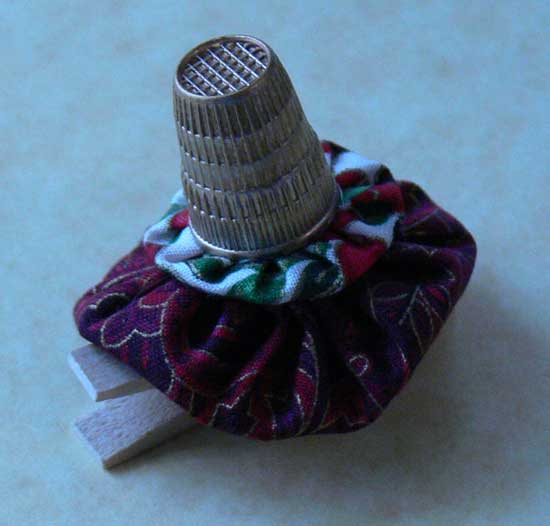
- large clothespin
- natural colored raffia
- small cinnamon sticks
- assorted dried naturals such as tiny pinecones, star anise, dried citrus peel, rose hips, etc. (collect your own or purchase a box of chunky potpourri and use the various components)
- glue gun with glue sticks
- gold glitter spray (optional)
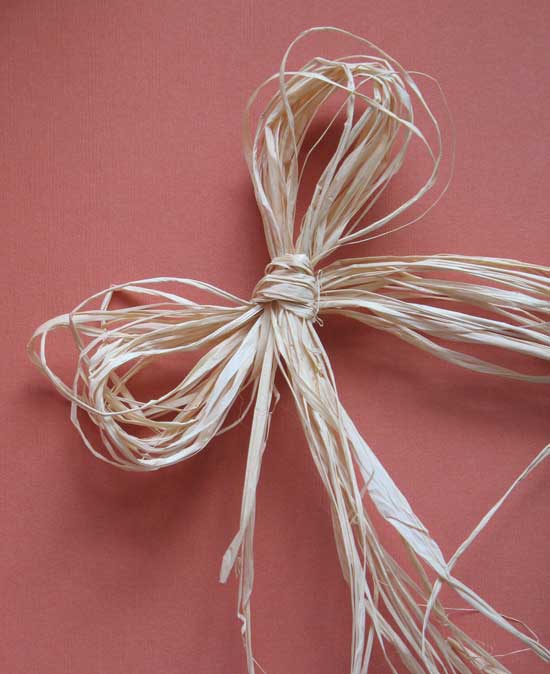
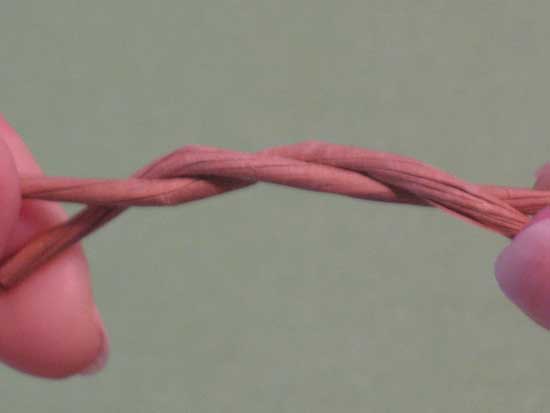
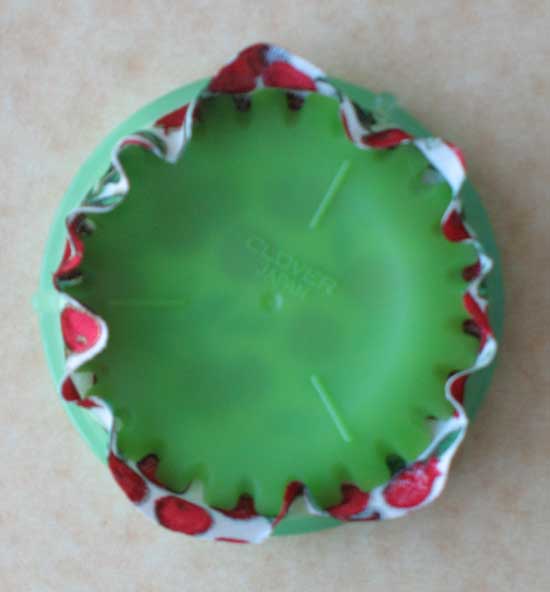
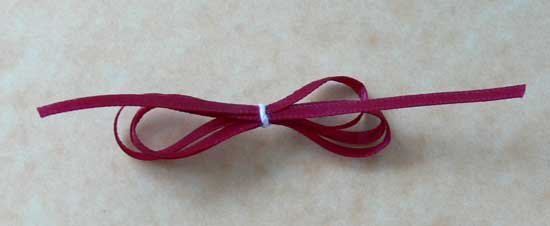
Begin by tying the raffia into a soft, loose bow. You will trim the ends to the desired length later.
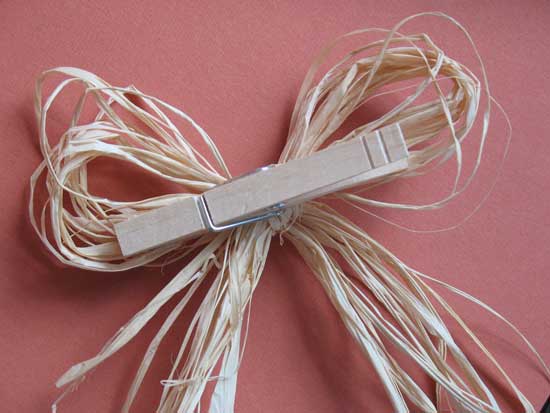
Securely glue the bow to the clothespin.
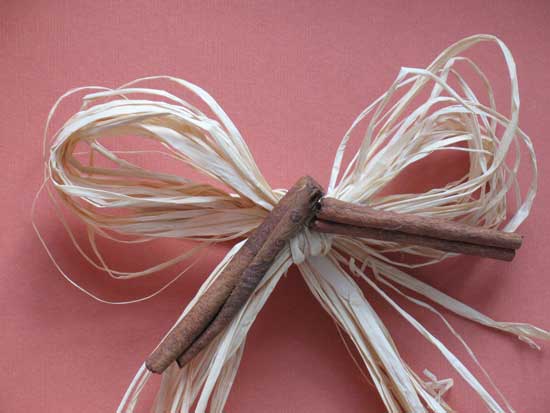
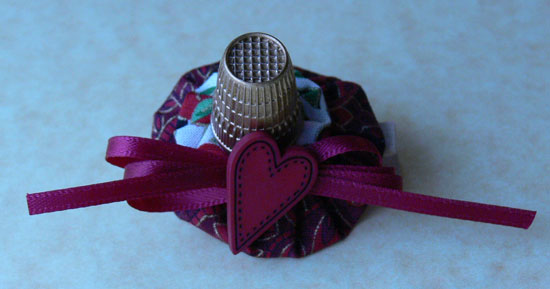
Glue two (or more) cinnamon sticks to the bow.
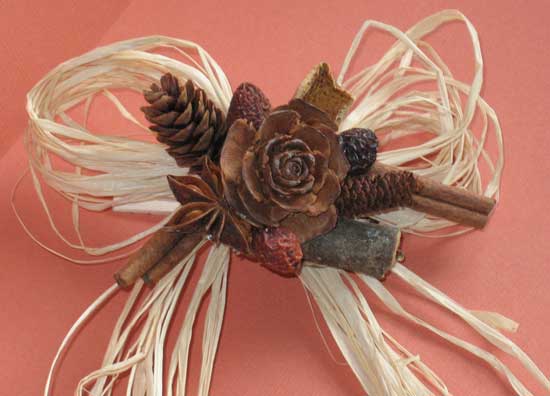
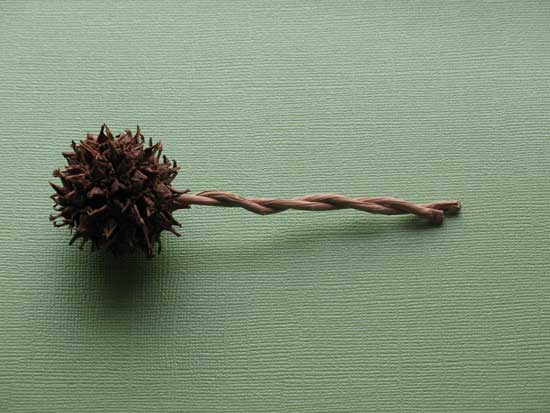
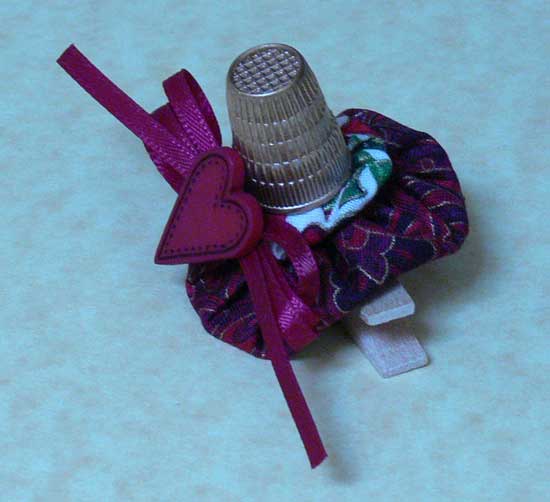
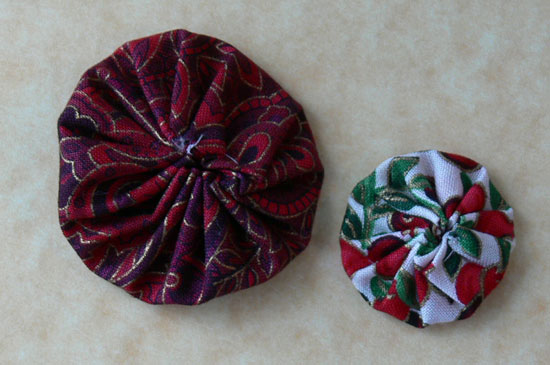
Choose a large, central element and glue to the center of the bow. Continue adding smaller elements until you have a pleasing arrangement. Make sure each piece is securely glued down.
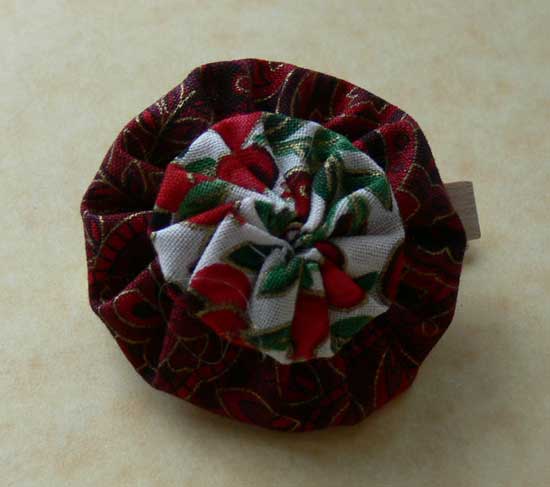
Trim the ends of the raffia bow to the desired length. Try to cut one or two strands at a time, at varying lengths, so the ends don’t look “chopped off”.

You can stop here or add some glitter spray which I think adds a lovely sparkle.

I like to wrap my gift in brown craft paper and use jute twine to tie the package. Clip the clothespin to the center of the twine and spray the entire top of the box with the glitter spray.
 Julie Bowersett