Julie Bowersett

juliebowersett{at}gmail{dot}com
Navigation
Search
Categories

Blog Writing Course Alumni

From Guide to Art Schools

CraftGossip

Entries in crafts (2)

Sunday
Dec052010

Yoyo Ornament Tutorial


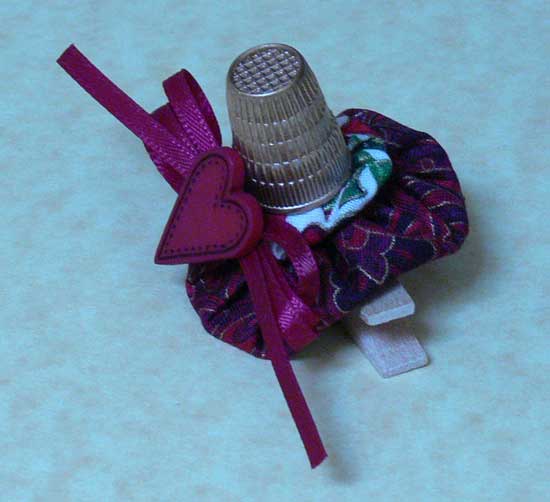
Here is a quick and cute ornament to give your sewing friends. 
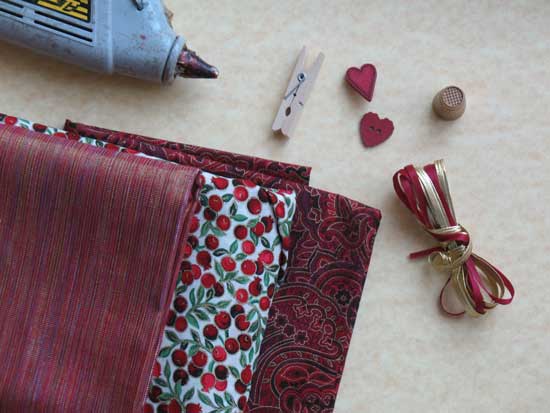
Materials

•             mini clothespin

•             two coordinating fabrics

•             Clover yoyo maker (optional)

•             hand needle/thread

•             small thimble (I spray painted mine gold to match my fabrics)

•             ribbon

•             button or other embellishment

•             glue gun and/or Jewel It glue

I used Clover brand yoyo makers to make the yoyos for this project.  They are wonderful to use, fast and easy, producing a beautiful finished product.  You can, easily, make yoyos “from scratch” if you prefer.
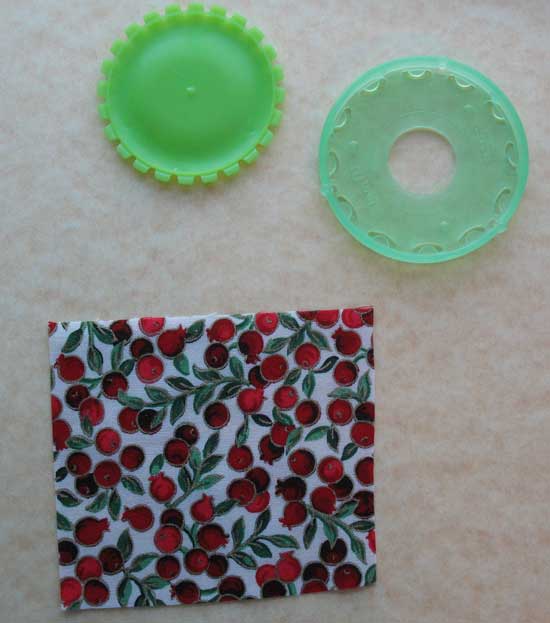
Choose the size yoyos you want to make and the appropriate fabric.  I used the small (1.25” ) and large (1.75”) yoyo maker for this project.  [In retrospect I think the bottom yoyo should be smaller as it is a little floppy on the clothespin.  Strive for 1.5” and 1.25” yoyos.]  The yoyo makers consist of two parts which snap together.  Essentially, you place your fabric between the two halves and cut out a rough circle. 
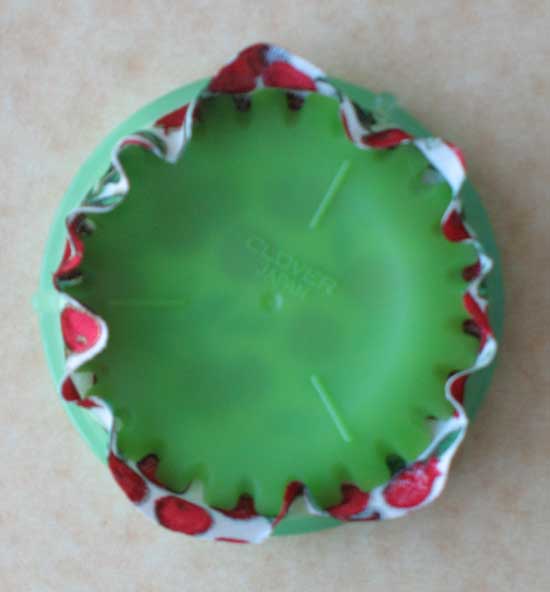
Holding the seam allowance flat against the plastic parts you stitch through the slots on the maker making a nice, even stitch all the way around.  When you are finished you simply draw up the thread to close the yoyo.  If using the yoyo maker, follow the instructions included with the product.

If you are making the yoyos by hand, begin with a circle of fabric about twice the desired finished size (3” circle for a 1.5” finished yoyo).  Turn under 1/8” along the perimeter of the circle and stitch a running stitch through the seam allowance all the way around the circle.  Draw up the thread to close the yoyo and tie off.  There are plenty of tutorials on youtube demonstrating the technique for yoyo making if you need some guidance.
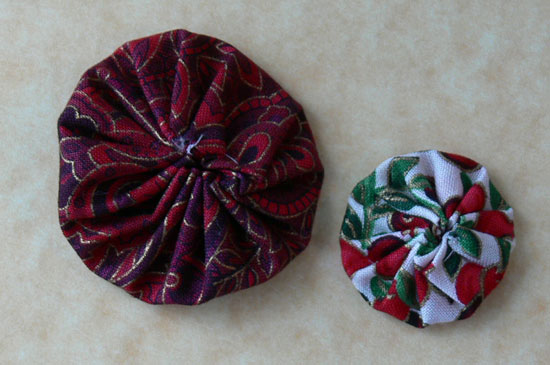
Here are my two completed yoyos.
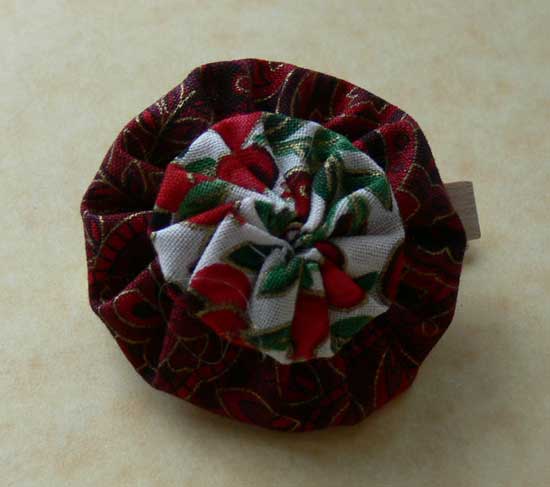
Glue the largest one to the clothespin with the glue gun.  (Helpful hint:  leave a little opening at the center of the largest yoyo to insert some glue between the layers.  This helps stabilize the yoyo on the clothespin a bit.)  Glue the smaller yoyo on top of the larger.
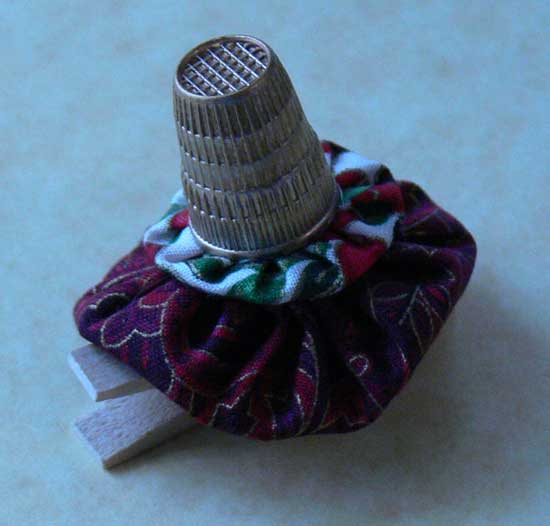
Glue the thimble on top of the yoyos.  I decided to use Jewel It glue to attach the thimble as sometimes hot glue does not adhere very well to metal or other slick surfaces and tends to pop off.  If you use a glue like Jewel It allow for longer drying time.
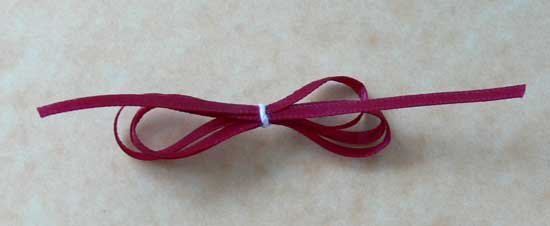
Tie a loopy bow with the ribbon.  I secured the center with a small piece of wire.  You could also tie a conventional overhand bow or use some other pleasing design.
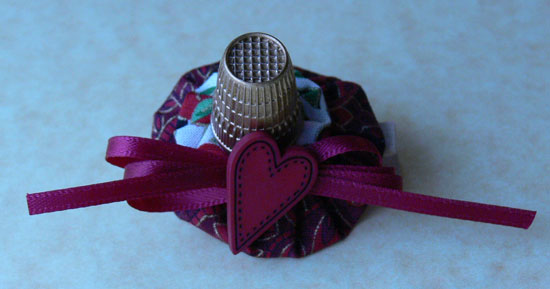
Glue the bow to the side of the ornament.  Glue a button to the center (or use another embellishment such as a ribbon rose).

Monday
Feb222010

Clothespin Chic Tutorial

I found these oversized (6”) clothespins at Oriental Trading Company.  The ones I ordered are painted white.  You can also find natural finish pins at Create for Less.  This project requires only a few easily obtained supplies:

  • Large clothespin
  • Paintbrush
  • Scissors
  • Cocktail napkin or tissue paper
  • Modge Podge or white glue

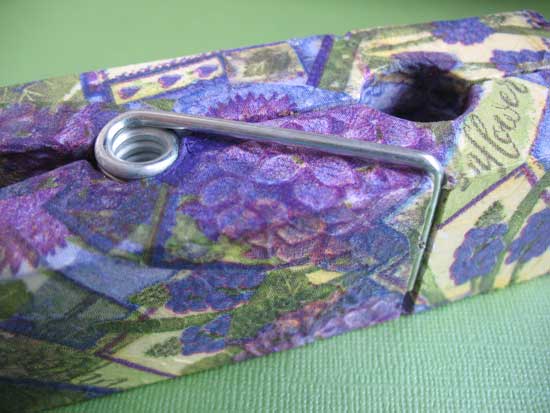
Begin by selecting the paper you will use to cover the clothespin.  I used two different types on the two clothespins I created.  For the purple/green one I used a cocktail napkin with floral designs.  Most napkins are more than a single ply so you want to start by carefully separating the patterned layer from the other plies.  This makes the paper thin, transparent and easy to work with.  Next, cut out the various motifs on the napkin.  You do not have to be too careful doing so.  You might choose to “fussy cut” a few motifs to use as the top layer, especially if there are words printed on the napkin.

If you are going to use tissue paper begin by tearing the paper into small squares.  Again, the shape of the squares is not critical – you will be tearing them further when you apply them to the clothespin.

You could also use other patterned paper such as scrapbook paper but the sheer quality of tissue makes it easy to mold and bend the paper to fit the curves of the clothespin.

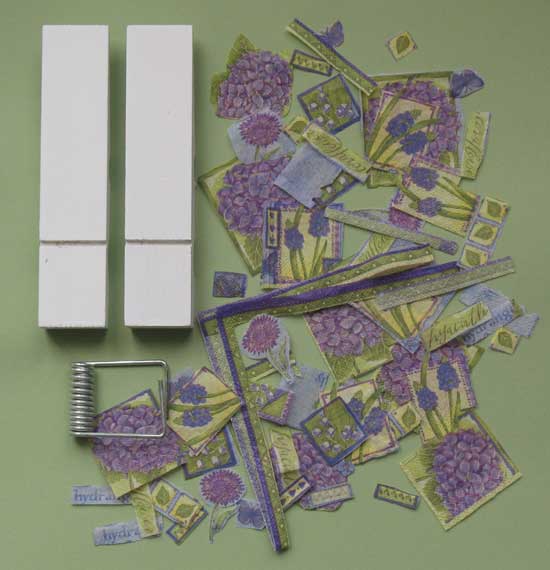
Separate the spring mechanism from the wooden arms of the clothespin.  Here's a little tip:  if you only have one clothespin take a digital picture of the side before you take it apart.  It helps to have a visual aid when it comes time to put it back together.

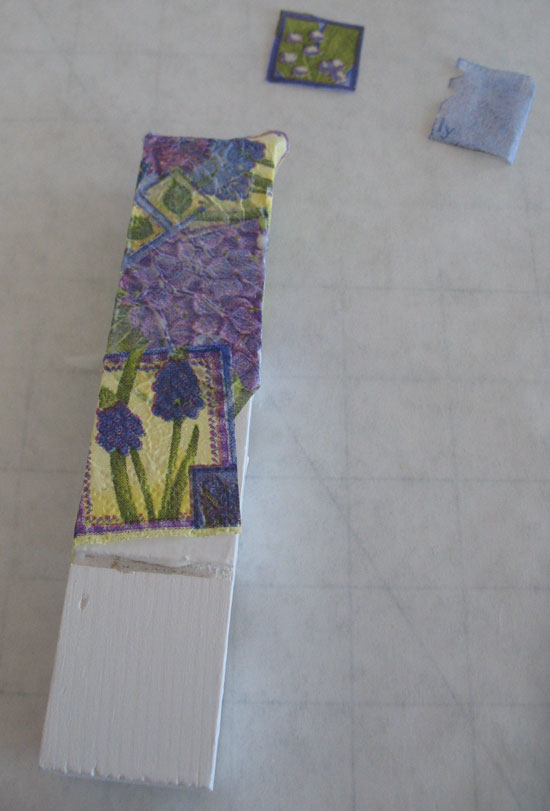
Your materials should now look something like this:

Modge Podge (MP) is a glue, sealer and finish all in one.  It comes in matte or glossy.  You can also use plain white glue though the finish is not quite as lustrous.  One jar of MP will last a long time.  Choose a clean paint brush for the project.  The MP washes out with water but you may want to dedicate a brush to the cause.

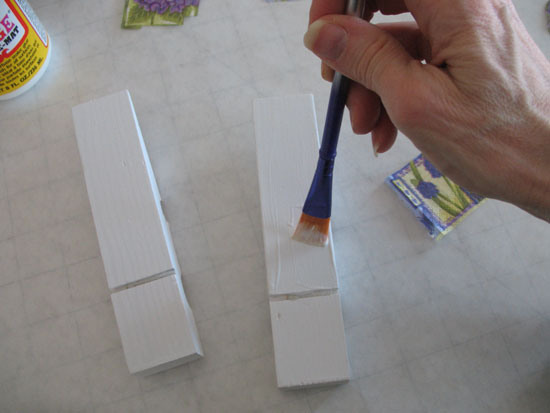
Begin by painting a small area of one wooden arm with the MP covering the top and sides. 

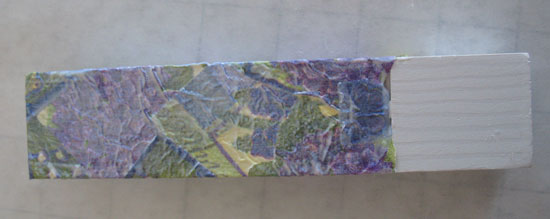
Place a piece of paper on the glue and brush additional glue on top.  Use the paintbrush to smooth the paper and mold it to the clothespin.  Continue covering the surface of the clothespin, overlapping paper and adding MP as you go.  The tissue is fragile when wet so take care to gently brush additional MP on top.  I recommend you start on the underside of the wooden arm so the final application will be from the top and wrap around to the underside.  Apply paper in the grooves on the front side of the pin and use your brush to press the paper smoothly down into the crease.  Ensure that there is no extra glue in this crease so the spring mechanism can seat back into the groove.

You may need to work in stages as holding wet areas causes the paper to stick to your fingers and tear.  Build up several layers of paper – the transparent quality of the tissue will create lots of depth and texture.  If your paper includes text apply this as the top layer so the writing will show.

When you have completed one area or an entire side make sure you have a thick coat of MP over all of the paper and let dry thoroughly.

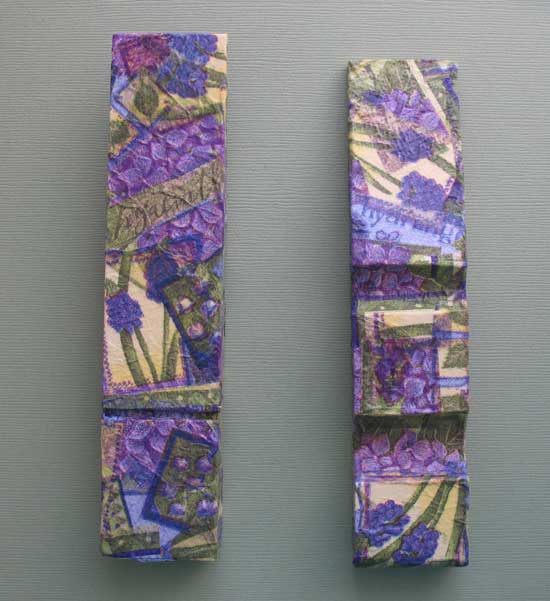
Continue layering paper until the entire clothespin has been covered.  Again, let the glue dry thoroughly.  Here’s what my clothespin parts looked like when I had finished.

Carefully reassemble the clothespin.  This is easier if you have four hands as the spring is very tight.  Be prepared for some damage to the paper during this step.  This can be easily repaired after the clothespin is back together.  Just take a little MP and a tiny piece of paper and glue it over any scrapes that occur.

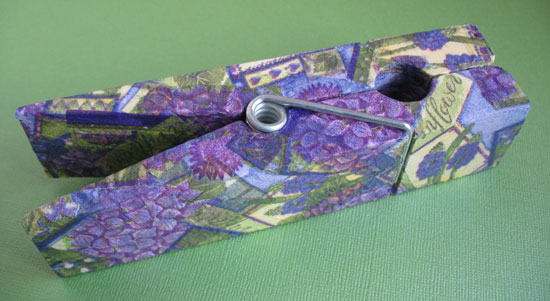
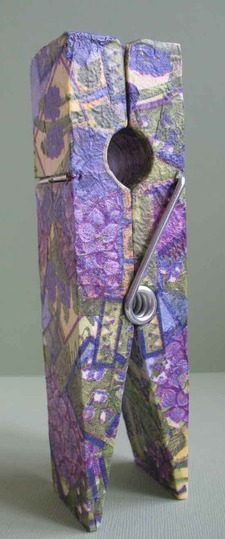
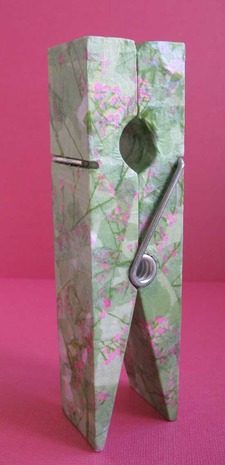
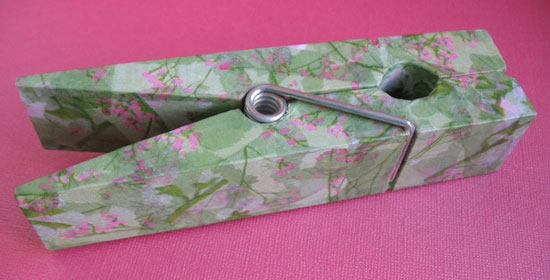
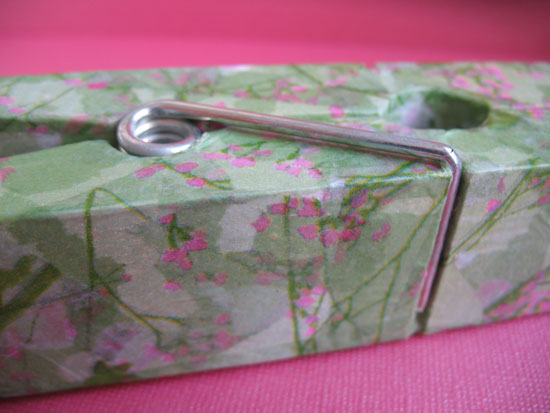
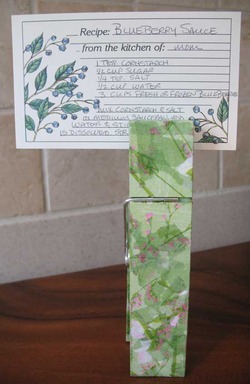
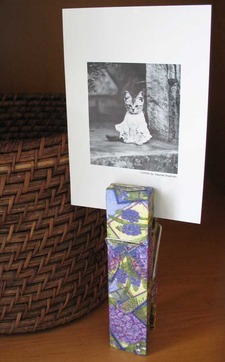
Here are some shots of my completed clothespins.  Click on the smaller thumbnails to view the full sized photo.  The light green/pink one was created using torn pieces of tissue paper.  I love how the layered paper shows through and gives so much depth to the project.   Enjoy making your own and please send me a picture.