Julie Bowersett

juliebowersett{at}gmail{dot}com
Navigation
Search
Categories

Blog Writing Course Alumni

From Guide to Art Schools

CraftGossip

Entries by Julie Bowersett (316)

Saturday
May192018

Simple T-Shirt Dresses

Last summer I made quite a few dresses.  I find dresses cool and easy to wear, with a bit more style than shorts during the warm weather months.  Being short on sewing time (always) I have been trying to start with patterns I already have fitted, changing them to create a new look.  This time I started with my favorite t-shirt pattern, The Perfect T-Shirt by Pamela's Patterns.  This shirt has a bust dart which I like as well as numerous opportunities to adjust the fit.

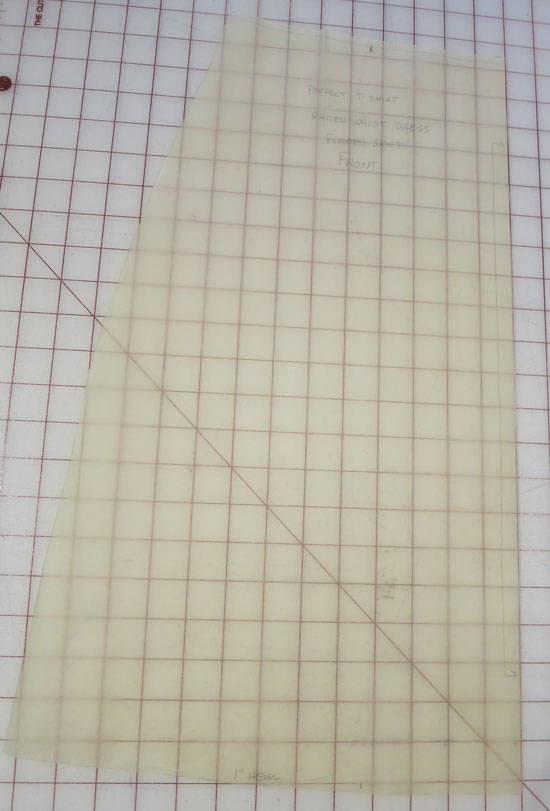
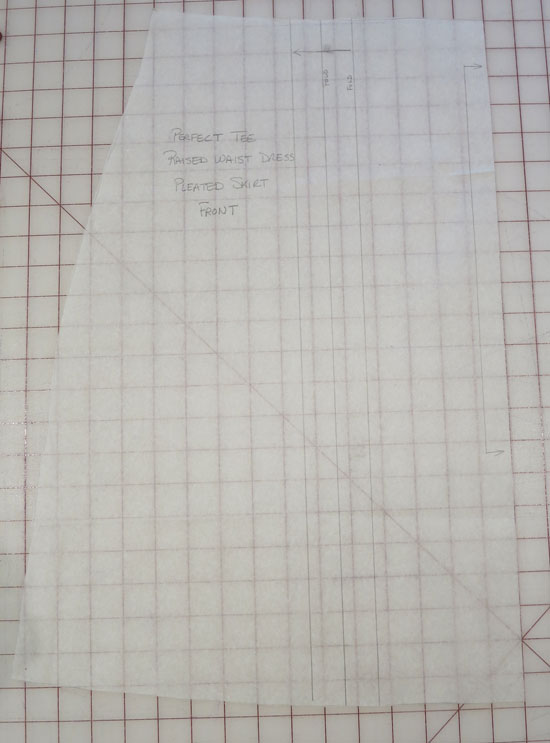
I began with my tried-and-true pattern.

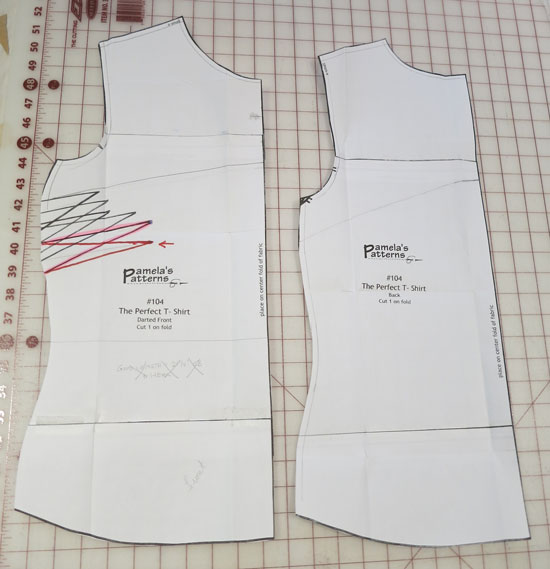
I drew a line perpendicular to the center front at the narrowest point of the waist; you can faintly see the line on the Front pattern in the above picture.  I did the same for the Back.  I retraced the patterns above the lines, adding a seam allowance.

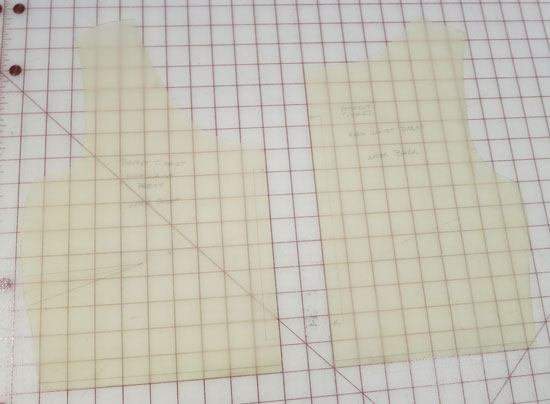
The upper front and back are now finished.

I then worked with the pattern section that remained below the line I had drawn at the waist.  First, I added a seam allowance above the drawn line.  I determined the skirt length that I wanted and extended the center front line to that length.  I also extended the side seam to approximately the same point.  I wanted to flare the skirt but I didn't want to add all of the volume at the side seams (this creates an unbalanced silhouette and can make the side seams appear longer than the rest of the skirt).  Instead, I drew several vertical lines up to (but not through) the seam allowance at the waist, cut along these lines and spread the cuts open to achieve the desired amount of flare.  I drew in a gently curved hem (with hem allowance). When I had all of this complete, I traced a new copy of the skirt pattern.

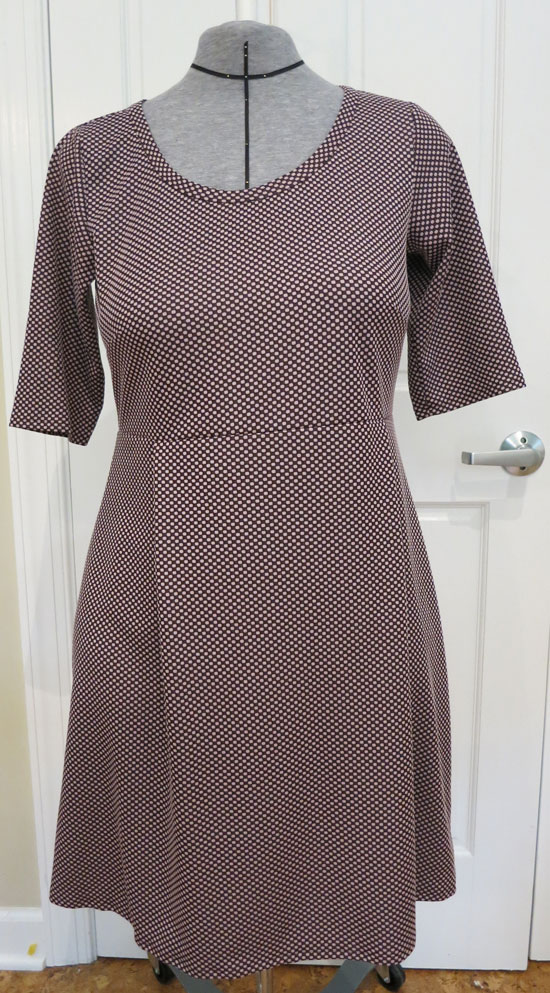
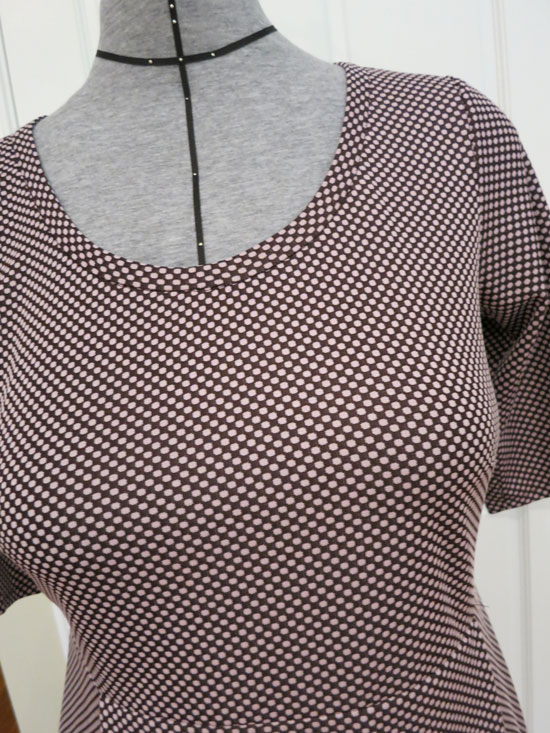
Here's the first dress I made from my new pattern.  I considered this a muslin, but it turned out well enough that I wear it.  It's made from 4-way cotton/spandex jersey.  I bound the neckline with a similar solid fabric.

Several other dresses followed:

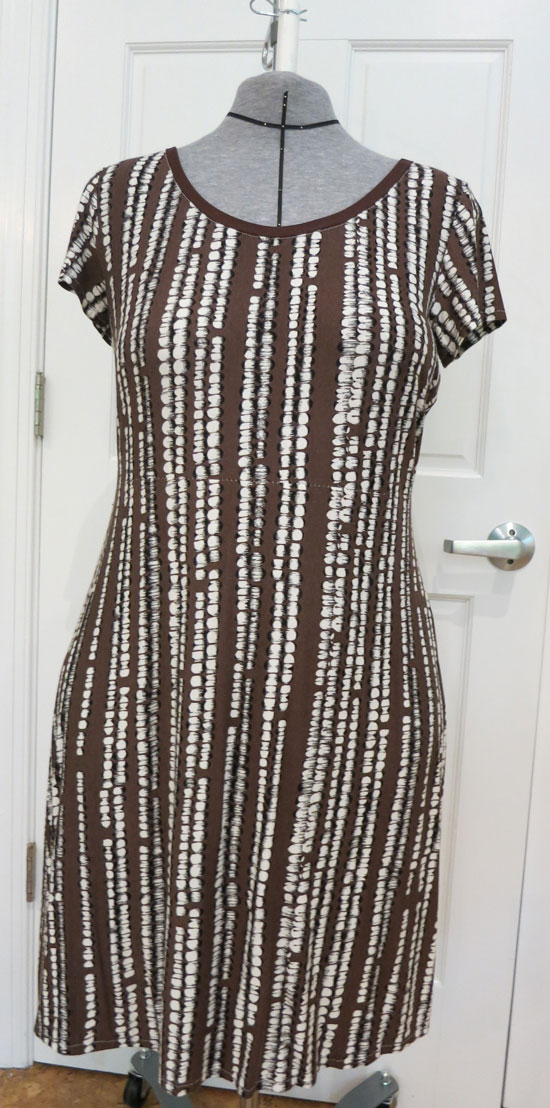
This one is made from a cotton/poly slubbed jersey.
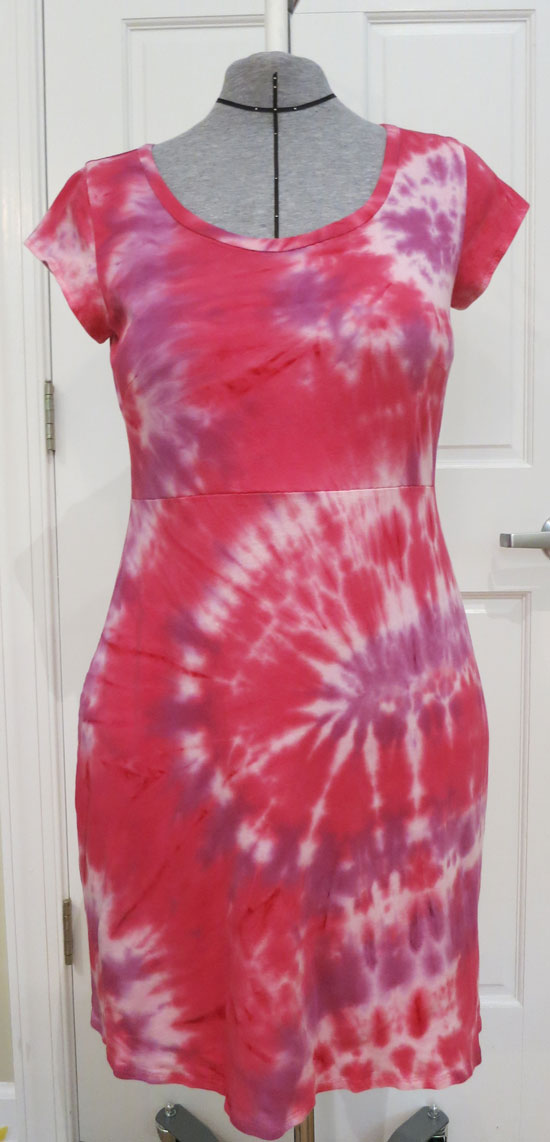
Cotton tie-dye.

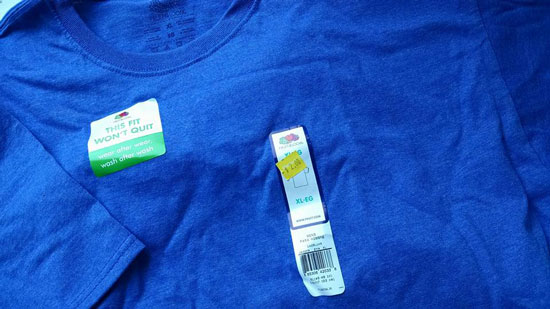
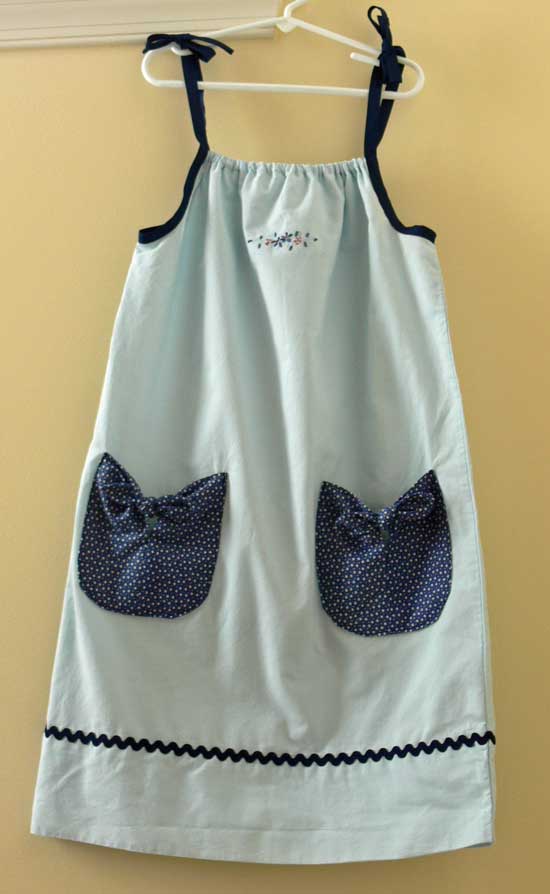
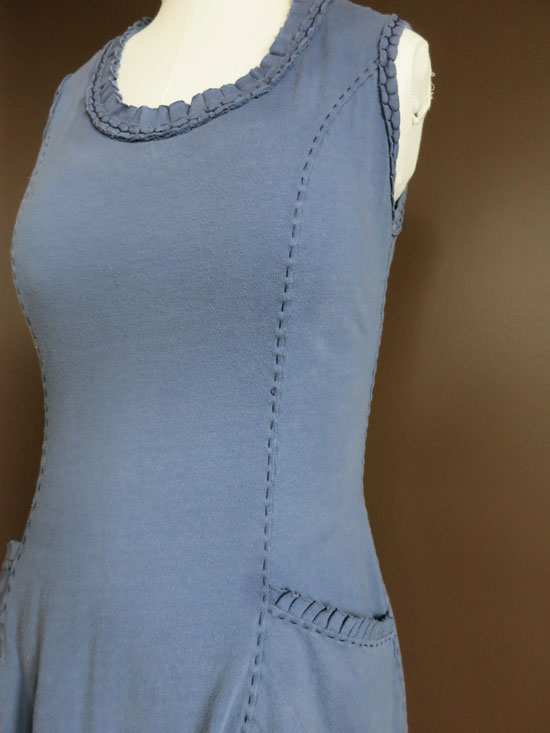
The next dress began its life as two XL t-shirts that I paid $2.00 each for. 

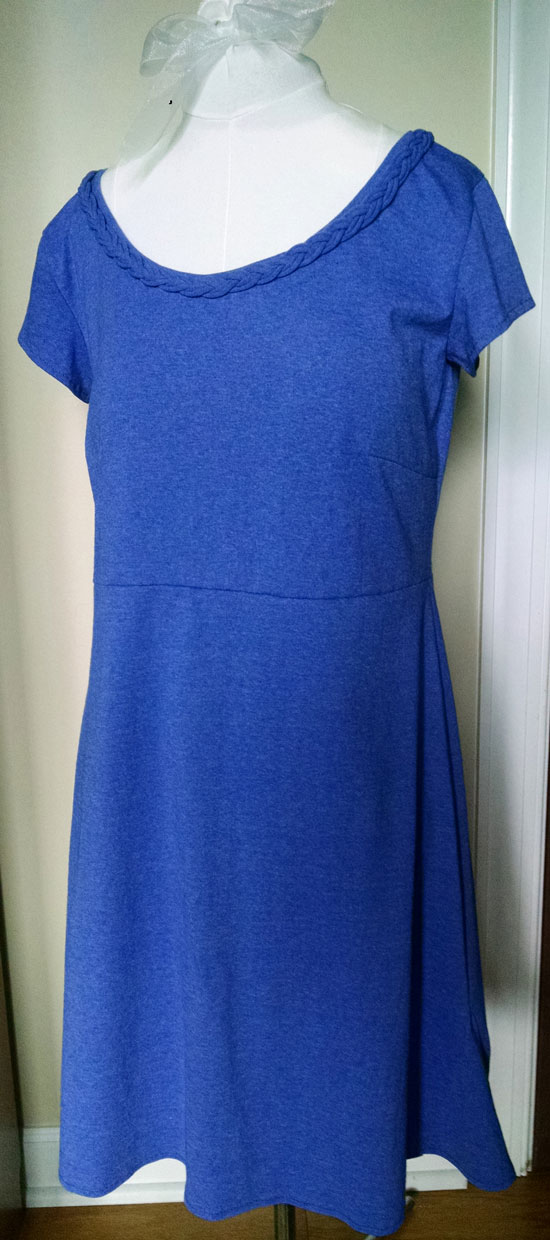
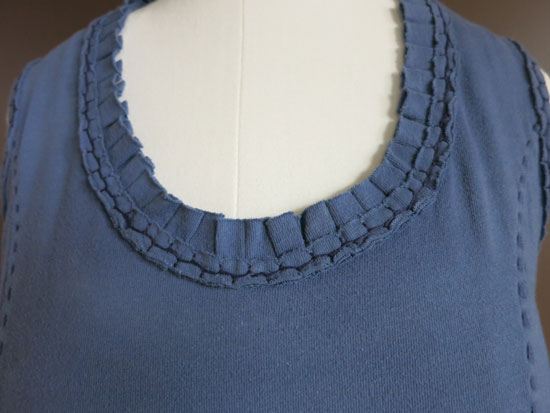
I added a braided trim around the neckline.

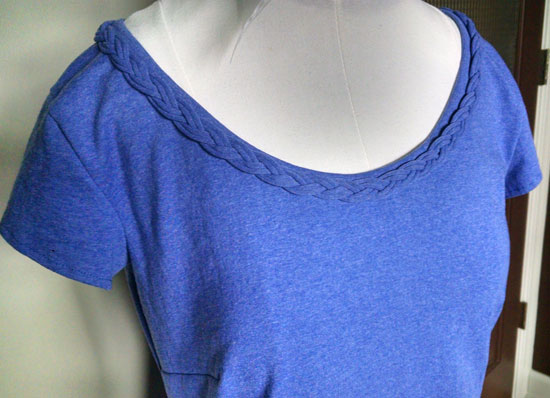
The braid looks more complex than it is.  I took advantage of the fact that knit jersey will roll along the cut edge.  The braid is formed from three strips of fabric cut on the cross grain.  I allowed the edges to curl in before performing a simple three-strand braid.  The two rolled edges of each strip make it appear that the braid was formed from doubled tubes.

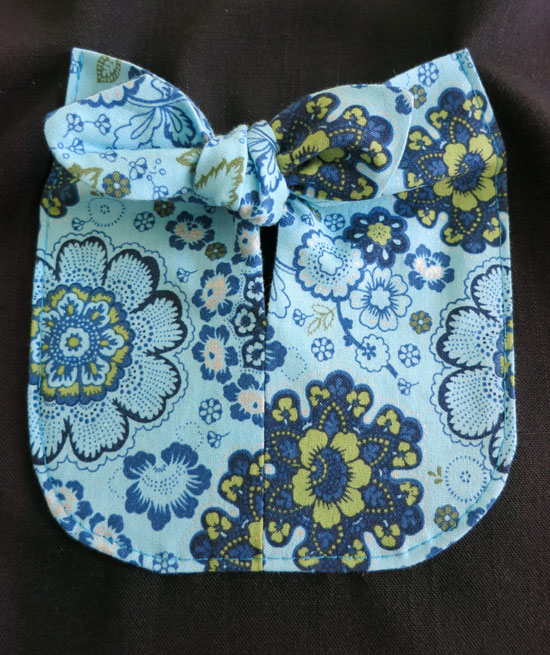
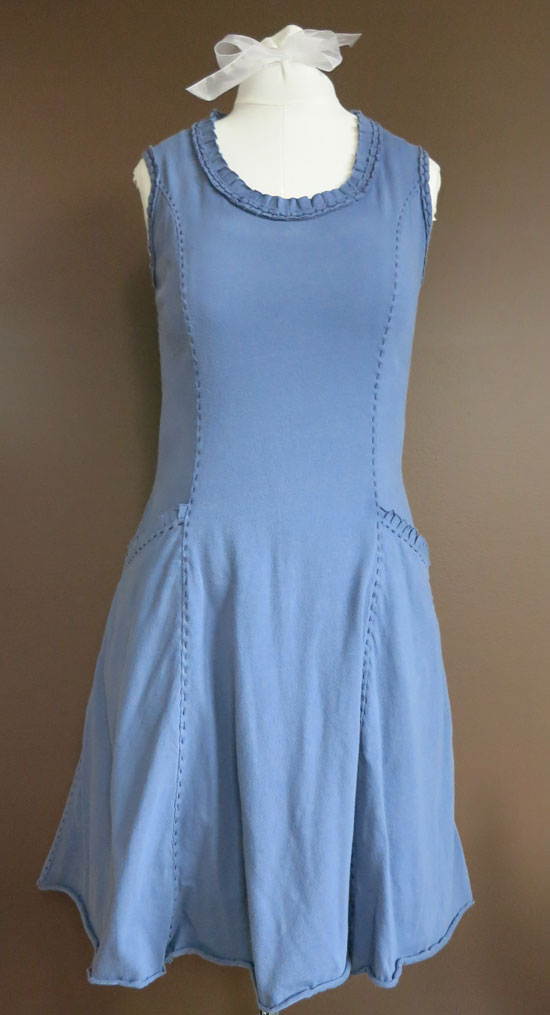
I had one final dress in mind but it required some additional pattern work.  I wanted to add a pleat on either side of center front on the skirt.  I determined the pleat depth and cut the pattern vertically, adding in additional pattern paper to account for the pleat.

I hope this post will inspire you to use your own t-shirt pattern to create new designs with just a little bit of simple pattern work.

Saturday
Apr072018

Patch Pocket with Bow

Several months ago, someone contacted me through my blog and asked if I could tell her how to make the pockets I had included on the Little Dresses for Africa I made in 2011.

It took some digging but I finally found the pattern piece and instructions.  I thought I'd write a tutorial on how to make this cute pocket.  I hope you find lots of ways to use it (and I hope the original inquirer sees these instructions!)  You can find the tutorial here and in my Tutorial section (link to the far right).

Monday
Mar122018

Slanted Pocket for a Princess-Line Garment

Hello friends.  My, it's been a long time.  I have missed my blog so much, and I'm hoping that I can get back into posting on a somewhat regular basis.  I find such little time to "make" these days; raising a young family is time consuming.  But I'm going to try my best to post more than I have in the last two years (that shouldn't be too hard).

I developed the instructions for adding a pocket to a princess-line garment many years ago after sewing a commercial pattern with a similar pocket, and I prefer this pocket design over any other on garments with this style line as it adds very little bulk. You can use this pocket on dresses, tops or jackets.

Last summer (or was it the summer before?) I hand sewed an Alabama Chanin-inspired dress, adding this pocket.  I also added a hand-pleated ruffle at the top of the pocket and around the neckline to add a little interest to the otherwise basic garment.  You can find the instructions for the Pleated Ruffle on page 109 of Alabama Chanin's book, Alabama Studio Sewing + Design.

Detailed instructions for drafting the pocket can be found here, in the Tutorials section of my blog. 

Wednesday
Feb102016

Winter Holidays

Every day that passes without a new blog post seems to sink me further and further.  So, in an attempt to get back on my horse, I'm writing this post and filling it will lots of miscellany which is what my life is all about these days.  I have been finding tiny chunks of time to sew, much of it by hand in the evenings.  I've got some projects that are *almost* ready for blogging and am hoping that I can keep a more regular schedule soon.  Much of my time recently has been spent in the ongoing project of organizing my studio.  I am finally seeing light at the end of the tunnel, and will share the "big reveal" here when I'm finished.

Technology is a wonderful thing, except when it's not.  My old laptop died a few weeks ago and I had to replace it.  Which also meant reinstalling all of the various programs I use.  Photoshop needed to be installed before I could hope to post any pictures so I set about that task today.  Except that my new laptop doesn't have a CD drive, so I had to download all of the necessary files and then spend an hour on chat with Adobe before they finally told me I'd have to upgrade to the latest program to be compatible with my new operating system.  Sigh.

Christmas came and went.  Along with making multiple batches of my usual Salted Caramel Chex Mix and Rosemary Pecans with Cranberries I sewed my boys a couple of walking capes which can function as attire for Jedi, Hobbits, Medieval peasants or whatever takes their fancy. Here's a shot of the two capes, front and back.

The fabric was rayon/linen and very nice to work with. I flat felled all of the seams which makes for a nice, clean and sturdy finish.

I'm still working on a couple of "big white shirts" (think pirate) for them as well.  I've got to set the grommets still but they are nearly finished.

We had a big snow storm in January and the newest member of our family, aptly named Winter, really enjoyed it along with my kids. I, however, lost a week of my life. :-)

A few years ago I blogged about making King Cake for Mardi Gras.  This year I tried a recipe from Southern Living.  The Southern Living cakes (the recipe makes 2) are assembled jelly roll style rather than braiding like the recipe I've always used in the past.  I made a different flavor for each of the cakes.  The first was the traditional cinnamon-sugar filling complete with green, gold and purple sanding sugar.

The second had a cream cheese filling and cherry preserves (the recipe for the cream cheese filling is included in the Southern Living recipe).  I skipped the sanding sugar on this one.

This recipe was nearly as good as my original and much less work.  The best advice I have is to make sure you don't overbake the cakes which will dry them out. Also, the area where the two ends are joined together to make the ring is always a little skimpy so I used a bit of extra dough and wrapped the join to add a little substance to that area.  Make sure that all of the seams are well sealed so the filling doesn't leak out while baking.

I invited a group of my friends over to celebrate Mardi Gras and help me eat up these sweets.

Next up is Valentine's Day.  My kids are busy making cards for their friends and I'm gearing up to lead the craft at the class party (no surprise there).  We're going to make a cute card holder for the delivered valentines.  I found this idea on Pinterest.  Here's my version:

It's simply two paper plates, folded in half and then stapled together in a heart-shaped configuration.  Decorate as desired, punch some holes and hang with a ribbon.

I hope everyone has a wonderful Valentine's Day.

Tuesday
Aug112015

Vacationland

I recently returned from two weeks at our fishing cabin in Eastern Maine.  The weather was mostly gray and cool (we had a fire in the wood stove two days) but my kids enjoyed getting in the (freezing cold) lake every day.  We enjoyed time with my family, took a trip to Canada, enjoyed various water sports and generally unwound.  I love my time on this little island.  If you'd like a more complete story about my special place, read this post that I wrote several years ago.

I didn't get a lot of stitching done but I did take some nice pictures so that's what this post will be about.  I'm heading off to a sewing retreat at the end of the week and hope to have some projects to share when I get back.