Julie Bowersett

juliebowersett{at}gmail{dot}com
Navigation
Search
Categories

Blog Writing Course Alumni

From Guide to Art Schools

CraftGossip

Entries in alabama chanin (20)

Monday
Mar122018

Slanted Pocket for a Princess-Line Garment

Hello friends.  My, it's been a long time.  I have missed my blog so much, and I'm hoping that I can get back into posting on a somewhat regular basis.  I find such little time to "make" these days; raising a young family is time consuming.  But I'm going to try my best to post more than I have in the last two years (that shouldn't be too hard).

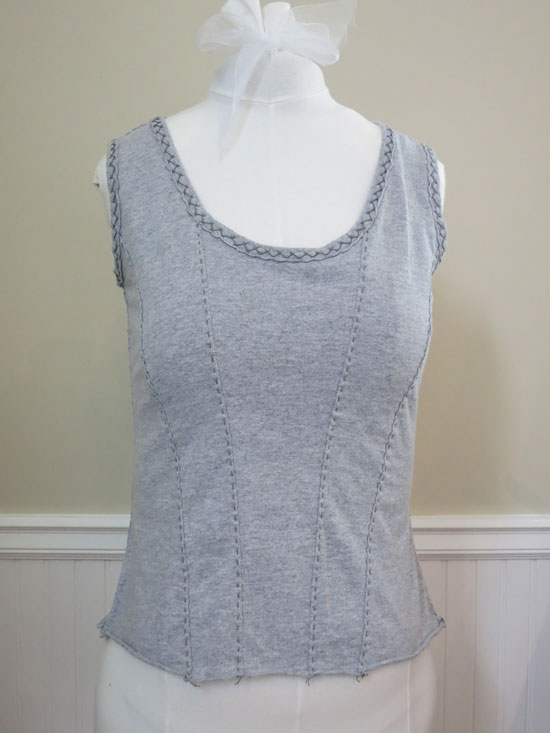
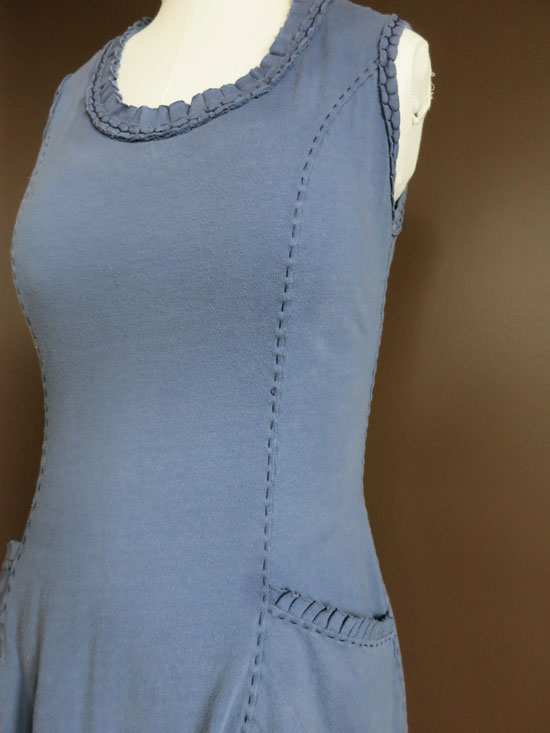
I developed the instructions for adding a pocket to a princess-line garment many years ago after sewing a commercial pattern with a similar pocket, and I prefer this pocket design over any other on garments with this style line as it adds very little bulk. You can use this pocket on dresses, tops or jackets.

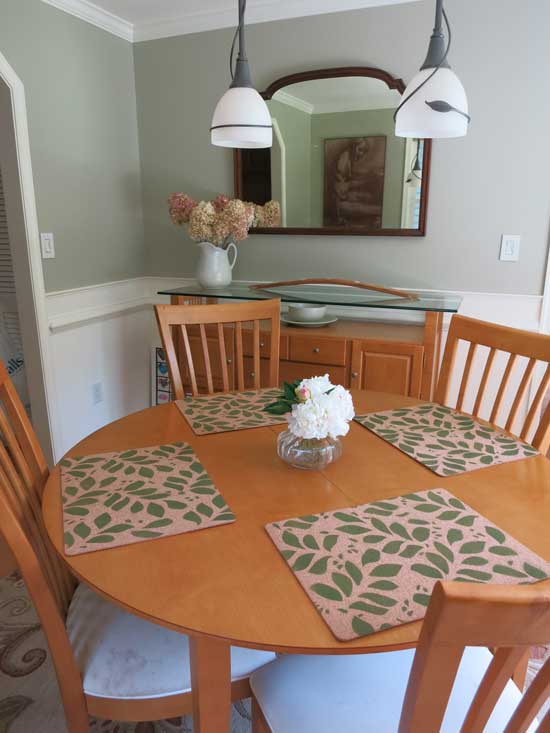
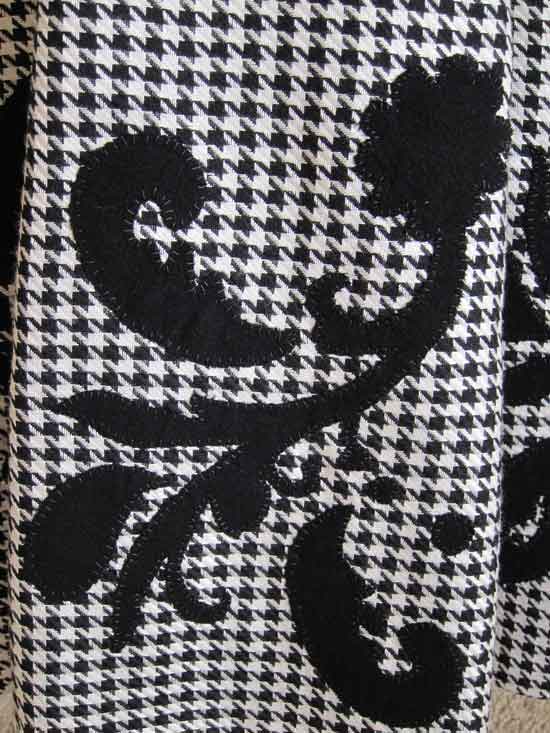
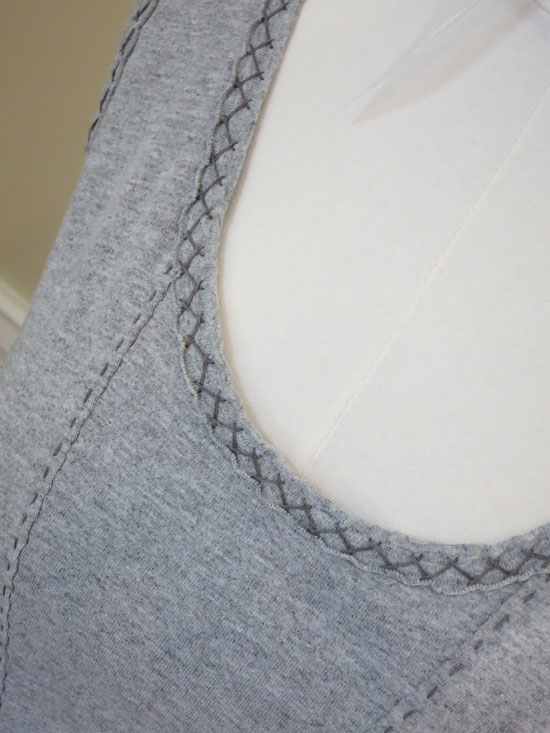
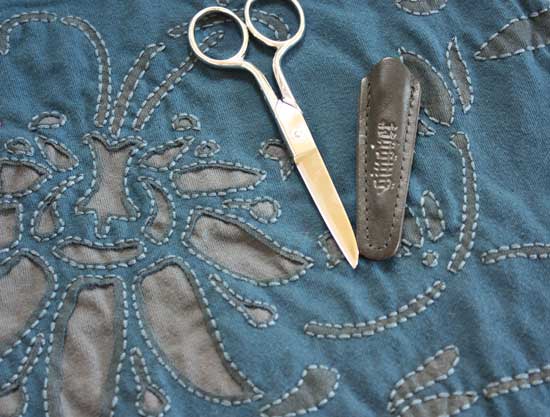
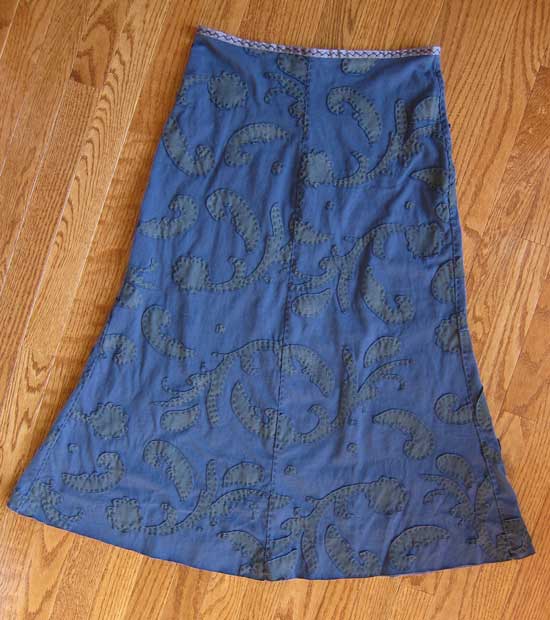
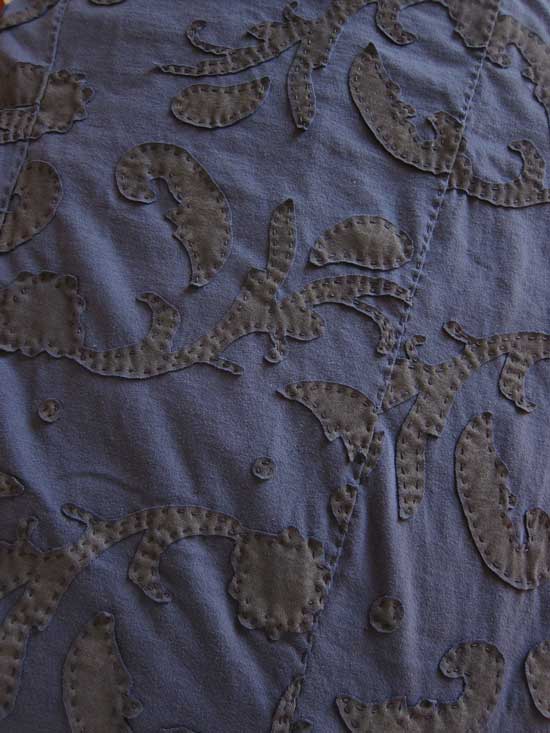
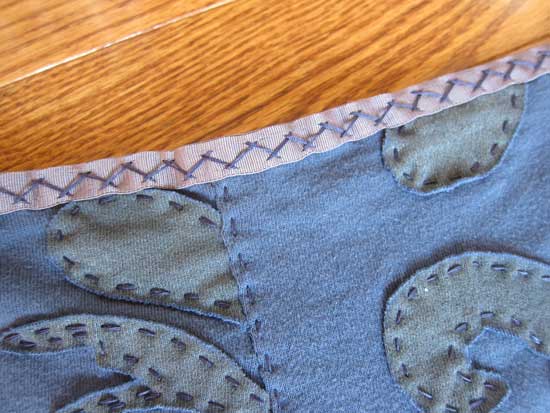
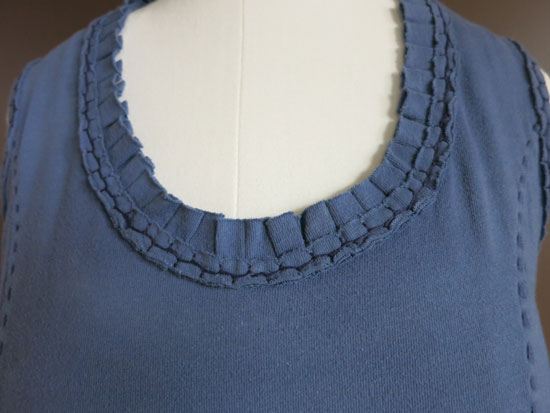
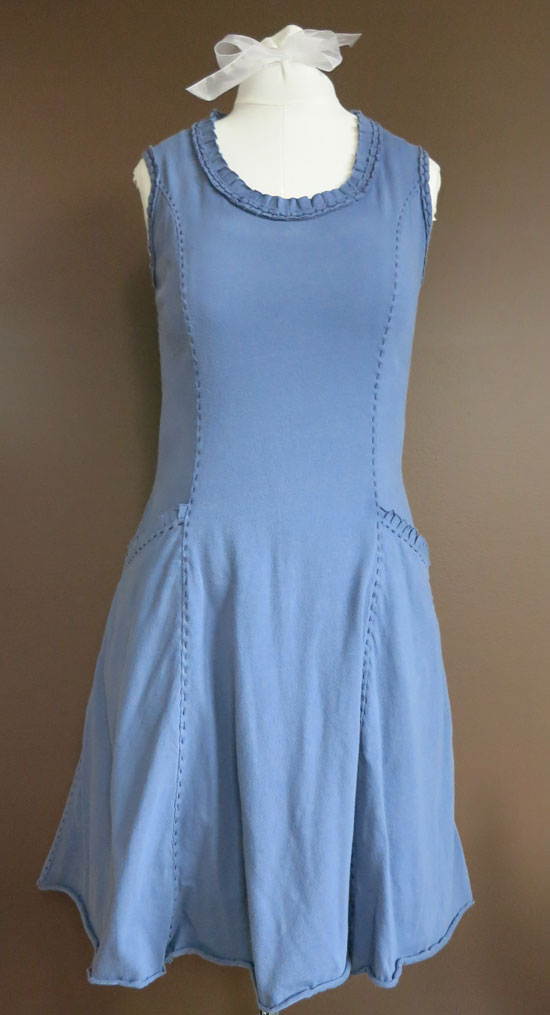
Last summer (or was it the summer before?) I hand sewed an Alabama Chanin-inspired dress, adding this pocket.  I also added a hand-pleated ruffle at the top of the pocket and around the neckline to add a little interest to the otherwise basic garment.  You can find the instructions for the Pleated Ruffle on page 109 of Alabama Chanin's book, Alabama Studio Sewing + Design.

Detailed instructions for drafting the pocket can be found here, in the Tutorials section of my blog. 

Thursday
May212015

Stenciled Cork Placemats

Thursday is typically DIY-day over on the Alabama Chanin Journal so today I'm posting one of my own DIY projects, AC style. 

A while back I was tempted by some wool felt placemats on the AC site but waited too long and they were soon sold out.

And in the way my brain usually works I started thinking, "Hey, I could make my own".  About this time I also took a trip to Ikea and found packs of cork placemats which I thought would be perfect for stenciling.

Here are two of the placemats all laid out on my drop cloth-covered table

and here they are with the stencil I used.

I was able to stencil two mats at a time with the large stencil.  I used a spray adhesive on the back of the stencil to minimize the bleeding around the stencil shapes and pressed the stencil securely onto the two cork mats.

Last week my friend Jane came to visit, and we played with my stencils and air brush.  We encountered several equipment failures during the course of the day but by the end we'd figured out the best method for spraying.  Here's my mini air compressor and air brush all ready to go.

Trust me, once you experience the ease of painting with a small airbrush you will never go back.

It took me less than 5 minutes to paint both placemats.  Ready for the reveal?

Once these two were set aside to dry I hosed off my stencil, let it dry and repeated the process on the remaining two placemats.

Here they are, gracing my dining room table.

I'm super happy with how these turned out.  I've got four more mats that I am planning to stencil with a different design and in a different color.  I'm also considering stenciling the back side of all of the mats so I can have four different mix/match options.

My gardening tasks are slowing down as the weather gets warmer.  I've actually had the chance to venture into my studio a few times in the last week.  School will be out for my kids in about 3 weeks which will make time to myself a lot more scarce but I'm hoping to get a few projects checked off the list this summer.

If you like this project, click on the Alabama Chanin option in the Category listing along the righthand side of this page.

Friday
Feb202015

Fingerless Gloves in Sculpted Fleece

I recently wrote about some fingerless gloves that I made for a friend for Christmas using the techniques of Alabama Chanin.  I really liked how they turned out, and they started me thinking about making a pair for myself to slip on when I am stitching (or typing blog posts).  One thing I love about being a maker is taking inspiration from one source and using other, different techniques to create an entirely new product.  I did just that with my houndstooth/paisley skirt, combining an Alabama Chanin stencil with wool felt applique instead of the more expected cotton jersey.

For my own gloves I again started with a Chanin stencil but I used an entirely different technique for the applique, sculpted fleece.  I love Lyla Messinger's technique for making polar fleece appear carved or sculpted.  I have made a number of items using this technique and blogged about those pieces here. 

The pattern for the gloves comes from Alabama Stuido Sewing + Design with a slight modification.  Instead of cutting two pieces for each glove, I eliminated one seam and cut the glove as a single piece.  This made the applique process much easier and reduced some bulk but I did lose some shaping from that seam.

For this technique, it's important to use a fleece that has two distinctly different faces.  The black fleece I used had one side with a micro-grid design and the other with a berber-like finish.  Once the gloves were cut out I began by applying the stenciled design.

I used temporary spray adhesive to hold the stencil in place.  I transfered the design to the smooth (right) side of the fabric using Quilter's Stencil Marking Spray, a chalk-like spray that washes out with water. 

This marked the placement for the applique pieces.  I also transfered the stencil to another piece of fleece; these pieces were the shapes that were appliqued onto the gloves.  Here's what the various pieces looked like after the stenciling was finished.

Working one section at a time, I cut out the pieces for the applique and pinned them in place over the corresponding design on the gloves.  The nubby back-side was placed face up on top of the smoother side of the fleece.  I used black sewing thread on top and in the bobbin (you can also use invisible thread) and zigzagged around the edge of each shape.

That's really all there is to it.  It is a very simple and forgiving technique that leaves people wondering how you accomplished it.

To finish off my gloves I took some lycra fabric strips and applied them like binding to the thumb and finger openings as well as the bottom edge.  Knits are notorious for stretching out along cut edges, fleece being no exception.  I felt this would give those edges some stability.

Once the binding was applied I stitched the seams, right sides together, and my gloves were complete.

I hope you will try this technique on a project of your own or use my ideas as a jumping off point to combine two (or more) ideas into a new and unique project all your own.

Tuesday
Jan132015

Alabama Chanin Stitchin'

Over the summer, when my sewing studio was nothing but a mountain of boxes, I spent most of my sewing time doing hand stitching.  For a while now it has been obvious to me that what I need in my wardrobe is more basic pieces that I can mix and match.  Not only would this increase the items in my closet, it would decrease the items in my stash, namely the large collection of recycled t-shirts I am storing.  I have been very fortunate over the years to find many matching shirts at thrift stores, and these shirts are perfect for creating basic tops and skirts, as well as smaller accessories, Alabama Chanin style.

It is pretty amazing to me how quickly you can hand stitch a garment, though the binding of the neckline and armholes takes a fair amount of time.  This single-layer corset top was created from a couple of recycled t-shirts.  The hem was left unfinished, as is typical of AC garments, but I am considering binding it with leftover binding to keep it from rolling so much.  Double-layer garments seem to lie better at the hem.

I used the herringbone stitch for the binding and employed my homemade Tiger Tape to keep my stitches evenly spaced.  I am hoping to make several more garments along this line before summer arrives.

I also finished up a project that I started last year, and that I alluded to in this post.  The fingerless gloves were made from two t-shirts; the underlayer is black, the outer layer chocolate brown.  The pattern is available in Alabama Studio Sewing + Design.  I stenciled them with the Bloomers pattern from Alabama Stitch Book in black paint and stitched them in reverse applique.  These gloves only require two t-shirts, one of each color, and are a great project to get you started in upcycling.

I'm in the preparation phase for my annual sewing retreat which is happening in a couple of weeks.  I have quite an ambitious list of projects for this year.  I am very much looking forward to seeing my sewing friends and to having some "quiet" time away to get some sewing finished.  Wish me luck getting everything cut out and packed.

Thursday
Jul252013

Storm Blue Alabama Chanin Paisley Skirt

When I attended the workshop at Alabama Chanin's Factory in November 2011, I chose for my project a blue dress (which I have yet to post pictures of the completed garment) with a backstitched reverse applique design.  Here's what that technique looks like:

At the workshop Natalie Chanin told me that the backstitch would take three times as much thread and three times as long as the running stitch reverse applique technique (both techniques are covered in their three books).  She was probably right about the thread, but I believe she underestimated the time commitment.  At least for me it seemed like this project took a very, very long time (over one year, as a matter of fact). 

During one of their terrific sales around the 2012 holidays, I ordered a kit for a skirt stenciled with the Paisley design and using the negative reverse applique technique.  I was really amazed at how fast this stitched up, especially compared to the previous garment that I worked on.  I started this skirt in the airport on a trip I took (alone, without my kids) and by the time I returned home two days later I had finished the stitching on one panel.

This skirt was created from the lightweight cotton jersey and was the first time I had used that fabric.  It makes a really nice light weight summer skirt, especially when you remove most of the top layer by cutting away the background from the design.  The resulting pattern develops a lot of textural interest as the tips and edges of the paisley design curl.

It was on this waistband that I first tried my homemade tiger tape to aid in keeping the stitches even.

I have really enjoyed wearing this skirt and can recommend this particular technique (or the standard reverse applique with a running stitch) if you are looking for a project that works up fast.