Corduroy Skirt, Cynthia Guffey style
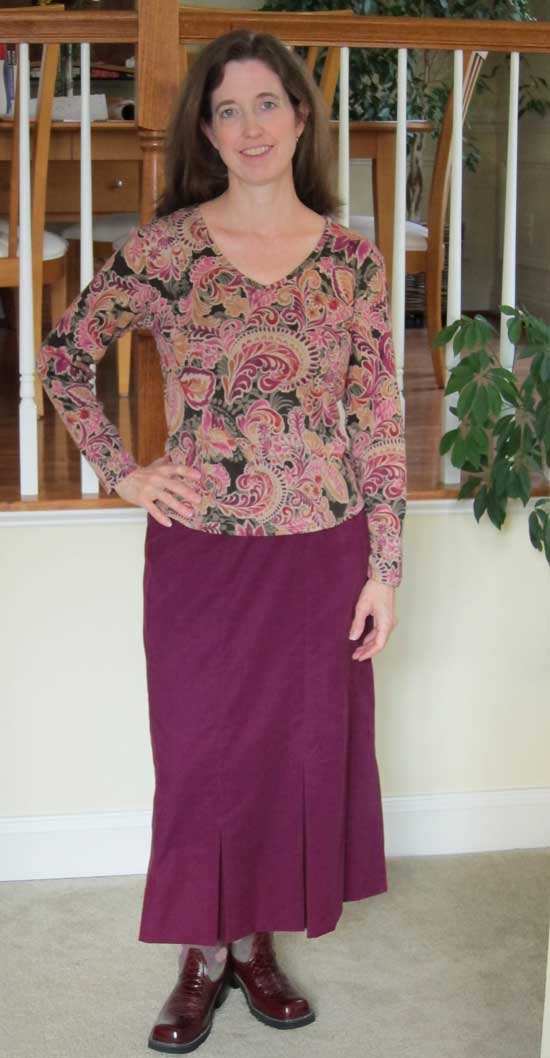
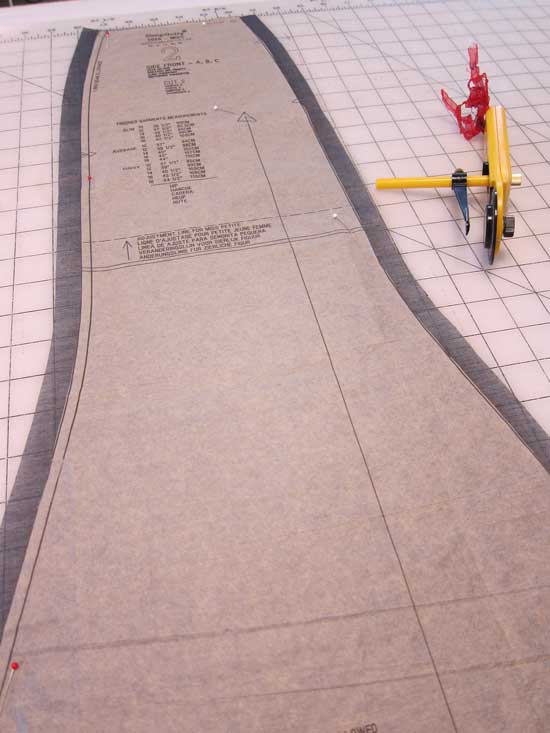
I'm finally back to sewing some clothes for myself. The first outfit I completed is this corduroy skirt and coordinating tee. The skirt pattern is Cynthia Guffey's princess seamline skirt with graduated pleats circling the hem of the skirt. This is the second time I have made this skirt; the first version was done in denim. I decided I wanted a deeper pleat for the second try so I altered the pattern to achieve this effect. There are a total of eight pleats.
The fabric I used is a very soft and drapey baby-wale corduroy. I thought the fabric could use a little extra body, so I underlined it with a charcoal gray silk organza I had on hand. This organza has a soft hand, more like lawn than the typically crisp organza you normally find. It had just the right body for this project. I machine washed both before starting and cut both layers at once, layering the corduroy over the silk.
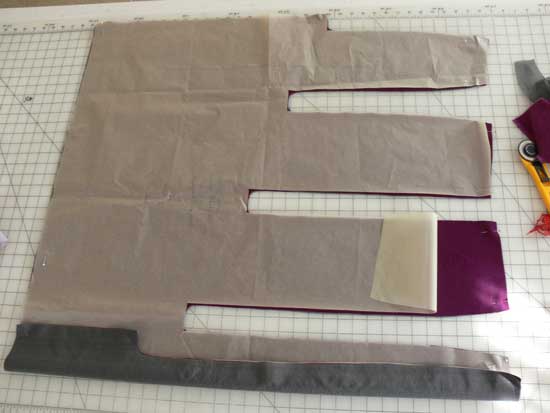
Here are the two layers pinned together as one.
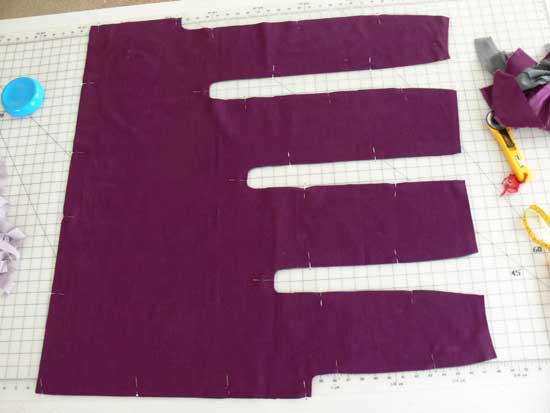
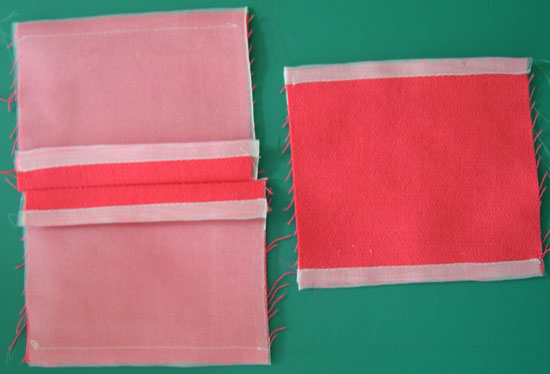
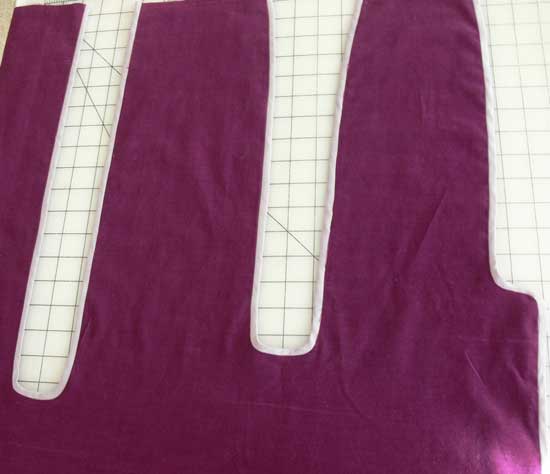
On the denim skirt I made previously, I serged the cut edges before starting. This was a little tricky down in the hollows of the pleats. For this skirt I decided I wanted to apply a Hong Kong finish to the edges, which I did before I started the construction phase. To accomplish this I did two things:
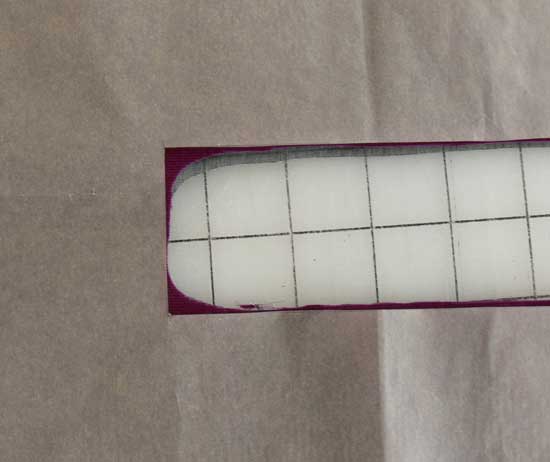
I rounded off the inside corners to make applying the bias strip easier (the pattern is still in place in this picture with its squared off corners); and
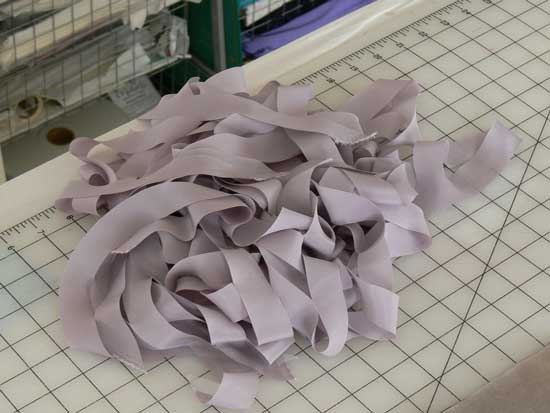
I cut about a mile of 1" bias strips from some lightweight silk crepe I had in my stash. (An aside: I try hard to keep my stash full of only colors I will wear but occasionally I bend that rule and keep something that I think might come in handy for a lining or bias strips. Such is the case with this dusty purple silk, a color I could never wear. I never feel very reluctant to cut into fabrics like this for some reason.)
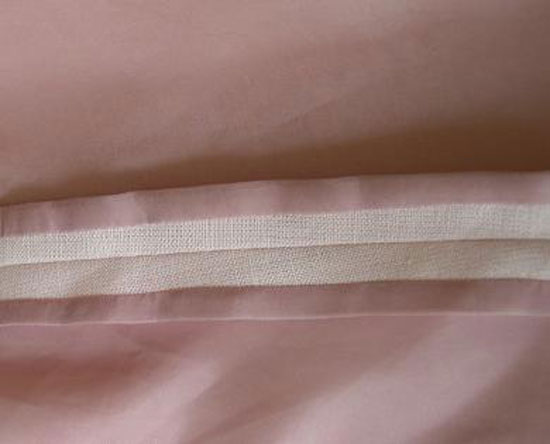
I bound each edge with the bias strips, a task that took quite a while but was ultimately worth it.
With the exception of finishing these edges, this skirt is actually pretty easy to construct and doesn't require as much fabric as you might think. The pattern piece fits on the width of a 45" piece of fabric which means you need two skirt lengths (plus some extra for a waistband if you wish), about the amount required for most skirts. I decided to finish the waist with a bias strip of the corduroy fabric (remember to remove the upper seam allowance if you choose this method). I hand picked my lapped zipper and used a hook and eye to close the top of the waist. I'm very pleased with the results. I'm hoping the underlining will keep the wrinkles to a minimum.
The top I'm wearing deserves its own separate post since it was a great learning experience, so I'll write about that in a day or two. I'm already underway on my next project and will have pictures of that soon, too. Thanks for visiting.
 garments, sewing