


Making Aprons
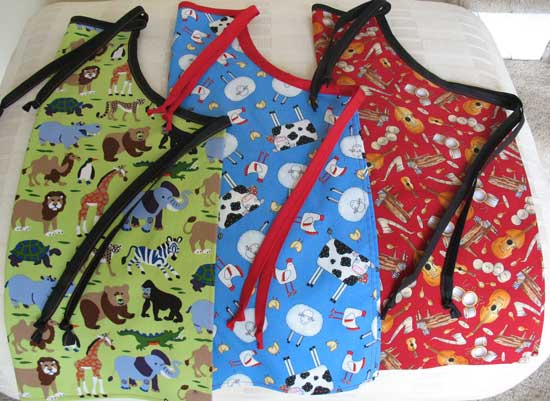
The last few weeks have seen a lot of apron creation going on at my house. I have been making aprons for my kids for a while now once I discovered that most of their food was ending up in their laps and any bib they had on didn’t help a bit with that problem. Recently I decided I needed a few more in the rotation so I made another four. These are so fast and easy to make that I wrote up a tutorial which you can find here so you can make some of your own.
While I was on an apron roll I decided to make one for myself. I don’t often wear an apron (but if I splash turmeric on my white tee shirt one more time I may just be converted) but Sunday morning is the one day I have time to cook breakfast for everyone and I am usually already dressed for church. So I thought I would make a cute apron to protect my clothes. A couple of years ago my friend Karen brought an apron to show and tell that her daughter had made and it was beyond cute. I immediately went out and bought the pattern and knew this was the one I wanted to make: Butterick 4945. I chose View D which has a circular flounce around the bottom hem.
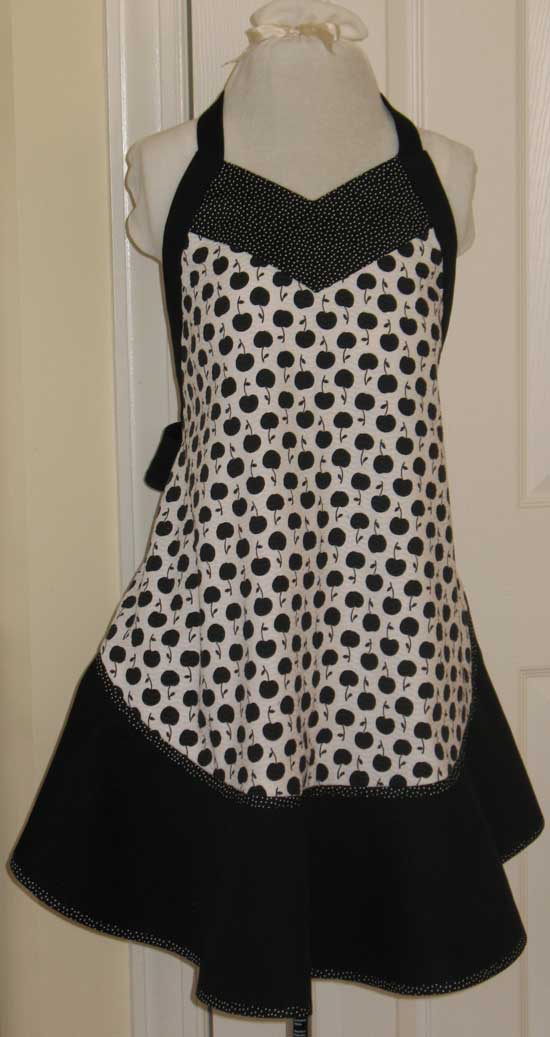
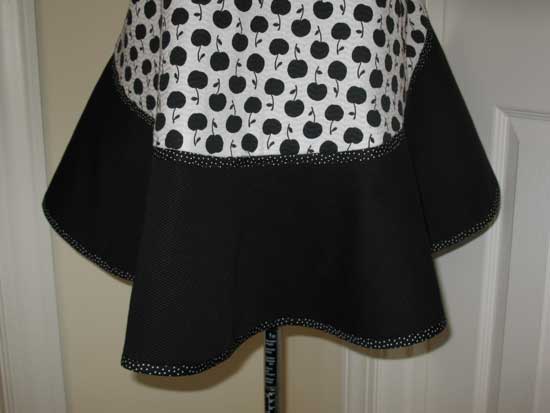
The main fabric is a black and white cherry print seersucker which my mother bought many, many years ago. She gave me this piece of fabric and I had intended to make a maternity top from it but never got around to it. Since I won’t be needing one of those again J I decided it would work well for the apron. The solid black contrast that I used for the flounce and ties is also seersucker and the microdot is cotton quilting weight fabric. I bound the bottom hem with a bias strip of the microdot and inserted another strip between the flounce and the apron body. I used the same microdot for the neck facing and turned it to the outside as shown in View C.
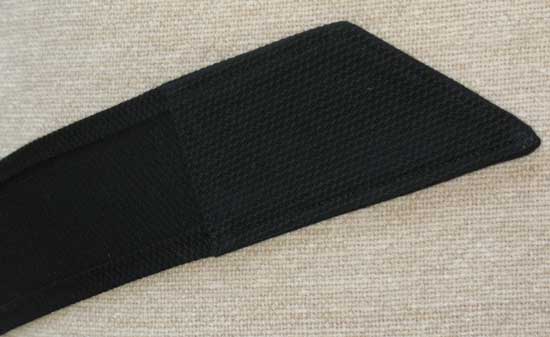
I had tremendous trouble finishing the ends of the ties. The instructions are to make a narrow hem along all edges, mitering the corners. After three attempts I decided to face the ends. I cut a section of fabric the same shape as the end of the ties and about 4-5” long. I finished one edge and sewed the two pieces together. When the facing was turned it nicely finished a difficult-to-sew angled edge.
I love how this apron turned out with the flippy little hem and stylish lines. I haven’t had the nerve to wear it yet though, as I’m afraid I will spill something on it!
 Julie Bowersett