Factory Technique, Ready-to-Wear Style Elastic Waistband Tutorial
 Wednesday, May 4, 2011 at 9:32PM
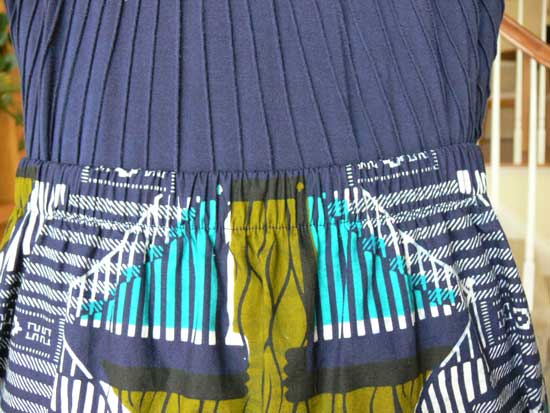
I first learned this technique from my friend Patricia, the woman I count as my sewing mentor. I’m grateful that she taught this to me as I use it frequently and find the result much nicer than elastic through a casing. This waistband cannot be altered once it is complete so check your fit carefully before embarking on this project. My instructions show the use of a serger but you can substitute an overlock stitch on your sewing machine if necessary.
When cutting out your garment, allow a fold over, cut-on waistband allowance equal to the width of your chosen elastic. For instance, if you are using 1.25” elastic you would leave 1.25” at the top waist edge above the finished waist line.
Make sure you use sew-through elastic for this project. To determine the cut length of elastic, measure the garment wearer’s waist and subtract from 2- to 4-inches, depending on how tight you like to wear your waistband. Making sure you don’t twist the elastic, butt the cut ends together and use a wide zigzag to stitch across the cut edges, joining the two ends together. You can also reinforce this seam by placing a piece of tricot or Seams Great beneath the seam (or wrap a piece entirely around the cut ends). Try on the elastic and make sure it is a comfortable fit before proceeding.
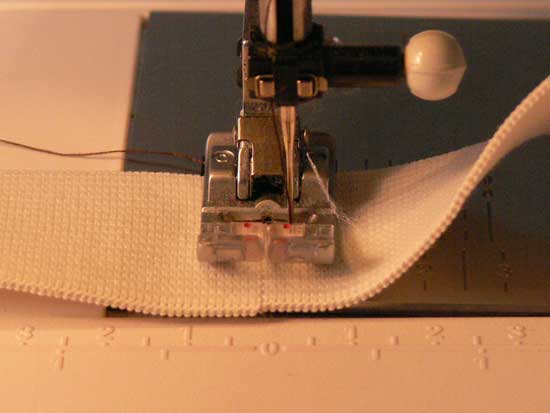
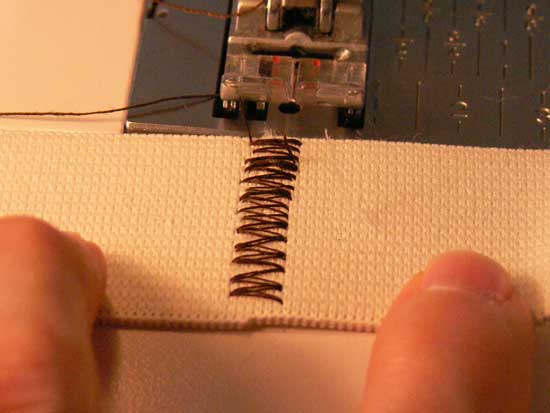
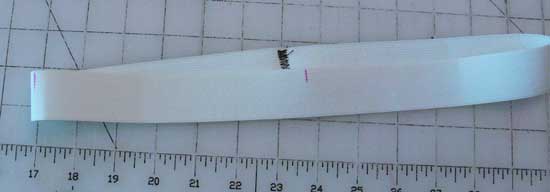
Mark the elastic in quarters, using the just sewn seam as one mark. To do this, fold in half along the seam and mark the resulting fold using a marking pen. Next, match that mark to the sewn seam and mark the two resulting folds. Set the elastic aside.

Prepare your garment in a similar fashion. To quarter the waist line mark the center front and center back then bring these two marks together. Mark the resulting two folds (these marks may or may not fall at the side seams).

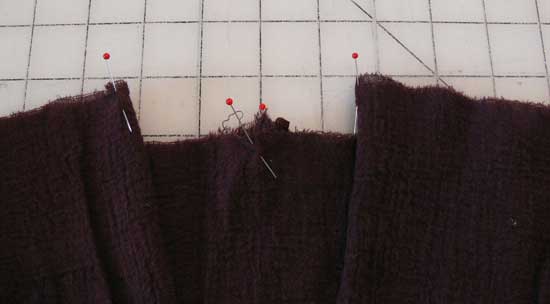
Pin the elastic to the wrong side of the garment, aligning the top edge of the garment with one edge of the elastic. Match and pin the center back of the garment to the sewn seam on the elastic. Match and pin the remaining three marks. Allow the fabric between the pins to drape naturally.
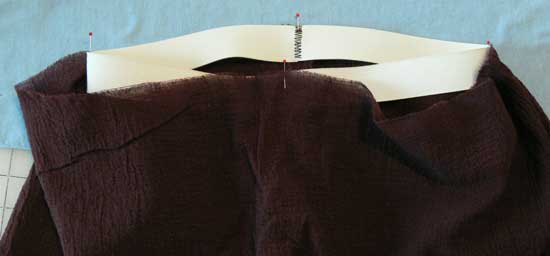
For the next step you may feel more comfortable basting the elastic in using your sewing machine the first few times you attempt this technique. With practice you will be able to skip that step and go straight to serging the elastic onto the garment.
Serge with the elastic on top of the garment fabric. Begin at the center back seam and sink your needle into the elastic/fabric, placing the edge of the elastic next to but not over the knife’s edge (you could also disengage your knife if you wish).
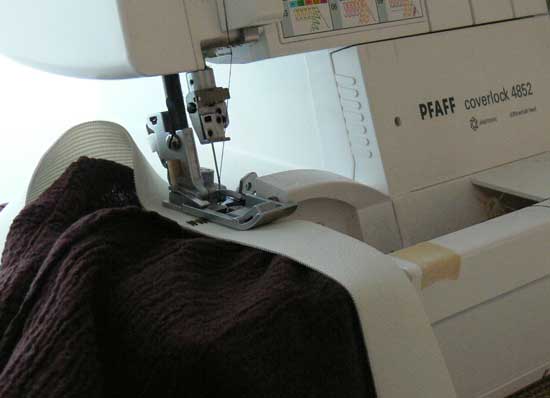
Place your left hand behind the needle and hold the elastic and fabric together near the center back pin. Place your right hand on the next pin in front of the needle. Stretch the elastic until the fabric is flat and flush with the elastic. Holding this area taut, serge the edge. Make sure you do not cut the elastic while you are serging and remove pins as you come to them.
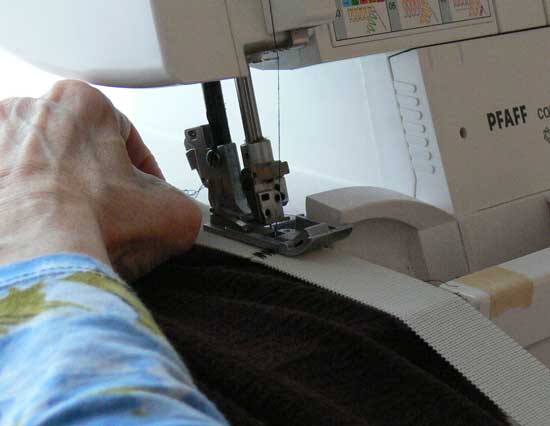
When you reach the next pin, stop with the needle down through all layers and reposition your hands, placing your left hand close to and behind the needle and your right hand at the next pin in front of the needle. Stretch the elastic until the fabric is taught and continue serging. Repeat this step until you reach where you started and serge off the edge.
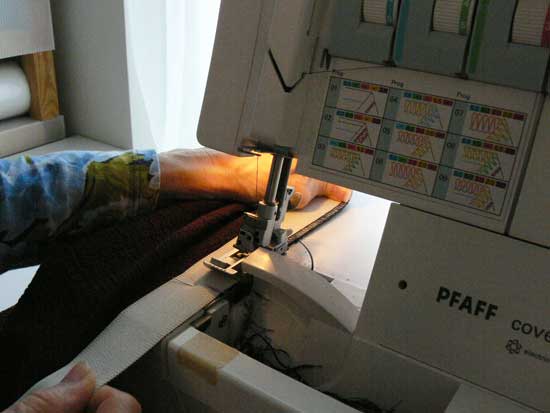
If you have difficulty managing the fabric, you can mark the elastic and garment waistline in eights instead of fourths. This makes the amount of fabric you need to stretch at one time much smaller.
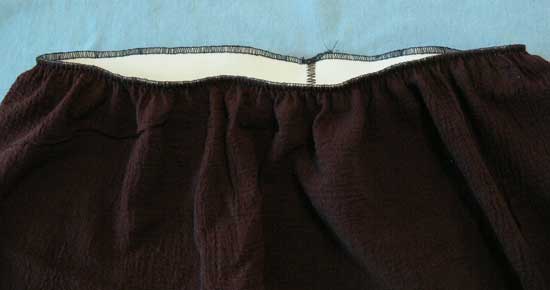
Fold the elastic to the wrong side of the garment so the fabric covers the elastic. Pin the elastic in place, placing four pins roughly where your quarter marks were previously.
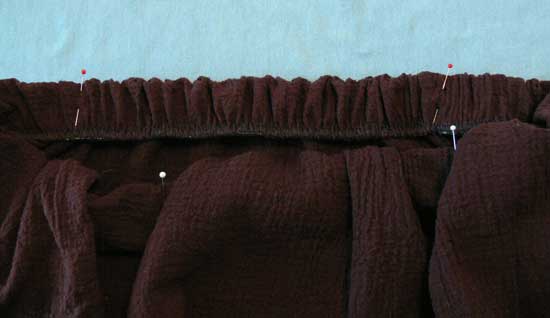
Move to your sewing machine. Stretch the elastic between two pins and, using a lengthened straight stitch, edge stitch along the serged edge through all layers. As before you will move your hands between the pins as you progress. Leave your needle down in the elastic/fabric when repositioning your hands. Continue until you reach where you started .
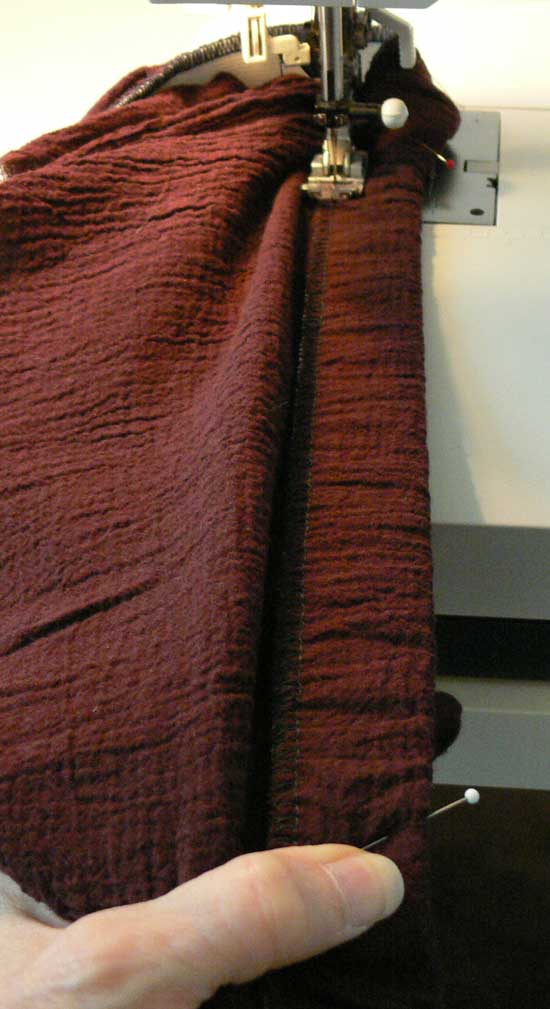
Heavily steam the waistband/elastic and watch it (literally) shrink back to its original size and shape. Admire your completed waistband.

 elastic waistband,
  tutuorial in
  sewing,
  tutorial


