


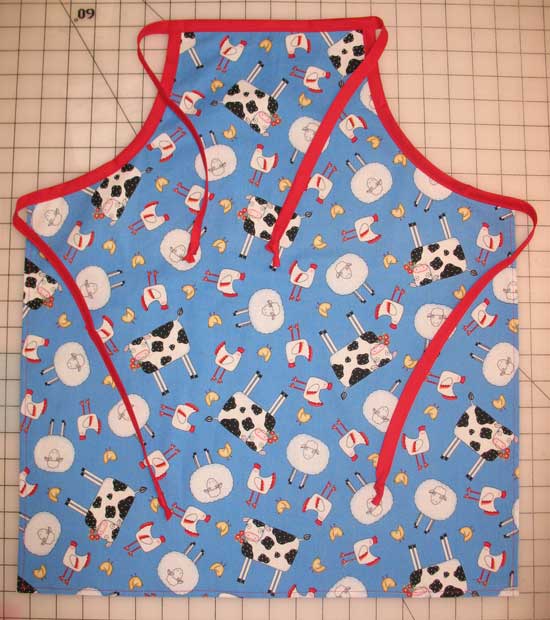
Child's Apron Tutorial

I've made a handful of these aprons for my kids to wear. They cover clothing, especially laps, better than bibs. They are super simple to make and quick -- once your pattern is made you can whip one of these up in about 30 minutes.
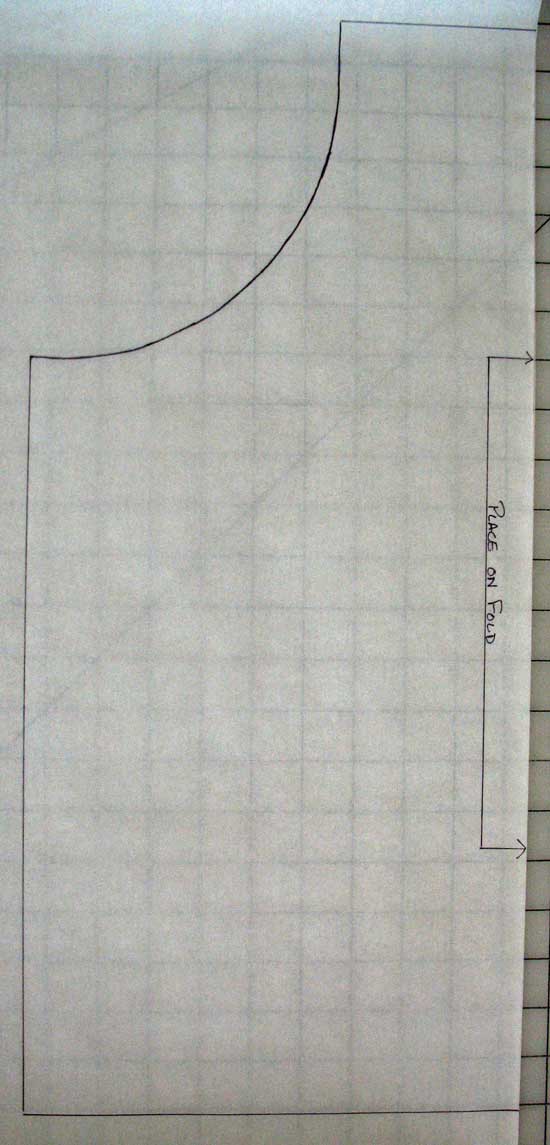
First, create a paper pattern. The apron I made is designed to fit small children, about ages 2 through 5. Increase the dimensions as needed. Begin with a rectangle 10” x 22” and orient it with the long edges running vertically. From the lower left corner measure up the long edge 15” and make a dot. From the top right corner measure across the short edge 4” and make a dot. Connect these two dots with a pleasing curve (you can trace the edge of a curved object such as a plate). Cut out the pattern along these lines and mark the longest edge with an arrow and notation to cut on the fold.
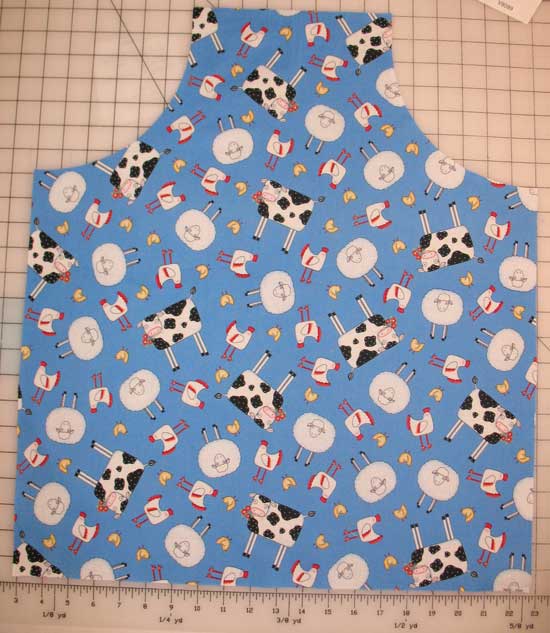
Using this pattern, cut one fabric piece on the fold.
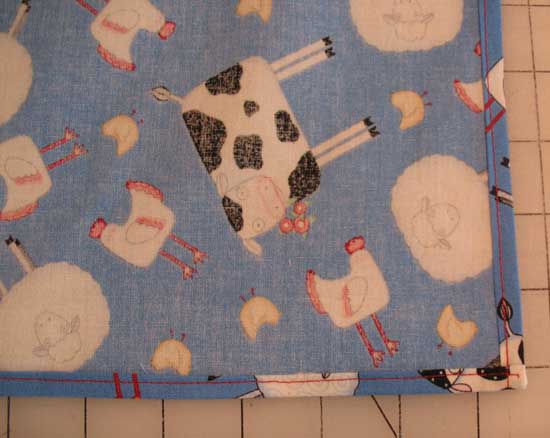
Fold the bottom hem under ½” and press (I like to use a poster board template cut to ½” to help with this task. Simply fold the fabric up to meet the edge of the template and press.)

Open out the hem and fold the cut edge under to meet the fold, making a ¼” hem.
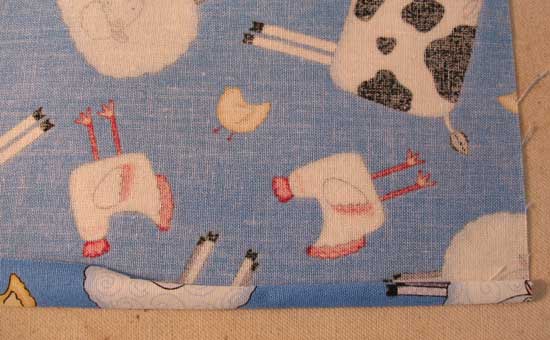
Press and stitch in place. Repeat this procedure for both side edges below the curve.
Apply the bias tape ties. Begin with the two curved edges. Measure 15” in from the end of the bias tape and place a pin. Aligning the pin with the hemmed side edge, sandwich the fabric between the bias tape fold, make sure the narrower layer of the tape is on top. The 15” will extend past the hemmed edge and serve as one of the ties. Cut the bias tape even with the top edge of the apron. Repeat for the other side.
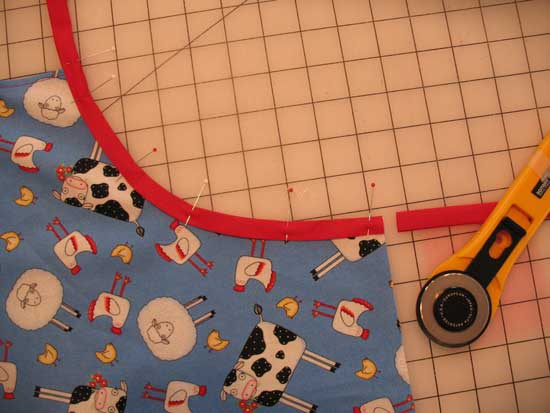
Stitch close to the edge of the bias tape from the right side. Continue stitching along the tie to the end of the tape. Make an overhand knot in the ends of the ties.
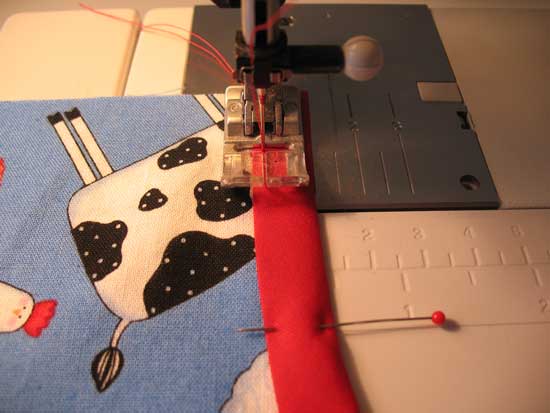
Now apply the bias tape to the top edge of the apron. Measure 12” and place a pin. Match the pin to the outer edge and sandwich the fabric between the bias tape fold, again making sure the narrower layer of the tape is on top. Before cutting the bias tape measure another 12” for the tie and cut at the end of this measurement.
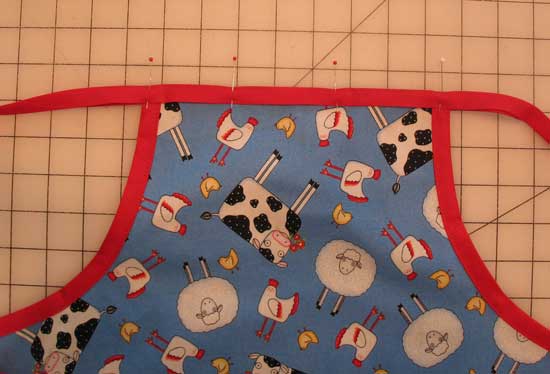
Beginning at the end of the tie, stitch close to the edge of the bias tape from the right side. Continue stitching along the tie to the other end of the tape. Make an overhand knot in the ends of the ties.
 Julie Bowersett
Reader Comments (1)
The apron looks easy enough.
I will give it a go today.
Thanks for the tutorial.