


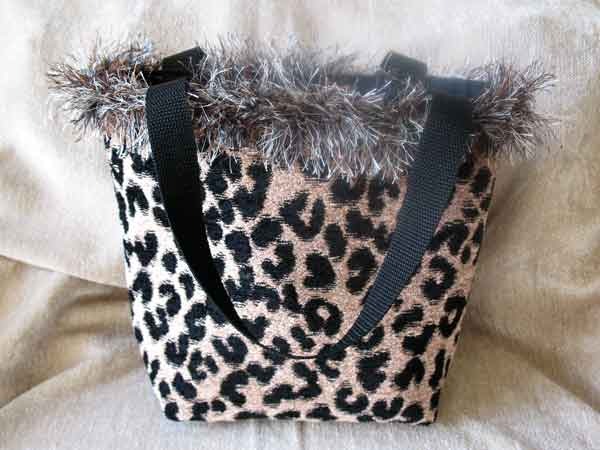
The Safari Bag
The design for this bag was based loosely on the size of a commercial paper gift bag. Of course you can make your bag any size you want but when finalizing the dimensions I took into account how many bags I could cut from 54” fabric since I was planning to make 12.
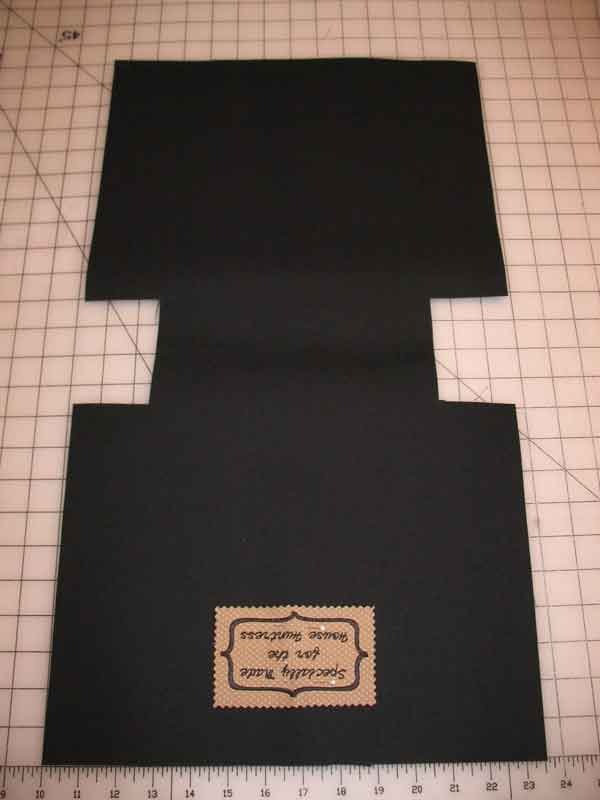
First, create your pattern. Using drafting paper draw a rectangle measuring 13.5” x 24” (this will allow for laying out four bags across 54” decorator fabric). Mark the center of the long dimension (12” above and below the line). Now draw the cutouts which will make the corners of the bag. At the center mark, measure in 2.5” and draw a line parallel to the long edge. Measure 1.75” on either side of the center mark and draw lines perpendicular to the last line. You will have a rectangle measuring 2.5” x 3.5” spanning the center mark on the bag. Repeat on the other long edge. Along both short edges measure in 3 inches from the outer edge and make a mark on the pattern for strap placement.
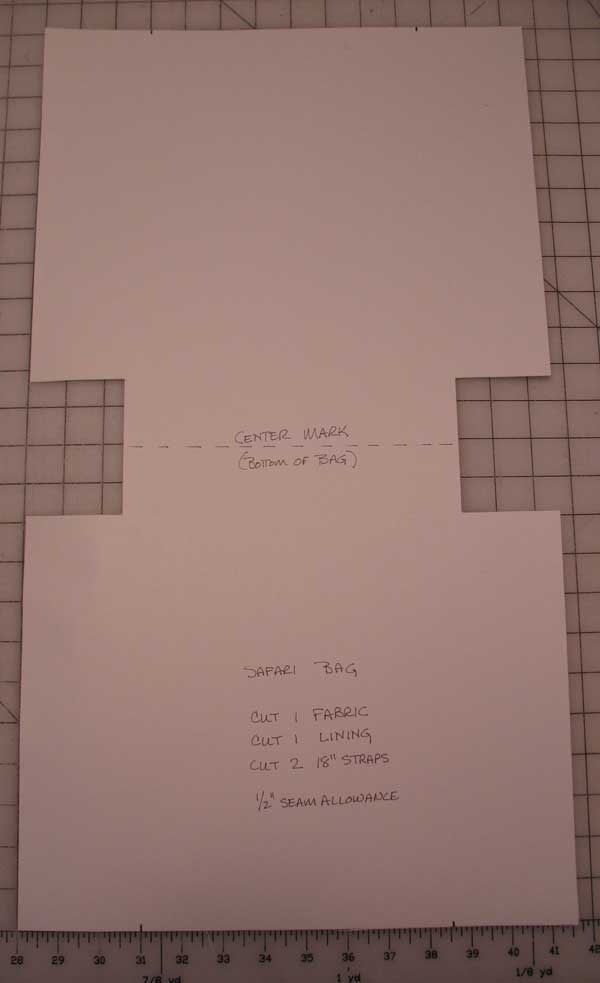
Cut out the pattern, removing the paper in the rectangles you just created. If you plan to use this pattern repeatedly you may want to cut one from poster board or some other durable material.
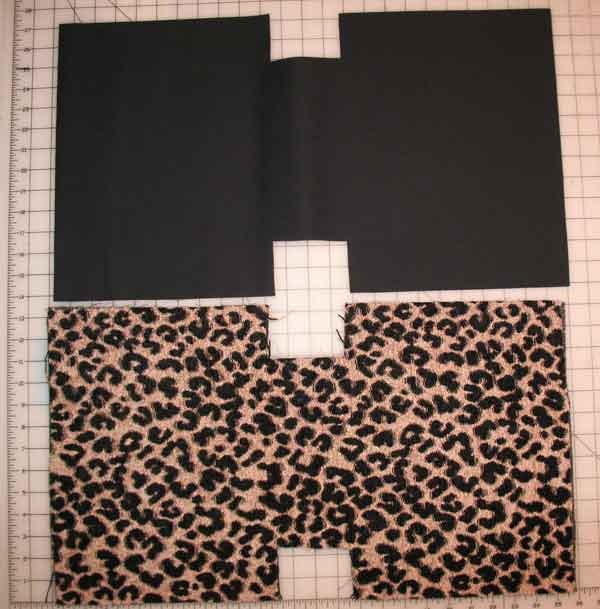
Cut one outer fabric and one lining from the pattern.
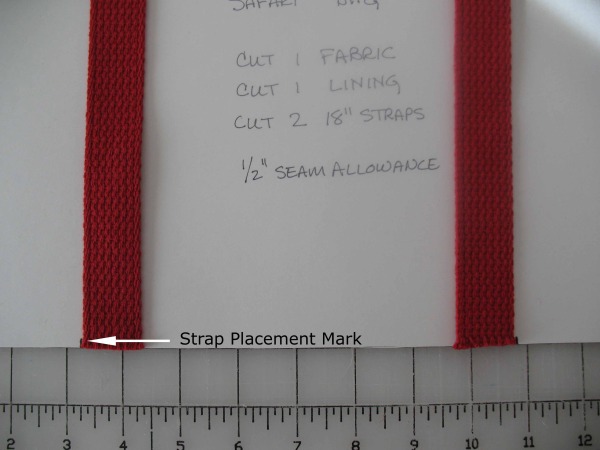
Make 1/8” snips at the center mark on both edges (two snips for each fabric layer) and at the strap placement marks along the short edges on the lining fabric only (four snips).
Cut two 18” straps from webbing (or create your own straps from fabric). If you are using a custom label sew it to the lining fabric now. I centered mine 1.5” from the top cut edge. You can also add pockets to the lining at this point if desired.
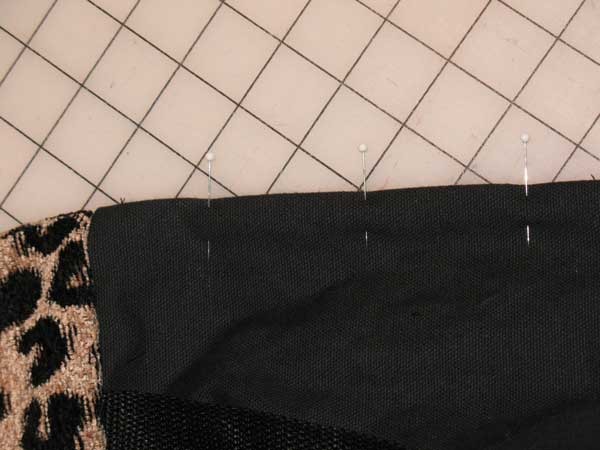
Baste the straps to the lining fabric before you begin constructing the bag (you can do this step later but it is easier to do while the fabric is flat). Place the right side of the strap against the right side of the lining fabric, cut edge of strap even with the top edge of the fabric. Place the strap to the inside of the strap placement snips. Pin in place. Repeat with the other end of the same strap and the other snip mark (ensure that strap is not twisted). Repeat with the other strap on the opposite end of the fabric. Baste across the straps ¼” from the fabric edge.
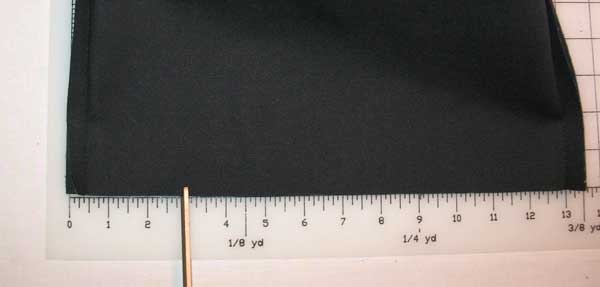
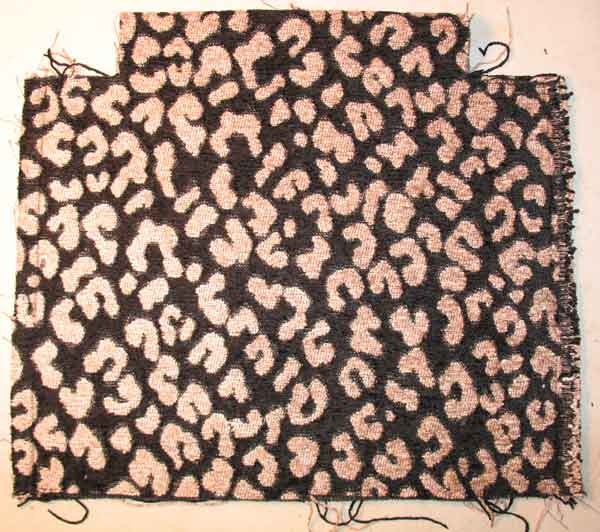
With right sides together fold the outer fabric along the center snips and stitch the sides seams using ½” seam allowances.
Press the seams flat then press open (a point presser makes this task easier).
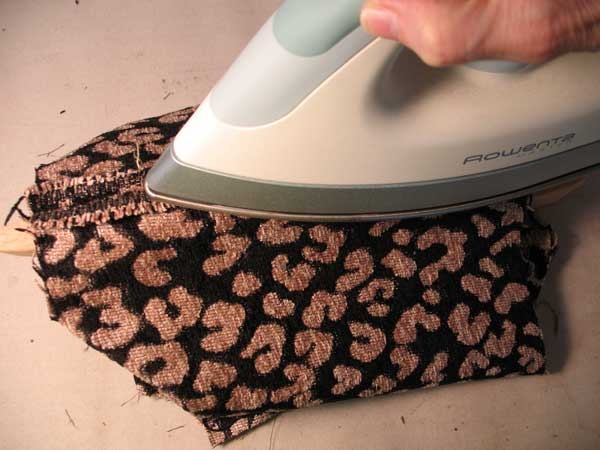
Repeat with the lining fabric, leaving a 5” opening in the middle of one side seam for turning. Press the seams flat then open.
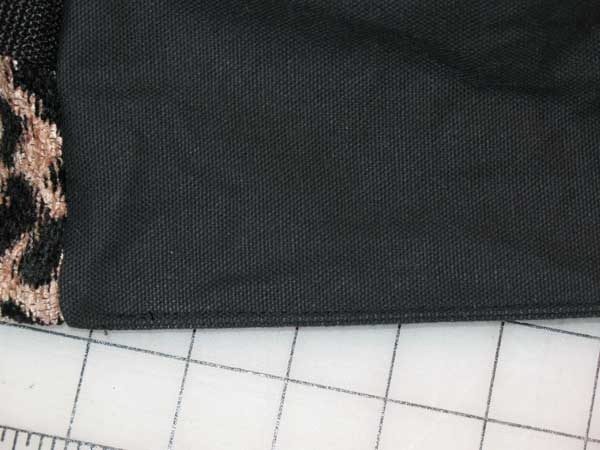
Box the corners of the bag by aligning the cut edges of the cut out rectangles, matching the side seams to the center mark snips. Pin, stitch at ½”. Press the seam flat only. Do this for both the outer and the lining fabric. Turn the outer layer right side out. Leave the lining wrong side out. Drop the outer layer into the lining layer, right sides together, matching side seams. Pin along the upper edge and stitch around entire edge, overlapping the stitching at the beginning and end. Carefully press this seam flat and open.
Turn the bag right side out through the opening in the lining. Reach through the opening and push the corners of the outer fabric layer out. Do not do this on the lining layer. Sew the opening in the lining closed. You can do this my hand or machine. If by machine, pin the edges of the opening together and edgestitch 1/8” from the folded edges.
Push the lining down into the outer bag and finger press the upper edge. Press lightly with the iron. Topstitch around the top edge of the bag.
You can stop at this point or add trim around the top edge of the bag. Measure around the top edge of the bag to determine the length needed. The eyelash trim I used on these bags was created using three different colors of Lion brand Fun Fur yarn (black, brown, ivory). Holding all three colors together, knit an I-cord the length needed. For a full look make sure you knit your stitches loosely. For instructions on creating an I-cord please see this video. http://www.youtube.com/watch?v=jcGj6tpqeJA
Tie the two yarn ends together forming a circle with the trim. Fold in half at the knot and mark the other fold with a pin, dividing the trim circle in two. Match the knot to one side seam (orange pin) and the pin to the other side seam (yellow pin), placing the trim around the top edge of the bag. If possible, use long, flat head pins to pin on the trim; take a tip from the operating room and count your pins as you insert them and then again as you take them out – don’t lose a pin in the thick trim!

You can sew the trim on by hand or machine. If sewing by hand use a curved needle and a backstitch. For machine stitching make sure you have used plenty of pins to hold the trim in place. Sew from the lining side of the bag directly on top of the previously stitched topstitching. The trim will be down against the feed dogs. Use a large tapestry needle to bury the yarn ends into the trim.
 Julie Bowersett
Reader Comments