Cake Pops, Burger Cookies and Birthdays
 Friday, October 11, 2013 at 8:37PM
Hello, friends. Wow, I have been missing in action for quite a while, haven't I? I am not even going to offer any excuses except to say that life has gotten in the way of my creativity lately. But recently my sewing mojo has been seeping back in and I have managed to spend several days this week in my sewing room. I've been spending even more time in my kitchen in the last few weeks; fall is birthday season at our house and I have been making and baking like crazy. Since I don't have any of my sewing projects ready to reveal I'll share the goodies I've been making.
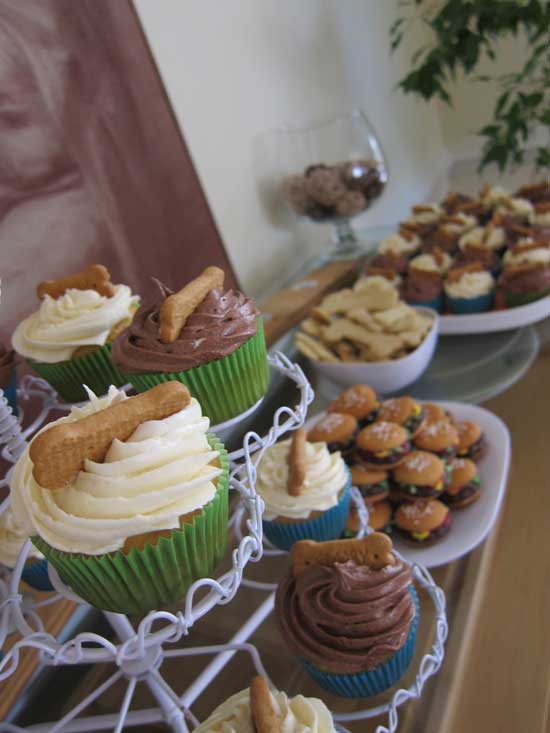
I like cupcakes. I have always liked cake, and since I've found a great icing recipe I even like that, too. This year I decided to try out a chocolate version based on the same recipe. Here's a link to the site where I found the recipe. I added extra cocoa at the end as suggested in the recipe. This definitely boosted the chocolate flavor but I found it added a bitterness that some kids might object to. I think I might up the sugar a bit next time, or try adding more semi-sweet chocolate.
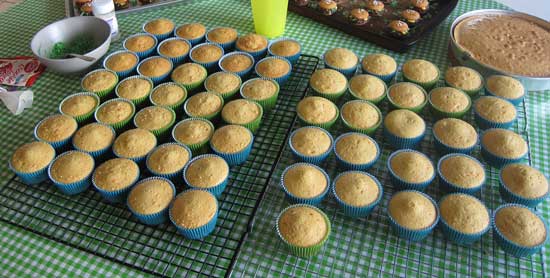
I baked a lot of cupcakes. I also baked an extra layer cake to make some cake pops. Cake pops have been around for a while but this was my first attempt at them. Bakerella is credited with this craze, and I used her book on the subject to get started (her website is full of ideas and recipes). I read a lot of helpful hints on the internet and found lots of differing opinions about the best way to make them. Most people agreed that their first attempt was far from perfect. My experience was the same.
Folks also disagree on the best method for making the cake balls that become cake pops but the general gist is that you bake a cake (boxed mix is fine for this) and once cooled crumble it up into fine crumbs (with your hands, a mixer or any other tool you wish to try). Add (canned) frosting, anywhere from a few tablespoons to 3/4 of the can. Mix this up (again, by whatever method you prefer; I used my stand mixer) until you have a soft dough. You then shape the dough into round balls (I used a cookie scoop for portion control). Again, people don't agree on whether you have to chill the balls at this point -- I found it was necessary. I actually made up several batches and put them in the freezer until I was ready for the next step.
The first batch I made I tried candy melts as the coating without a good result. First, I don't really like candy melts. I don't like how they taste and I don't love the artifical coloring (you will notice that with most of my cupcakes and baked goods I stick with vanilla and chocolate). Once it was apparent that I was going to have trouble with the melts I quickly switched to melted chocolate chips (mixed with a small amount of vegetable oil) and had good results with that. For my first batch I dipped the balls in semi-sweet chocolate and sprinkled on some star and tiny ball sprinkles.

These were really fun (and a great size) to send to school for my youngest son's birthday.
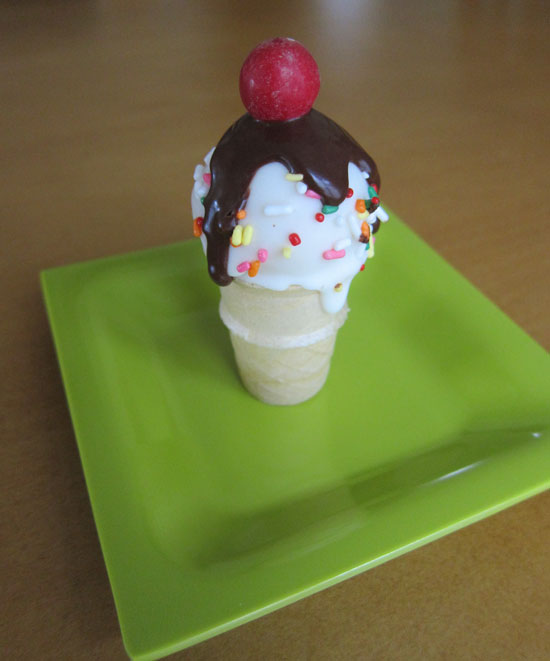
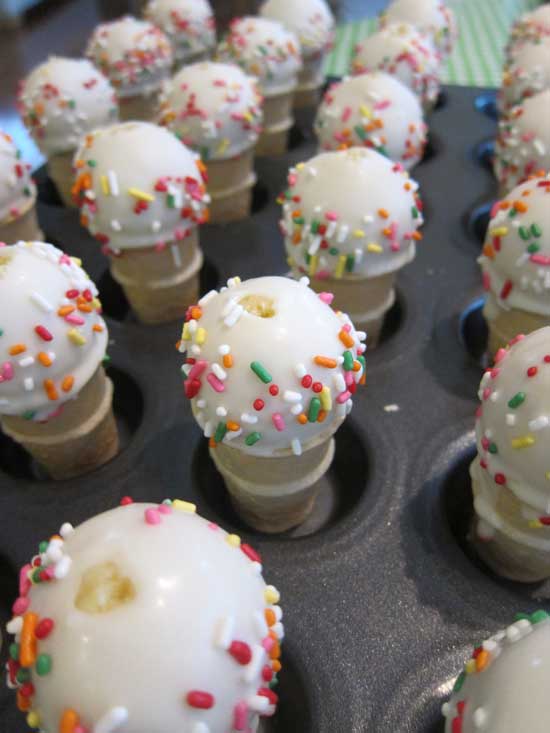
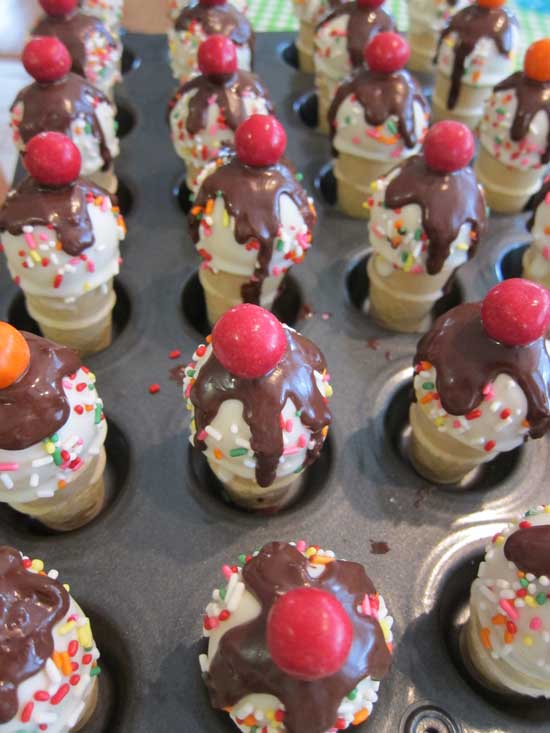
The second batch I attempted worked much better. These were a lot more complicated than the first but not hard, just a little time consuming. I made the cake balls as before and dipped them in melted white chocolate chips, then set them into mini ice cream cones (you can find these Joy brand cones at Walmart). It's OK if the coating drips down the cone a little. While the chocolate is still soft, add some sprinkles.
For the chocolate sauce I melted semi-sweet chocolate chips and thinned them down with vegetalbe oil. I poured it into a squeeze bottle and used that to drizzle it over the top of the cookie ball. The "cherry on top" is a pretzel M&M though you could use plain or peanut M&Ms or even cinnamon candies.
It's a little hard to get a sense for the scale of these from the pictures. Here's one of me holding one of the finished cones
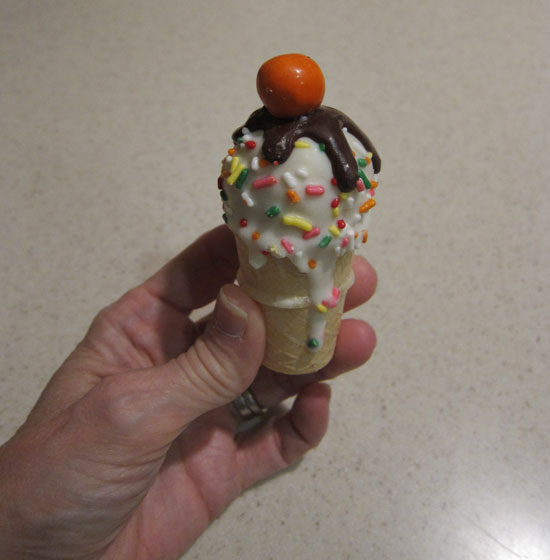
and another with the mini cones next to a full-sized cone.

These were really delicious and I will make them again.
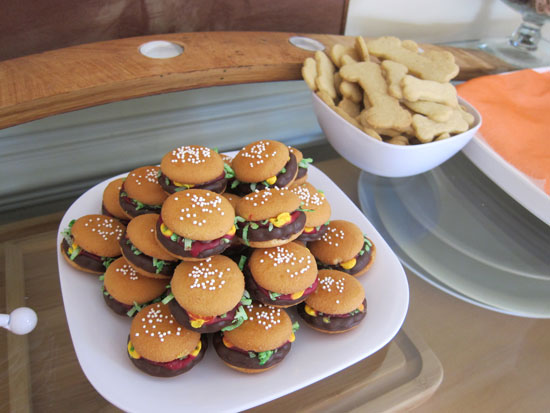
I also made some really cute hamburger cookies for my kids' birthday parties. I first heard about these cookied from my sister-in-law Sue who made them with her grandkids this summer. These are really easy -- they require no baking, just assembly.
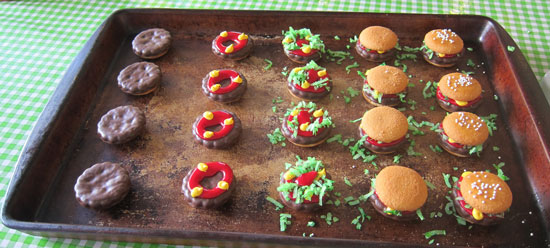
This picture shows the steps by row. First lay down a vanilla wafter with the flat side facing up (not shown). Top each wafer with a Thin Mint-style cookie (I used Keebler brand Grasshopper cookies). You can either place them in the oven for a minute to melt the chocolate a bit to adhere to the wafer or use a squirt of icing as "glue" (the latter is a more sure method). Next, using red and yellow icing add some ketchup and mustard. Tint some coconut with green food coloring and sprinkle it on the icing. I added another little dollop of icing in the middle after this step to act as glue and topped the whole thing with another vanilla wafer. The original recipe called for real sesame seeds on top but I knew my kids would balk at that so I used tiny white sprinkles. I used my finger to rub a little light corn syrup on the top cookie to help the sprinkles stick.
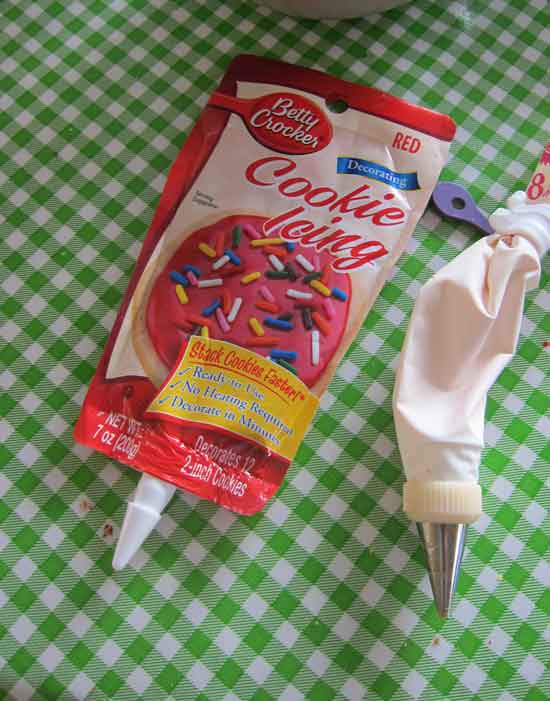
This is the icing I used -- it worked great as it sets up and glues everything together nicely. I had to mix my own yellow as I couldn't find the color I wanted in the store.
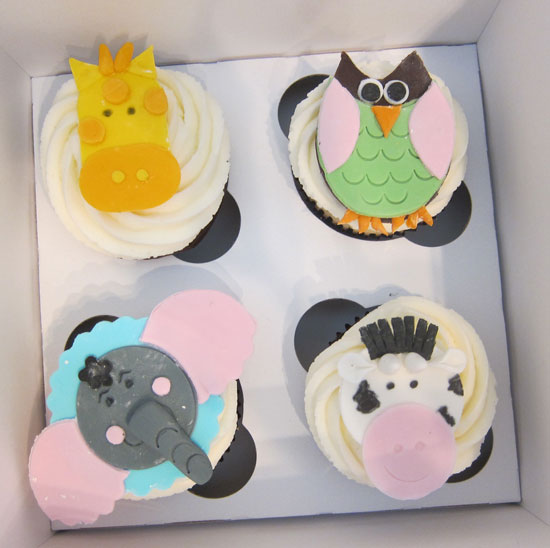
I also treated myself to a cupcake decorating class at the lovely Occasionally Cake. In this class we learned to make rolled fondant animals to use as cupcake toppers. It was fun but I now know why bakeries charge $6-7 for one of these. I think I'll stick to frosting that tastes yummy and work on perfecting my swirl technique for icing cupcakes.
Now that birthdays are out of the way I have turned my attention to Halloween costumes and three challenges that are coming due very soon. The first is one sponsored by my sewing guild chapter. Each participant was given one yard of the same fabric and charged to create something from it. I can't share my project until after our annual meeting which takes place on October 26th. My ASG Neighborhood Group is also holding a challenge. Members exchanged fabric pieces at the beginning of the year with instructions to decorate, embellish or change our given piece anyway we want. We'll be returning the fabric to its original owner in November. The third challenge is one that I am very excited about. It is being sponsored by Sarah Veblen. Sarah is offering several challenges each year to help sewers approach problem-solving in a creative way. For this first challenge participants are asked to use one of Sarah's Dressy Dresses as inspiration to create a casual garment. You can find more information here. I hope you will consider joining me in this fun challenge.
 cake pops,
  challenges,
  cookies,
  cupcakes in
  edibles


