


Summertime Pool Robes
Last year I made my boys some robes to wear to the pool. In that post I mention that just as I finished these I came across the Beach Robe pattern from Dana over at Made and noted that I might try that next time. So, when one of last year’s robes turned out to be too small this year, I knew where to go. If you search the internet for reviews on this pattern you will find dozens of glowing ones. I think this pattern has lots going for it: great style, easy construction, useful pictures in the instructions. There are, however, a few things I did differently and I’m going to talk about them here.
The first robe I made was for a gift for one of my son’s friends. If you’ve been reading my blog for long you might remember that I get very excited about making birthday gifts for girls. In fact, each of the girls in my son’s class has been gifted with a frilly apron with her name embroidered on it. This friend, however, is really not the frilly apron type (her little sister might have been thrilled even though it had the wrong name on it). I know that “L” has been taking swimming lessons this year, so a pool robe seemed the perfect gift.
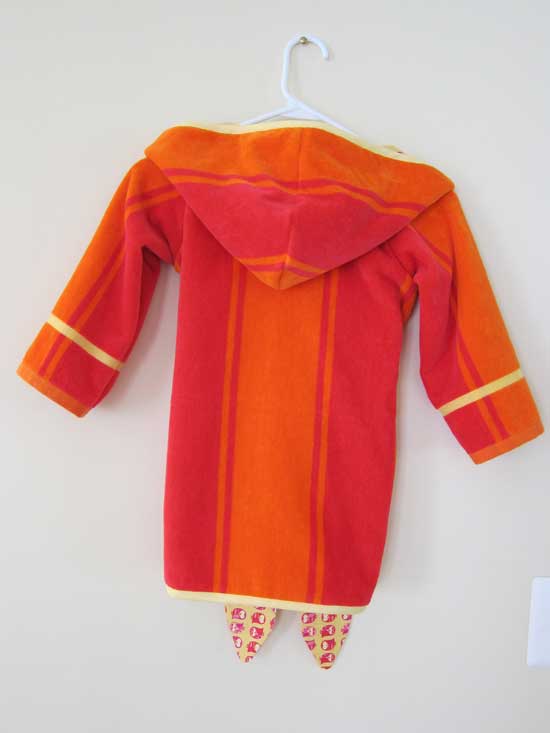
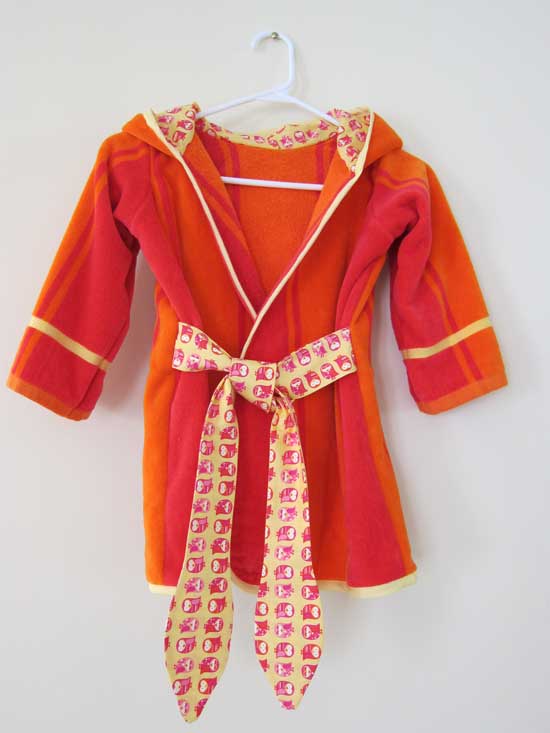
I found a nice quality towel at Kohls in the hot, hot colors I love to work with. It had a regular stripe pattern which also made it easy to work with. During the cutting out phase I did two things differently than the pattern suggests. First, I placed the sleeves along one of the finished edges to take advantage of a woven stripe (yellow) and to eliminate the need to bind the cuff. When it came time to cut out the hood I paused; I wanted the stripes to match the center back but since the back is cut on the fold and the hood is two pieces I had to do some fancy footwork. I removed the seam allowance at the very bottom of the hood and placed it on the fold just as I did the back. Only the bottom few inches ran along the fold, the remaining seam forming a sort of dart above. This was simple to sew and allowed me to match the lower hood edge to the back piece. I cut the lining per the pattern piece and it worked out just fine.

The ties gave me fits. I could not get the bias binding around the tie in a neat manner to save my life. I tried 3 times. First I gave up on a curved end and tried for a straight one. Neither worked. The pattern recommends you sandwich the towel pieces between the binding edges and stitch in one pass. I even tried applying the binding the traditional way (open it up, straight stitch it on, fold it over and topstitch). Ultimately I gave up and made the ties from the contrast fabric I was using. I liked that result best.
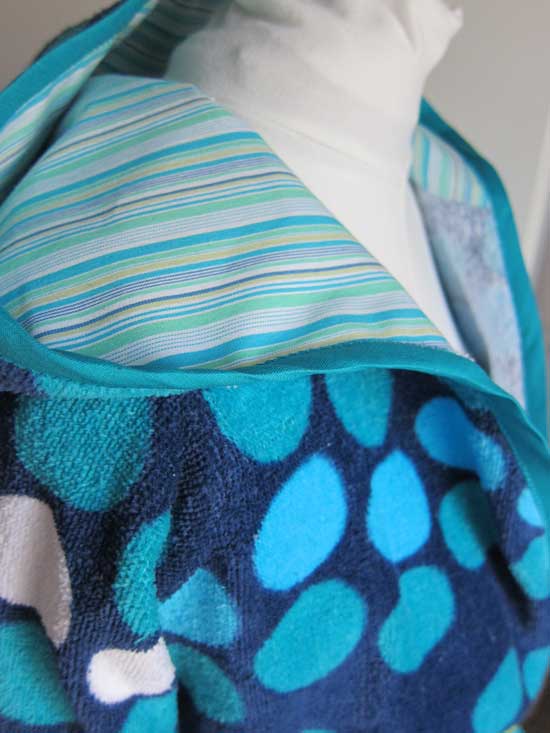
Dana recommends two methods for applying the hood. I have one I think is better if you are using a lining. She suggests turning under the bottom edge of both hood pieces to finish them and topstitching in place. An easier way is to sandwich the robe neck edge between the two hoods and stitch it in one pass. Place the right side of the hood to the right side of the robe; place the right side of the lining to the wrong side of the robe. Stitch the seam and then flip the lining up into the towel hood. Bind the edges as one.
Here’s a picture of the birthday girl wearing her robe.

I think she was happy with this gift. Here’s what she told her mom: "I can't wait to put it on when we go to the pool so that I can be warm and cozy and eat snacks and then when I am ready to swim again I can take it off fast." In the thank you note she wrote she drew a picture of herself wearing the robe .
With that deadline past I could now turn my attention to the robes for my boys. This time I bought some towels from Target. They were *very* inexpensive but also a much lower quality than the one I got from Kohls. The major drawback is that the wrong side of the towel is not printed, so it is unattractive. They were also smaller so I needed a total of three towels for two robes. In the end this worked to my advantage, and if you can make two robes at once there are a few tricks you can employ.
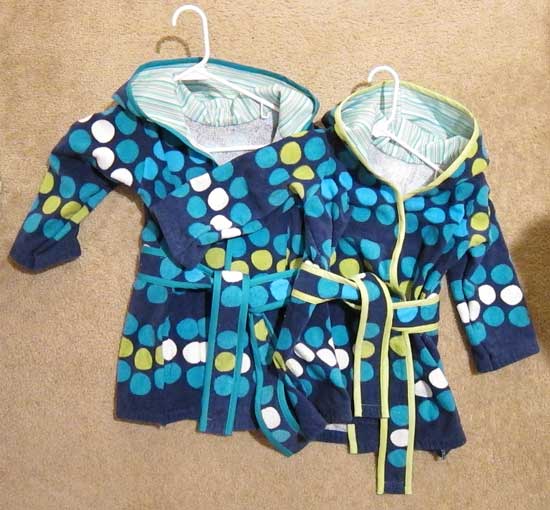
In the pattern, Dana cautions about following a nap layout with terry cloth. I really like to use the finished edges of the towel whenever possible, but doing so with only one towel means the fronts and back would have a different nap direction. Since I was making two robes I was able to cut one in one nap direction and the other reversed, using two towels and swapping out the pieces so they matched. Because these towels were small I cut one back on the fold, two fronts and the tie pieces from one towel (repeating with the second towel), the hoods and sleeves for both robes from the third towel. I placed both the bottom hem and the sleeve hems along the finished towel ends.
These towels were thinner than the one I sewed first so I had an easier time with the ties. I did apply the binding in the traditional method both on the ties and around the front/hood opening. I used a zigzag stitch for the topstitching to add extra security. The only difference between the two robes is the color of binding I used on them.

So here are a couple of other things I did not like about the pattern. Some of the seams were not true. I am willing to admit this might be a printing issue. The pattern comes as a downloadable PDF which you print on your home computer and tape together. It was particularly noticeable on the armhole/sleeve cap. At first I thought this was because Dana prefers the set-in sleeve method (do yourself a favor and use the flat construction method) and I assumed the extra was sleeve cap ease until I realized the extra was in the armhole, requiring me to “reverse ease” the sleeve in. The design is forgiving and it didn’t matter in the end. The instructions are full of detailed pictures and are easy to follow, though the writing style of the instructions is chatty and informal which I don’t prefer.
All in all, this is a pattern I will keep in my repertoire and reuse. It makes a great gift and works up easily and fairly quickly. Adding contrast fabric can really up the style quotient and make it unique.
Our pool changes over to summer hours tomorrow and I’m hoping these robes get a lot of use. Happy weekend to all.
 Julie Bowersett
Reader Comments