


A Dress Form for a Fabulous Fit
Last evening and earlier today I spent my sewing-room-time working on a different kind of project. Many pounds, inches and two children ago I had a dress form that suited my needs well enough. It didn’t really mimic my silhouette, but I could dial up the right circumference measurements anyway. I never used it for fine fitting but did find it useful for pinning in hems, displaying garments, etc. Recently while working on my blue wool crepe dress I realized that the form was really very far from my size and decided to try and do something about that. That “something” came in the form of a Fabulous Fit kit which provides a form-fitting cover and lots of pads to custom create a dress form in my image.
This post is going to “expose” a lot more of me to the internet community than I’m strictly comfortable with, so I may as well start now. One of my fitting challenges is a very low bust point. I need to move my bust apex down quite a lot on commercial patterns. My “dial-up dolly” had perky breasts that bore no relation to where the actual anatomical parts reside. I was able to use the pads provided in the kit, along with some hefty shoulder pads and lightweight quilt batting, to get a pretty good replica of my figure, low bust and all. It’s not perfect but it’s a lot better than what I started with.
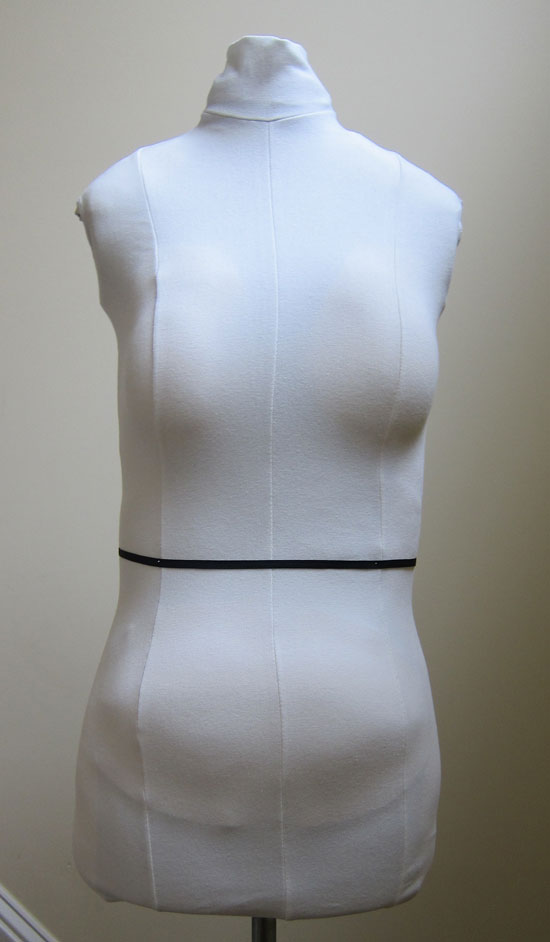
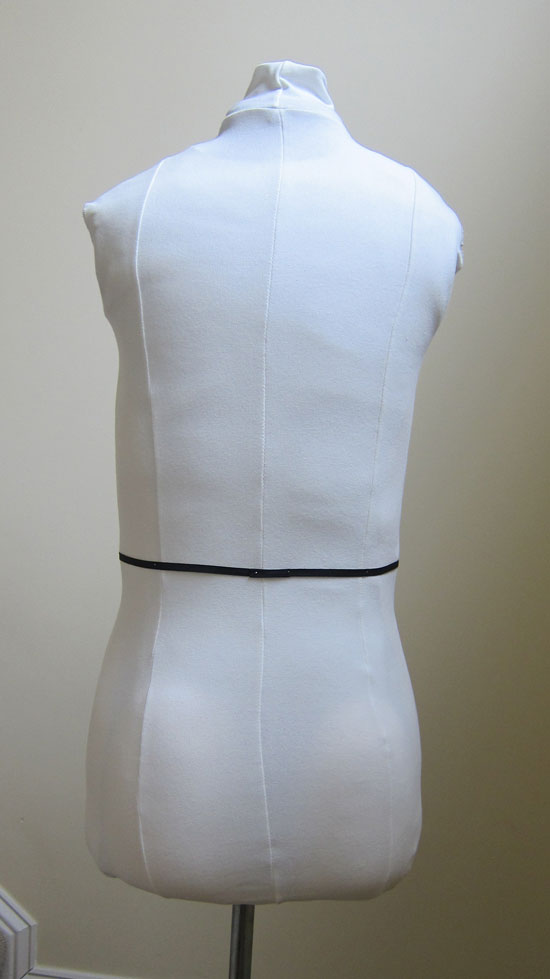
The process starts with a very stretchy and form-fitting cover that you wrestle onto the dress form to about the shoulder line. Then, following the instructions provided, you take a series of measurements and start adding padding. The provided shoulder pads were too square for my shape so I used some shoulder pads I had in my stash. I was lucky also to have a very detailed set of measurements that I use for drafting patterns with my Wild Ginger pattern drafting software. I used some quilt batting to “flesh” out some areas, and also adjusted the underlying dress form’s circumferences as I added padding. As you work your way down the torso you roll the cover down to hold everything in place. Once you’re finished there is an additional princess-line cover you can use over top of the whole thing which aids in designing. You can also mark various landmarks on the form as I did with the waist.
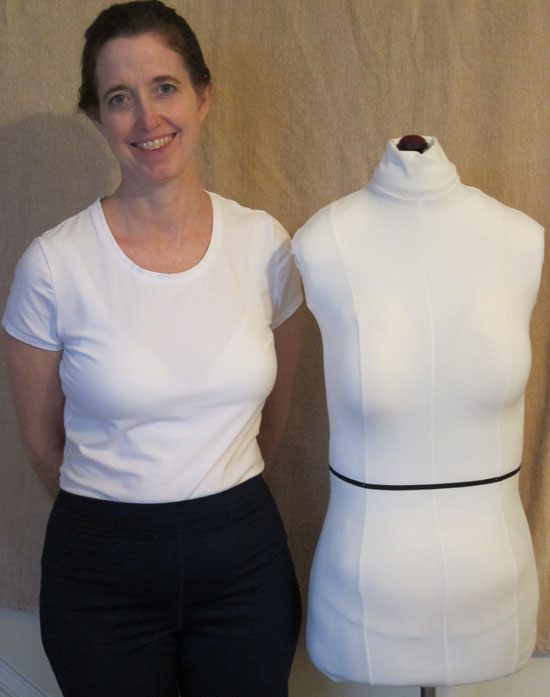
Here I am with my double (I drew the line at posing in a white mini skirt – the dark exercise tights will have to suffice). I still think the hip area needs some work – I need to reduce the front-to-back distance and add more padding on the sides.
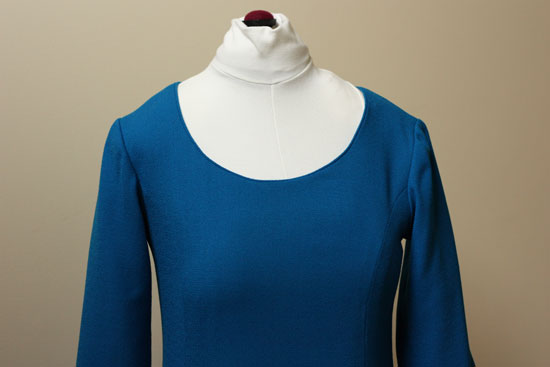
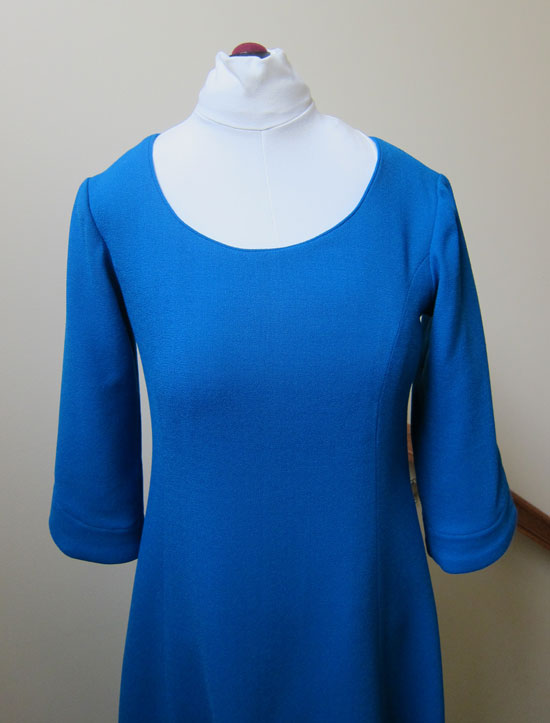
Here’s my blue wool crepe dress modeled on the form. I can tell you it looks a whole lot better than it did a few weeks ago when I was working on it.
I found the pads and covers provided with the Fabulous Fit kit easy to use, though I think you could accomplish something similar with lots of batting and homemade pads and covers. I found the best price for this product on Amazon. I’m happy with how this project turned out, and am looking forward to my new best friend’s help in the sewing room and for showcasing some of my garments here on this blog. Happy weekend everyone!
 garments, sewing
Reader Comments (1)
It looks really good. Especially the fact that you have accepted that our bodies do change after children and of course - age :( I am in the process of doing the same with my body form. But I am doing it the duck-tape method. Right now, I cut and sew by hand, and then I try it on and the I re-adjust. I find that this works for me quite well, and the body form tends to stand there unused.
I have enjoyed reading your past posts. Thank you so much for sharing your talent...
Blessings to you and yours,
Maria