Julie Bowersett

juliebowersett{at}gmail{dot}com
Navigation
Search
Categories

Blog Writing Course Alumni

From Guide to Art Schools

CraftGossip

Entries in gifts (9)

Thursday
Dec252014

Christmas and Winter

Hello sweet friends, who I haven't seen in so long.  This past year has been so full -- too full, really, and certainly too full to keep up with my blog.  Which makes me sad because I miss it so, both as a form of record-keeping and a way to connect with friends near and far.

As some of you may know, I moved my family this summer and we have still not recovered from the process.  And here it is Christmas already!  We've now landed in Charlottesville, Virginia, in a sweet little house on two acres of (mostly) woods.

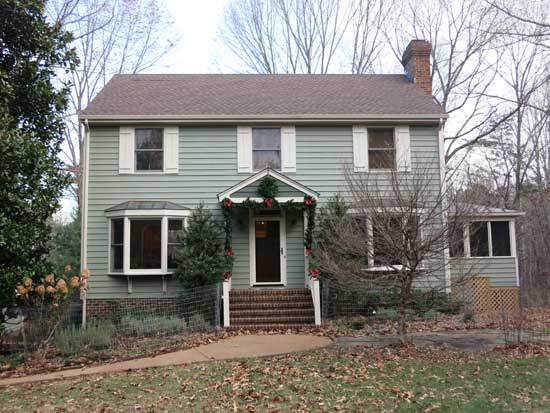
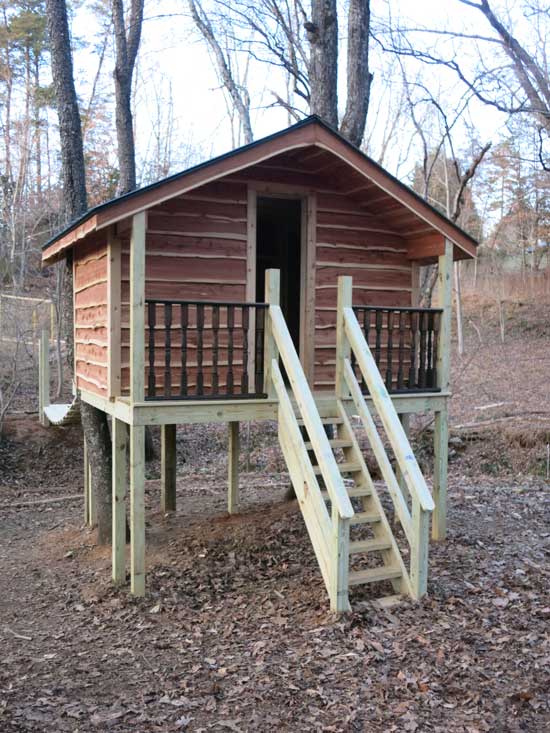
It is a lovely quiet spot and we are enjoying being out in the country.  Here's the little treehouse that we are having built for our boys in the back yard.

We are still getting settled here, a task made more difficult because much of our furniture is residing at our old house which is still on the market.  I previously wrote about the construction of my sewing studio, and that area, too, is still being sorted out.  Here's what it looks like at present:

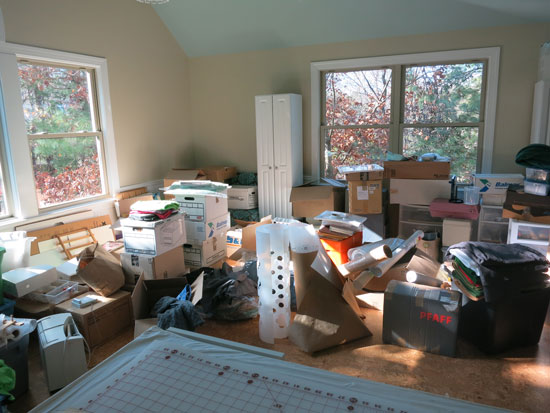
The furniture I ordered to help tame this mess has been repeatedly back-ordered but finally arrived last week.  I'm hoping to get it assembled after the new year begins and get this place under control.  I have been doing some sewing despite the chaos, but some of my furniture hasn't made the move quite yet, so I've been making do.

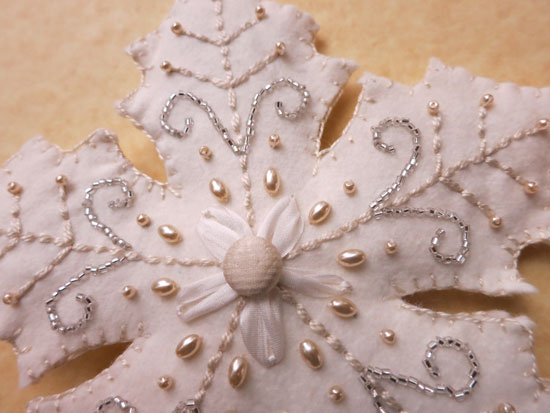
I was busy this Christmas with lots of projects, most from my kitchen but some from my studio.  I made my husband a fleece vest and matching neck gaiter.  I also made my boys gaiters.  No pictures of those yet.  I also completed a project that has been on my wish list for at least 8 years -- a new star for the top of our Christmas tree. 

I created this from wool blend felt and used this pattern for the design.  The embroidery was done with perle cotton, silk ribbon and silver chop beads.  The pearl beads were left over from the beadwork on my wedding dress and the button in the middle was an extra from that same project.

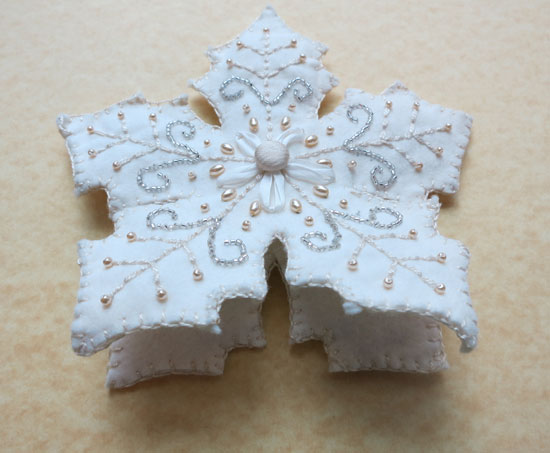
I stitched an extra layer of felt to the inside of the star, leaving the bottom open to be slipped over the top of the tree.  I used a blanket stitch and more perle cotton to construct the star.

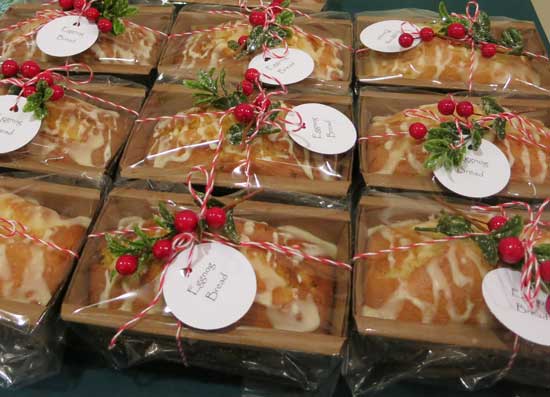
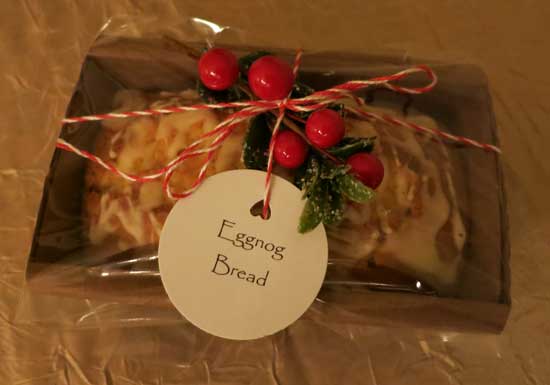
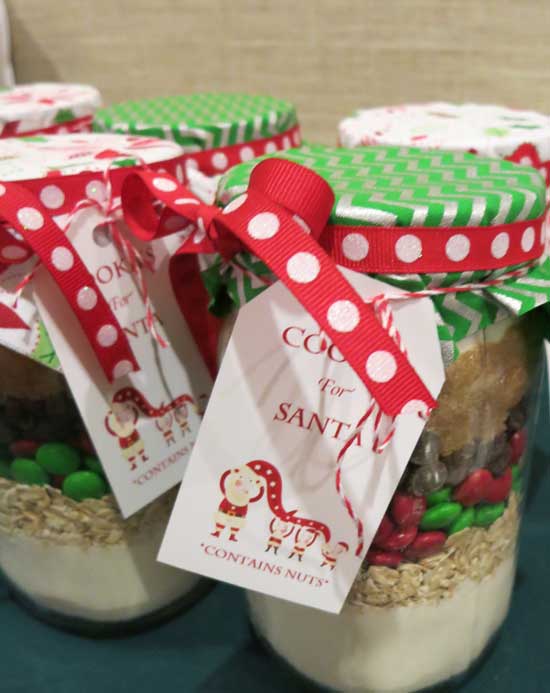
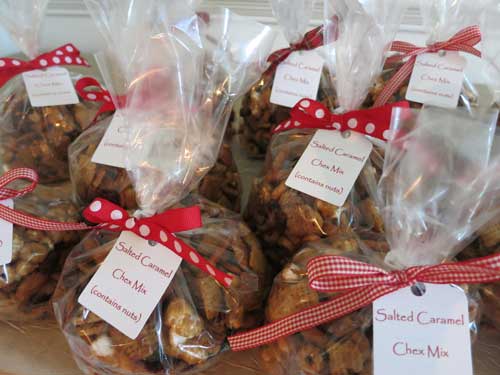
I did quite a bit of baking/cooking this year.  Our church had a Christmas bazaar and I made a number of items for the bake sale table as well as many bags of goodies for gifts to friends and family.

Eggnog Bread

Cookies for Santa

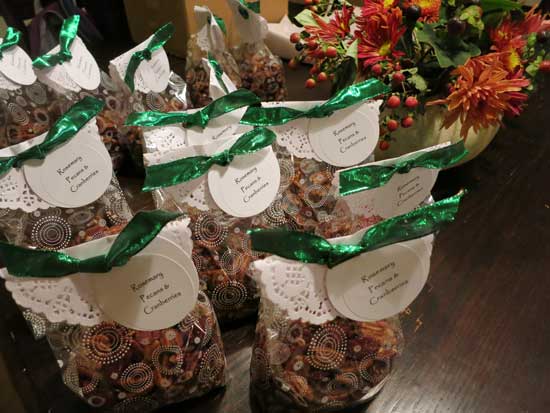
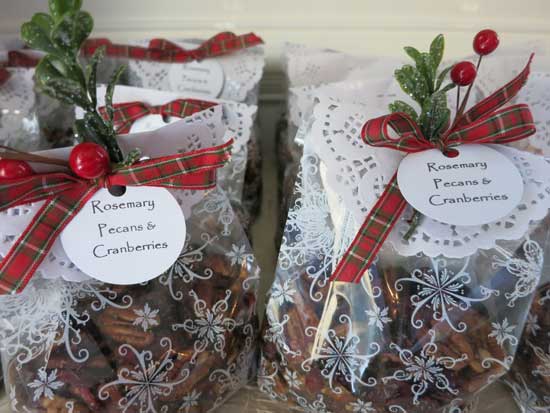
Rosemary Pecans with Cranberries

Salted Caramel Chex Mix

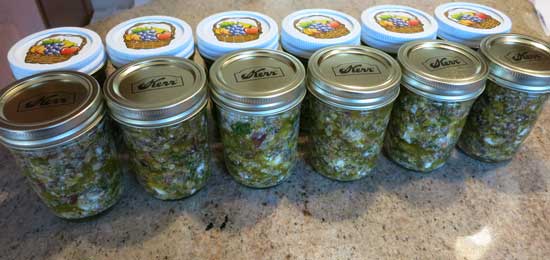
My neighbor gave me a jar of delicious Olive Tapenade along with the recipe so I had to make my own jars.  I'll share this recipe with you at a later time.

I've also been doing quite a bit of hand sewing in the evenings.  My studio is over our detached garage so it is a little harder to access.  I've been keeping a little bag of hand stitching in the house to work on.  I can't share one of the projects because it is still waiting to go out to a friend as a gift and I don't want to spoil the surprise in case she reads this post.  But I'll share once the gift has been given.

I have always found the quiet and spare days of winter to be my most productive time in my studio.  I love the quality of the light which is so different than other times of the year, and there are fewer distractions.  I am already looking forward to turning the calendar to January 2015 and really settling in to get some sewing done.  I hope that my life will now allow me to create more and post more.  I've really missed those things.

Friday
Dec232011

Embroidered Poinsettia Pins

Sometimes I get a crazy notion that I have to make a last minute gift for someone.  That happened to me this week.  I decided late in the day that I wanted to take a little something to the Director and Assistant Director of my sons' preschool.  Luckily, I had just received an email from Reen at Embroidery Garden announcing her new Poinsettia Pin which looked like just the ticket.  These stitched up super fast, and in no time I had my gift.  I chose to bead the center of the flowers instead of using a button (these pearls are left over from the beading on my wedding dress).  The printable cards come with the files for the pins.

Tomorrow is Christmas Eve and I'm wishing everyone a joyous Noel.

Thursday
Mar242011

Accordion-Fold Photo Albums

Today I am sharing a tutorial (over in my Tutorials section) detailing how to make a small, accordion-fold photo album.  These are really fun to make and the creative possibilities are endless.  I think these make great gifts for just about anyone.   I am going to share some photos of albums I have made as gifts and show you several possibilities for the cover designs.

This is the cover I created for the tutorial album.  The inspiration for this piece came from an article in Fons and Porter’s Love of Quilting magazine, November/December 2007 by Angela R. McIntyre.  Angela created a stunning photo album cover using pieced fabric, embellished with free motion quilting, couched fibers, beads and silk flowers.  Angela has a pattern for this lovely album cover and you can purchase it from her if you want detailed instructions about making your own.  Or use this as inspiration and come up with your own unique, mini-quilt with your own style.

Here are two pictures of albums I made one year as Christmas gifts for family and special friends.  Earlier that year my little family had had a photo shoot done, and I filled these albums with pictures I had printed from that event.  Since I needed multiple covers for this project I created a large quilted and embellished piece and then cut it into the 6” x 8” rectangles I needed.  I waited to add the silk flowers and beads until after the cutting was complete.   These were a big hit (I included a note that said that once the recipient was tired of looking at our pictures they should remove and save them and use the book to house their own pictures).

Another popular gift idea is to make one of these albums for an expectant (or new) mom or grandmother.  These make great little brag books.  They hold about 10 photos and are small enough to carry in most purses. 

In these examples I used a machine embroidery design by Evy Hawkins of A Bit of Stitch and a built-in font to create a baby photo album.  You could easily add the baby’s name or use any number of embroidery designs that would suit the recipient of this gift.

This is an album I made for my husband a number of years ago.  I used rubber stamps to emboss acetate/rayon velvet and used that fabric to cover the front and back covers.  You can find details about embossing velvet, along with all of the supplies, at Hot Potatoes.  The sheer ribbon goes well with the embossed velvet.  My husband fills this album with pictures of our kids and me and takes it with him when he travels.  He can set it up in his hotel room as a little reminder of home.  Do you know someone who travels a lot?   They would probably appreciate an easily-packed gift like this.

Lastly, you don’t have to do anything fancy at all to make a lovely album.  This one is simply a piece of 100% cotton quilting fabric that I used to cover the front (I used a solid black for the back cover).  With the variety of fabrics available you can customize your albums for any possible situation.  Wouldn’t this make a great gift for a graduate or for dad on Father’s Day?  The possibilities are endless.

I hope you will hop on over to my tutorial and take a look.  I think you will have a lot of fun making one or more of these albums for yourself.

Friday
Dec172010

Cardamom Pear Butter

I like to make a small gift for each of the teachers at the school my boys attend.  Last year I made everyone a machine embroidered snowflake.  This year I opted for something different.  My original inspiration came from an article in Food and Wine about handmade gifts.   This beautiful pear jam with cardamom caught my eye.  I loved the cute jars they used, too.  They are from Weck Canning and come in a variety of sizes.  I opted for more readily-available canning jars from the local hardware store.  With super-limited time this year I also went looking for a recipe that wouldn’t involve cutting the pears into tiny dice and one that was a bit simplified.  I found this recipe for Cardamom Pear Butter on The Traveler’s Lunchbox site.  I particularly loved that I could use my immersion blender (I LOVE that tool!) to puree the mixture.  I don’t think the end result was quite as beautiful as my original inspiration but it sure tastes good.  And I just love the pinging sound a cooling canning jar makes.

I finished up the project with circles of fabric placed under the lid rings and a homemade label I created on my computer and punched out with a large round punch.  I used baker’s twine to tie the tag to the top of the jar.  While I was hunting for ideas on the internet I came across this wonderful post at the kitchn with lots of ideas for packaging homemade goodies.  I particularly like the tutorial offered on local kitchen for making jar labels.  I am already starting a list of gift ideas for next year.

Tuesday
Nov162010

Pretty Pantry Gifts

It’s that time of year when I start hoarding all of the gift ideas I come across.  This beautiful package caught my eye while surfing around on Save-on-Crafts website so I ordered one.  It contains a recipe book and all of the wrapping essentials needed to make beautiful edible gifts.  This set would also make a lovely gift itself, especially for a friend who loves to cook.  The $14 price tag at Save-on-Crafts is the lowest I’ve found, though this is available from a number of other online sources including Target and some of the large chain bookstores.  You might save yourself shipping costs and check those bookstores locally to see if they carry this set.

For a DIY project, cut 6” circles from cotton fabric with your pinking shears, and add some purchased hair elastics and cellophane bags.  If you have a die cutting machine you could cut some tags and add a little stamp that picks up your chosen theme.  You could also include some custom printed stickers (search “canning labels” on www.etsy.com for a large selection) or, if you really want to take the gift up a notch, you could include a custom-made stamp like this one I ordered for myself.

I ordered this stamp from Expressionery; they run sales periodically on these stamps which really makes them an affordable gift.  There are a number of appropriate designs available. 

Stay tuned over the next weeks for more gift ideas.  I’m working on some tutorials right now for the upcoming holiday season.  Check back often!