Julie Bowersett

juliebowersett{at}gmail{dot}com
Navigation
Search
Categories

Blog Writing Course Alumni

From Guide to Art Schools

CraftGossip

Entries in tutorial (14)

Monday
Dec122011

Santa Pin Tutorial

Here you’ll find the instructions for making a holiday pin like this one.  Please use these instructions as inspiration, and create your own, one-of-a-kind work of art.  Start with a large item for the background, then layer on feathers, pearls, beads, flowers, whatever pleases you.  Then add a focal point on top.

Here’s what you will need:

This is a glittered netting available at craft stores around the holidays.  It comes in lots of colors:  white, silver, gold, red.

Some floral picks (I used ones that were covered in silver glitter), pearl sprays and feathers.

For my little Santa faces, I used Evy Hawkins' Holiday Button Covers from A Bit of Stitch.  I stitched these out on silver colored dupioni silk, then covered a Dritz button cover with the design.  You will need one for each pin you wish to make.

You will also need about half yard of strung pearl roping (this usually comes on a roll like ribbon), some craft wire,  a pin back and a hot glue gun with glue.

Begin by making the net background.  Unroll the netting into a single layer and cut a piece about 12 inches long.

Scrunch the piece into a flattish tube.

Wrap the netting around your hand, overlapping the cut ends by an inch or two.

Twist a small piece of wire around the center of the netting, securing the cut ends and crimping the center a bit.

Gently fan out the folded edges of the netting loop like you are fluffing a bow.

Cut a piece of pearl roping 16” to 18” long.  You are going to form a triple loop.  Use your hand as a guide for forming the loops.  The first pass wraps around two fingers, the second pass around three fingers, and the third pass around four fingers, as in the picture below.  Overlap the two ends by an inch.

Twist a piece of wire around all strands, securing the two cut ends.

Using the photo below for guidance, assemble the components of the pin.  Lay down the netting background and glue on the feather and the pearl spray.  The feather should hang down off the bottom right of the pin in approximately the 4:00 position.  The pearl spray should be oriented at the top left at approximately the 10:00 position.

Next add the floral element straight up at the 12:00 position.  The pearl loops hang down at the 6:00 position.

Glue the Santa button in the very center, covering all of the glue used to attach the other elements.  Turn the pin over and attach a pin back with glue or by sewing.

Tuesday
Jun212011

T-shirt Fabric Rose Tutorial

I made this little rose from scraps left over from another project.  The fabric is knit jersey but you can use any fabric you wish for these flowers.  In fact, jersey is not the easiest fabric to work with so you might try your first flower using quilting cotton or a crisp silk such as dupioni like I used for this flower.  These instructions are from several vintage flower making books written around the turn of the 20th century; this is the method milliners used to make silk flowers long before they were commercially available.

Begin by cutting out a variety of squares sized from 2” to 7”.  For this project I used three 2” squares, three 3” squares, three 4” squares and two 5” squares.  For a larger flower continue to add larger squares as needed.  Also, for your first flower you might want to start with 3” squares as your smallest as they are easier to handle.

Fold each square diagonally in half and press.

Fold the folded edge of the triangle over about ¼”.  The size of this fold is not critical and variety makes for a more realistic looking flower.

Thread a needle with heavy thread (I used buttonhole thread) and knot the end.  Stitch around the cut edges of the triangle using a running stitch.  Make sure your first and last stitches go through the folded-over bit to secure it.

Pull up the stitches to gather the petal.  For the first layer you want to gather it up tightly. When you gather the petal it will form a cup. 

You can place a flower stamen in the middle if you wish.

Make sure the folded lip is facing away from the concave part of the petal (the hollowed out side).  Knot your thread securely and cut off.

Make another petal in the same manner but don’t pull the gathering stitches up quite as tight.  Place the second petal on top of the first, overlapping the edges a little bit and stitch the two petals together using hand stitches.  You will continue adding petals in a circular manner.  You can add them in a clockwise or counter-clockwise direction, just pick one and be consistent throughout the project.

Continue adding petals one at a time, increasing the size of the square used as each layer is complete and stitching down the gathered edges as needed to hold the flower together. 

As the flower gets bigger you will need to gather each petal less and less to allow them to fit around the larger circumference. 

I try to make my last layer from the two largest squares so each goes about half way around the flower, overlapping each other just a bit.

Depending on how you plan to use your flower you might want to finish the back just a bit.  Cut a circle of fabric large enough to cover the exposed stitching and glue or stitch it into place.

You can make a leaf for your flower in several ways.  On the pink flower pictured above, I used a free-standing machine embroidery design by A Bit of Stitch.  I stabilized the jersey with some fusible interfacing before stitching.  I recommend doing this regardless of the method you choose to make your leaf to give it some stability.  For this leaf I drew a simple leaf shape on my scrap of fabric and cut it out using pinking shears.  I sketched some veins on the leaf and used a straight stitch on my machine to outline them.  You could also draw a leaf shape and satin stitch around the edge before cutting close to the stitching.  Or you could use a rubber stamp and rayon velvet to emboss a leaf design before cutting out with pinking shears (this is pretty when you are using a fabric like silk for the flower).  Glue or stitch the flower on top of the leaf.

You can add a pin back to the flower or simply use two safety pins to attach it to the garment.  Enjoy wearing your new flower!

Sunday
Dec122010

Sweetgum Ball Topiary Ornament Tutorial

Gather some balls from a sweetgum tree and pick up a few other materials from your local craft store to make this quick and easy ornament.  There is some drying time required for several steps so plan accordingly.

Materials:

  • 1 sweetgum ball
  • 18 gauge paper stem wire
  • 1” clay flower pot
  • small piece of Styrofoam
  • plaster of Paris
  • Spanish moss
  • ribbon
  • gold spray paint
  • glue (hot glue gun or other craft glue)
  • monofilament fishing line
  • wire cutters

Push the Styrofoam piece into the bottom of the clay pot (I used a small piece of packing material; a Styrofoam ball or packing peanut would work, too).

Cut two pieces of wire about 3.5” long.  Twist them together by overlapping their centers and twisting one around the other until they are twisted together their entire length.

Glue the wire into one of the holes in the gumball and let dry.

The wire may need to be trimmed slightly at this point.  Hold the wired gumball up to the pot and check that the proportions are pleasing.  In my sample I ended up with about 2” of wire between the bottom of the gumball and the top of the pot.  Trim the wire as needed.  Push the wire into the Styrofoam in the bottom of the pot.

Mix a small amount of plaster in a disposable cup.

Pour the plaster over the Styrofoam, leaving some space at the top of the clay pot.  Let dry.

Glue some Spanish moss in the top of the pot to hide the plaster.

Spray paint the entire ornament gold (or another color of your choice).  Use several light coats and let dry between coats.  Make sure you paint the bottom of the pot as well.

Tie a ribbon around the stem of the topiary.  Glue monofilament fishing line to the top of the ornament for a hanger.  Try to find one or two holes at the very top of the gumball and insert the fishing line into those holes.  You want the ornament to hang straight and feel balanced; if there is one hole at the very top center you can insert both ends of the line into that one hole.  If there are two holes on either side of the top center glue one end of the fishing line into each hole.

Sunday
Dec052010

Yoyo Ornament Tutorial


Here is a quick and cute ornament to give your sewing friends. 

Materials

•             mini clothespin

•             two coordinating fabrics

•             Clover yoyo maker (optional)

•             hand needle/thread

•             small thimble (I spray painted mine gold to match my fabrics)

•             ribbon

•             button or other embellishment

•             glue gun and/or Jewel It glue

I used Clover brand yoyo makers to make the yoyos for this project.  They are wonderful to use, fast and easy, producing a beautiful finished product.  You can, easily, make yoyos “from scratch” if you prefer.

Choose the size yoyos you want to make and the appropriate fabric.  I used the small (1.25” ) and large (1.75”) yoyo maker for this project.  [In retrospect I think the bottom yoyo should be smaller as it is a little floppy on the clothespin.  Strive for 1.5” and 1.25” yoyos.]  The yoyo makers consist of two parts which snap together.  Essentially, you place your fabric between the two halves and cut out a rough circle. 

Holding the seam allowance flat against the plastic parts you stitch through the slots on the maker making a nice, even stitch all the way around.  When you are finished you simply draw up the thread to close the yoyo.  If using the yoyo maker, follow the instructions included with the product.

If you are making the yoyos by hand, begin with a circle of fabric about twice the desired finished size (3” circle for a 1.5” finished yoyo).  Turn under 1/8” along the perimeter of the circle and stitch a running stitch through the seam allowance all the way around the circle.  Draw up the thread to close the yoyo and tie off.  There are plenty of tutorials on youtube demonstrating the technique for yoyo making if you need some guidance.

Here are my two completed yoyos.

Glue the largest one to the clothespin with the glue gun.  (Helpful hint:  leave a little opening at the center of the largest yoyo to insert some glue between the layers.  This helps stabilize the yoyo on the clothespin a bit.)  Glue the smaller yoyo on top of the larger.

Glue the thimble on top of the yoyos.  I decided to use Jewel It glue to attach the thimble as sometimes hot glue does not adhere very well to metal or other slick surfaces and tends to pop off.  If you use a glue like Jewel It allow for longer drying time.

Tie a loopy bow with the ribbon.  I secured the center with a small piece of wire.  You could also tie a conventional overhand bow or use some other pleasing design.

Glue the bow to the side of the ornament.  Glue a button to the center (or use another embellishment such as a ribbon rose).

Tuesday
Nov302010

Santa Tote Bag Tutorial

Materials:

  • ½ yard 60” heavy weight wool
  • ½ yard cotton fabric for lining
  • sewing thread
  • embroidery thread and monogram design (optional)
  • 1.5” black grosgrain ribbon, 28”
  • scrap of gold lame
  • scrap of interfacing
  • scrap of fusible web
  • metallic gold thread
  • Yarn for trim (I used Lion Brand Fun Fur, Festive Fur and Homespun)
  • Double pointed knitting needles

The sample bag was made from coat weight red wool with a novelty cotton fabric lining.  All seams are ½” unless otherwise noted. 

Make a paper pattern.  Draw a rectangle 16” tall by 14” wide.  Cut out 2” squares from both lower corners.  Label the pattern piece.  I also like to make notes on the pattern so when I use it in the future I will have the details at my fingertips such as seam allowance and strap size.

Cut out two outer fabric pieces and two lining pieces.   If your fabric does not have an obvious right and wrong side (as with the wool) mark the same side of each piece with tape to be consistent when constructing the bag.

Cut two straps, 24” by 4” (note the size on the pattern for future use). 

Monogram, if desired.  The monogram should be centered vertically and placed 5” down from the top edge of the bag.

Fold each strap in half lengthwise and press.

Fold in each edge to meet at the fold line.  Press

Fold in half again along the original fold line.  Press.

Edgestitch the strap using a 100/16 topstitch needle and 3.5 mm stitch length.  A needle box placed under the back of the presser foot ensures a smooth start to stitching.

Repeat with second strap.

Sew one side seam in the outer fabric. 

Press seam open.  If you are using a heavy weight wool it helps to use a clapper to press the seam.

For the belt, cut 1-1/2” grosgrain ribbon 28” long.  Place top edge of ribbon 8” from the top edge of the tote (an easy way to do this is to align the fabric and ribbon on a gridded cutting surface as shown).  Allow the ends of the ribbon to hang off the sides of the bag.  Edgestitch in place.  Press. 

To make the buckle, draw a rectangle, 2 ½” wide by 2 ¾” tall onto the paper side of a piece of fusible webbing.  The center cut out is 1” wide by 1 ¼” tall with a small protrusion centered along one of the longer sides.  Interface a piece of lame with a piece of heavy weight interfacing.  Fuse the webbing to the interfacing side of the buckle and cut out along the drawn lines.  Center the buckle over the ribbon and fuse into place.  Satin stitch (zigzag 3.0 width, 0.4 length) along all of the edges using metallic thread, if desired.  Do not use metallic thread in the bobbin.

Attach the straps.  Remember to account for the unsewn ½” seam allowance along the outer edges.  Allow ½” of each strap end to overhang the top edge of the bag.  Using the photo above to aid in placement and placing the sewn edge of the strap to the inside of the handle, pin the strap in place.  On the unsewn edge, measure in 3 ½” and place the outer edge of the strap along that point.  The other end of the strap will be positioned 3” in from the sewn seam line.  There will be 5” between the two straps.  Stitch the ends securely in place.

Fold the bag in half, matching the raw side edges.  To ensure that the belt matches when sewn, begin by matching the belt at the seam line and basting across.  Check for accuracy and if necessary, remove basting and restitch.  Once the belt has been stitched to your satisfaction, pin the remaining side seam and stitch, easing to fit as needed.   Trim ends of the ribbon even with the fabric.

Sew the bottom seam between the square cutouts.  Press the seam open.  Box the corners by matching the cut edges of the square cutouts and stitch across.  If necessary, pin the bottom seam allowance open to ensure that it remains so when stitching.  Press flat.  Set aside the outer portion of the tote while you prepare the lining.

Stitch both side seams of the lining pieces, right sides together, leaving a 5” opening in one seam for turning the bag.  Press both seams open. 

Sew bottom seam and press open.

Prepare the boxed corners in the same manner as for the outer bag.  Press flat.

Turn the outer bag inside out.  Drop the lining inside the outer bag, right sides of fabric together, and pin along the top edge.  Stitch around entire upper edge.

Pull the lining out and press the seam allowances toward the lining (the wool will be pressed flat and the lining seam allowance will be pressed back on itself.)

Working through the 5” opening in the lining side seam, understitch the lining to the seam allowances.  You will be stitching on the lining fabric and through both the wool and lining seam allowances. 

Turn the bag right side out.  Reach through the opening in the lining and push out the corners of the outer bag very well.  Pin the opening in the lining closed and edgestitch (or, alternatively, sew closed with hand stitches).  Push the lining down into the bag.

Press the top edge with the iron, favoring the outer layer slightly, as shown.

This is the completed bag awaiting the trim.  Measure around the top edge of the bag with a tape measure to determine needed trim length.

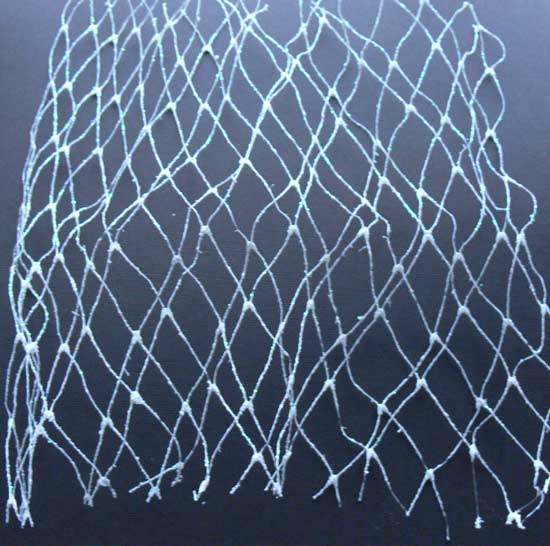
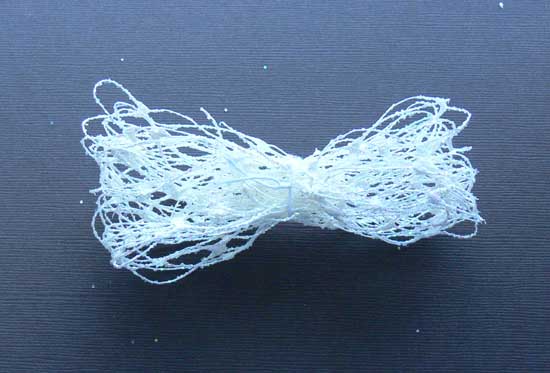
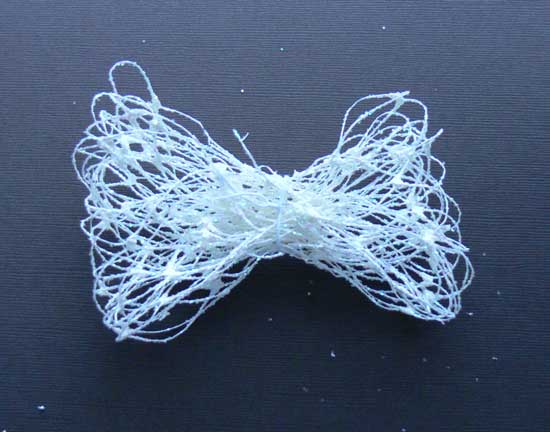
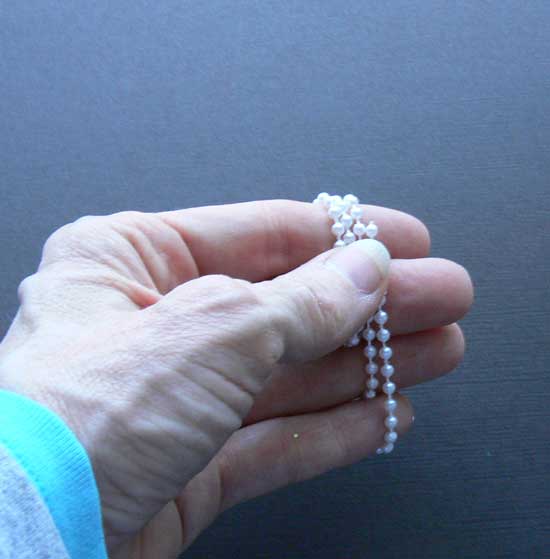
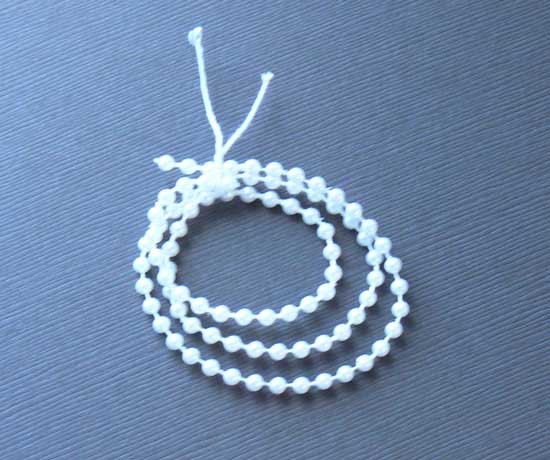
The trim was created using three different white yarns from Lion Brand Yarn, Fun Fur, Festive Fur, and Homespun.  All three yarns were held together and knitted as one.  Knit a three stitch I-cord (Here is a great video that will walk you through knitting an I-cord if you don’t know how.)

Continue knitting until the desired length has been achieved and bind off.

Hand stitch the trim around the top of the bag, catching the outer layer of the bag only.

HOHOHO!