


French Bias Piping Tutorial
This is an easy and attractive way to finish a neckline or armhole with piping while providing a seam finish that can replace a facing. These instructions assume the use of a 5/8” seam allowance. Adjust accordingly if you are using a different width.
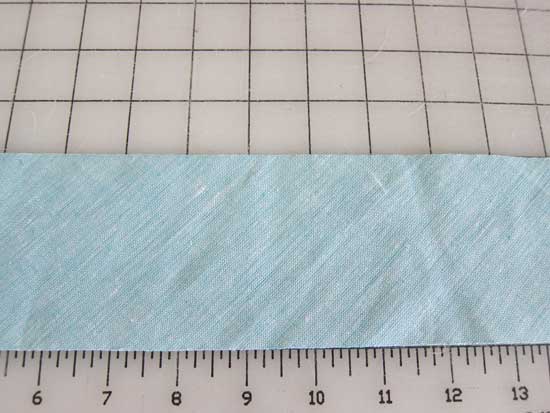
Begin by cutting a bias strip of fabric 3 inches wide and the length needed for the edge you wish to apply the piping to. Piece the strips together if necessary.
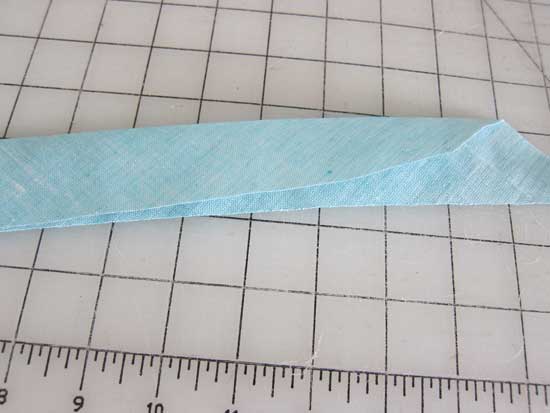
Fold the strip in half lengthwise, matching long cut edges, and press.
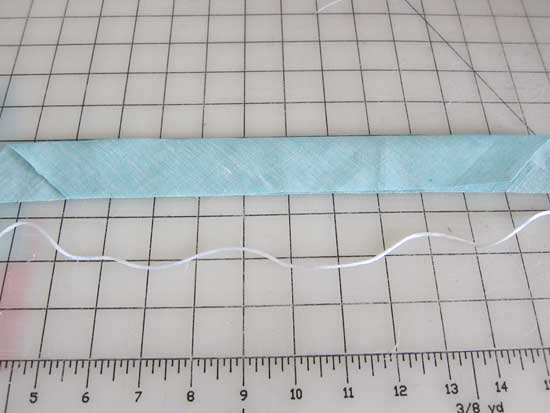
Cut a piece of cording a little longer than the strip of fabric. I like to use #1 rayon satin cord (also called mouse tail) for my piping.
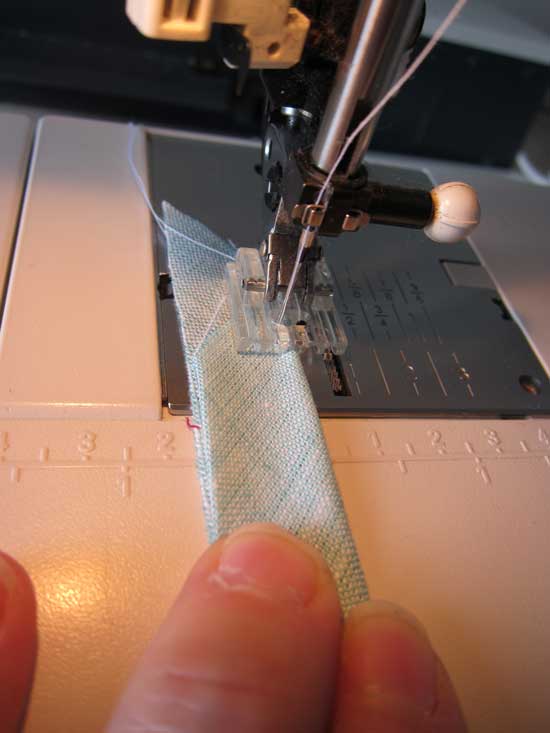
Place the cording down the center of the folded strip and make a second lengthwise fold, encasing the cording. You will be bringing the folded edge over to match the two raw edges. I use a 5-groove pintuck foot to make piping (a 3-groove foot works just as well). Place the cording in the center groove and move the needle over just enough to clear the cording. Stitch closely to the cording making sure to not catch it with your stitches. Feel free to use whatever method you prefer for making the piping.
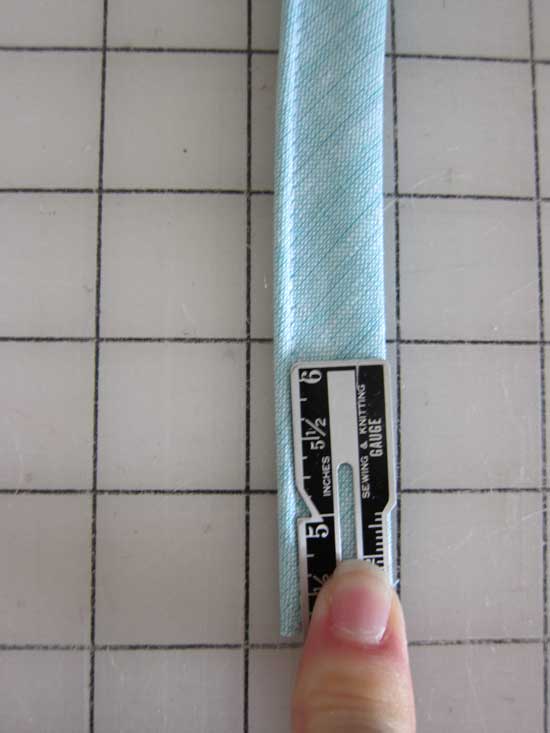
You now have a length of piping with a 5/8” seam allowance (did you know the end of your 6” seam gauge is 5/8”?).
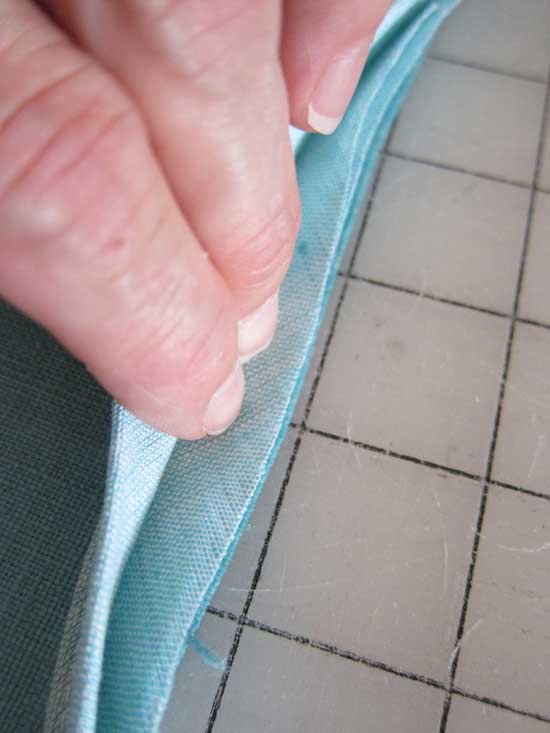
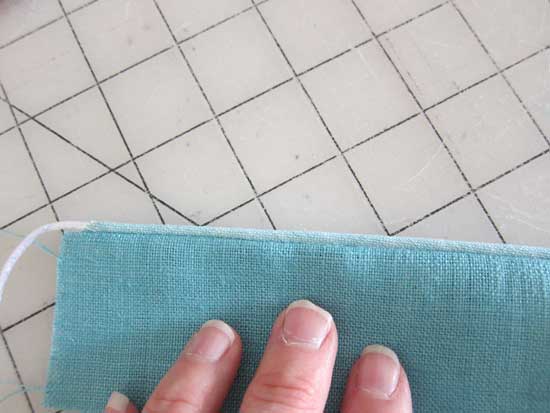
Place the wrong side of the piping (the seam allowances with the raw edges) along the right side of the fashion fabric, matching the raw edges. In the picture above I am holding back the folded edge of the piping so you can see the raw edges matching up with the underlying fabric.
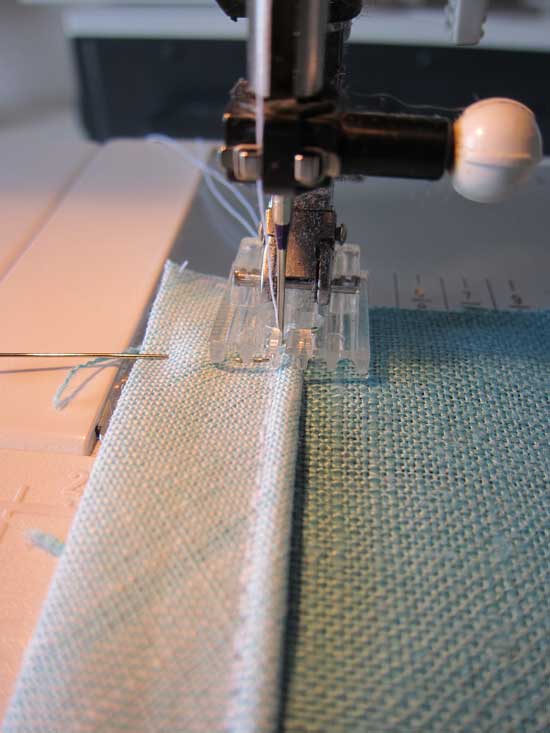
Sewing through all layers, stitch directly on top of the previous row of stitching, attaching the piping to the fashion fabric.
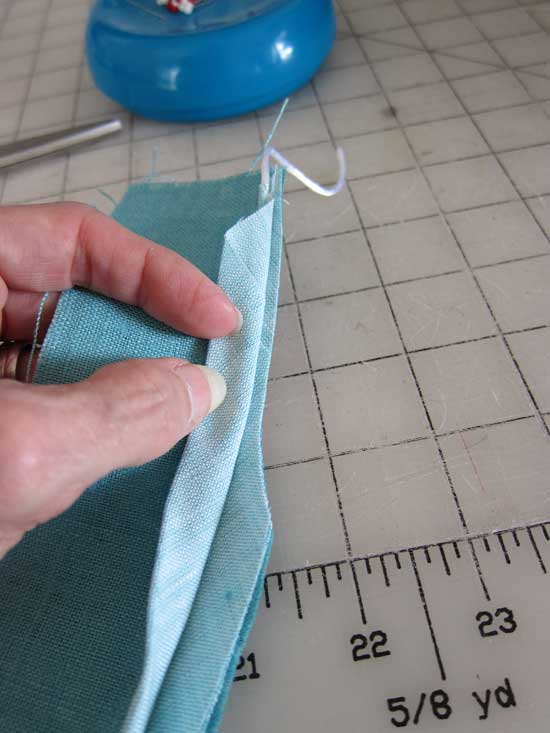
Taking care not to cut the folded edge of the piping, trim the piping and fashion fabric seam allowances. The picture above shows a portion of the seam allowance trimmed.
Fold the piping seam allowance to the wrong side, allowing the piping to roll to the edge. Press.
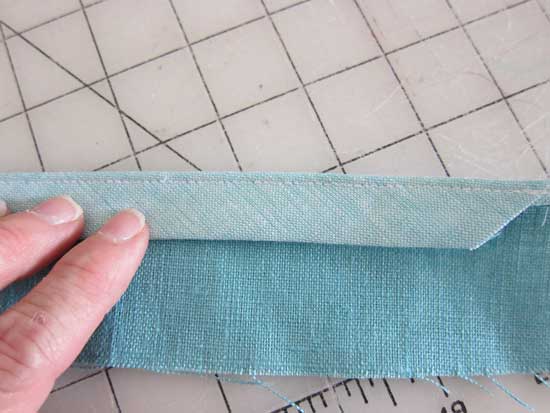
The inside of the garment shows the folded edge of the piping while the cut edges are sandwiched in between. If necessary you can tack the piping to crossed seam allowances inside the garment.
 sewing, tutorial
Reader Comments (7)
What a beautiful finish! I have always loved it but had no clue as how to do it. Thank you! I also love the idea of using mouse tail for a thin piping.
This is a great tutorial -- thanks for taking the time to make it! What a beautiful finish. I will use it very soon, for a work I already have in progress actually. :)
Buen día. Excelente esta guía. Que lindo es tener la oportunidad de aportar para los que en realidad desean aprender. La felicito.
Beautiful. I love the finish detail this gives to garments. Wonderful photos and explanation.
Thanks so much for showing this. I love the look and didn't have a clue how to do it. Not sure mine will look as wonderful but I'm going to give it a try.
Thank you so much! Your instructions are very clear. I love these sites - I always learn something! Great post!!!!!
This was fascinating. I've never seen piping combined with a bias facing before.