


Stars and Stripes Tank
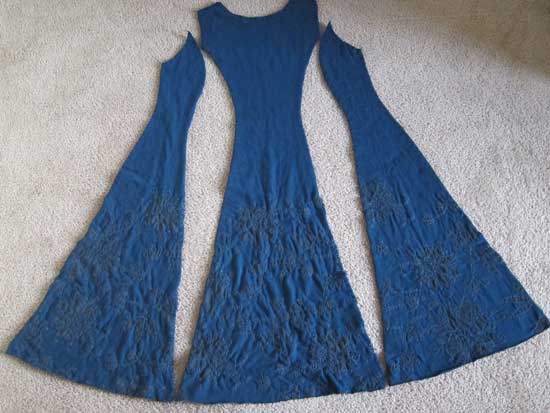
Over the last several weeks I have been inspired by some posts I've read on Alabama Chanin's site about their version of Old Glory. It just so happened that I had been working on some pattern fitting based on the fitted top/dress pattern in Alabama Studio Sewing + Design. I had just finished making a muslin from some inexpensive knit fabric and tweaking it to fit me well. A real benefit of this was that I was able to mark directly on the almost-floor length dress where I wanted certain seam or hem lines to land (empire, skirt waist, short, mid- and full length dresses) and then transfer these markings to my pattern, resulting in a master pattern that will eventually make any number of garments. After this exercise I wanted to test the pattern in real life. With the July 4th holiday coming up it seemed the perfect time to make a top that I could celebrate in while testing out my pattern alterations.
The top consists of four upper bodice pieces and four lower bodice pieces. I decided to applique the red stripes onto a white foundation. It took a little math to figure out the stripe widths and general proportions. Here are the lower bodice portions:
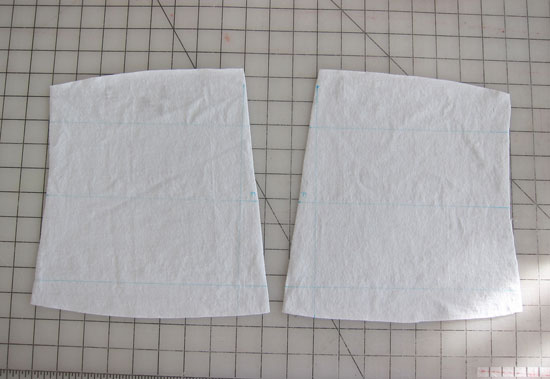
I used a water-soluble marker to mark the grainline on the fabric (recycled t-shirts) and then drew perpendicular lines for placement of the red stripes.
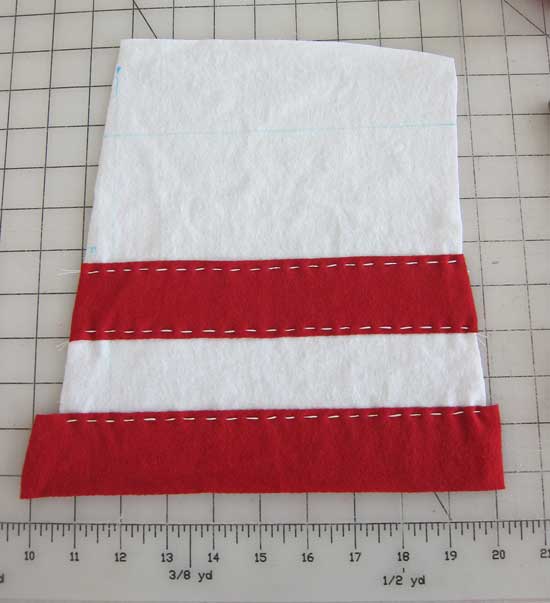
I used a straight stitch to applique the stripes onto the foundation and then trimmed them even with the underlying fabric.
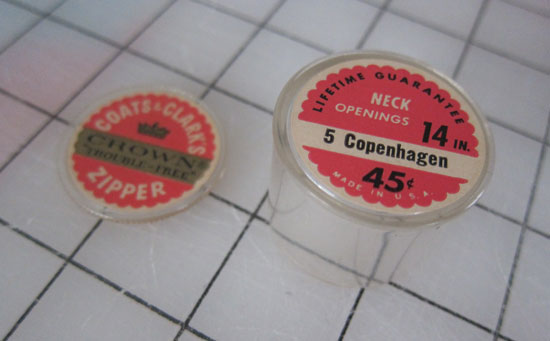
About halfway through this project I realized that sewing the stripes on with a straight stitch would eliminate most of the stretch from the shirt. I decided I would have to add a closure. I have a small collection of vintage metal zippers and thought this might be a good project to use one on. I found one in a Copenhagen blue:
and inserted it into the side seam leaving the tape exposed:
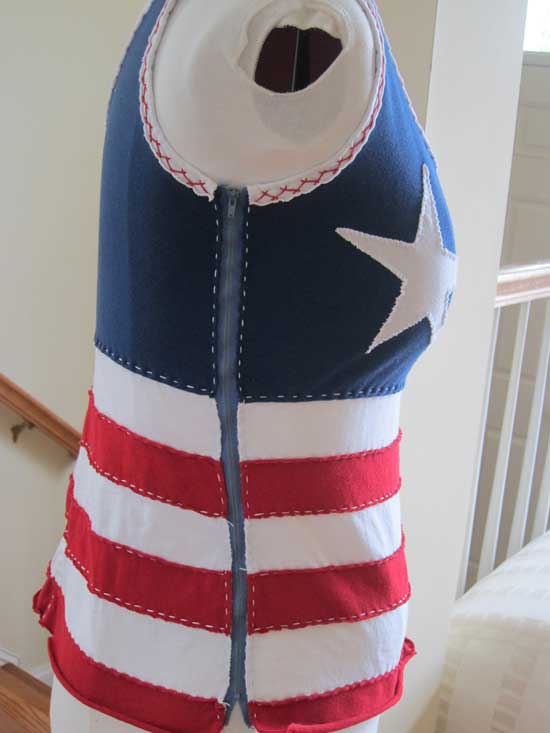
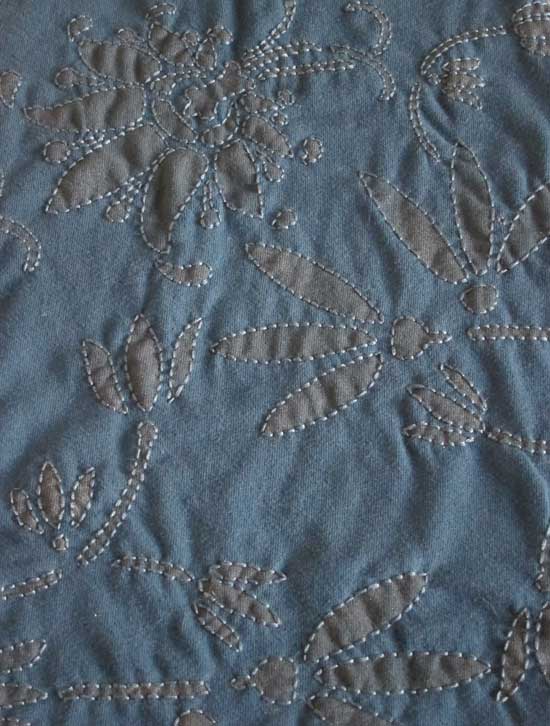
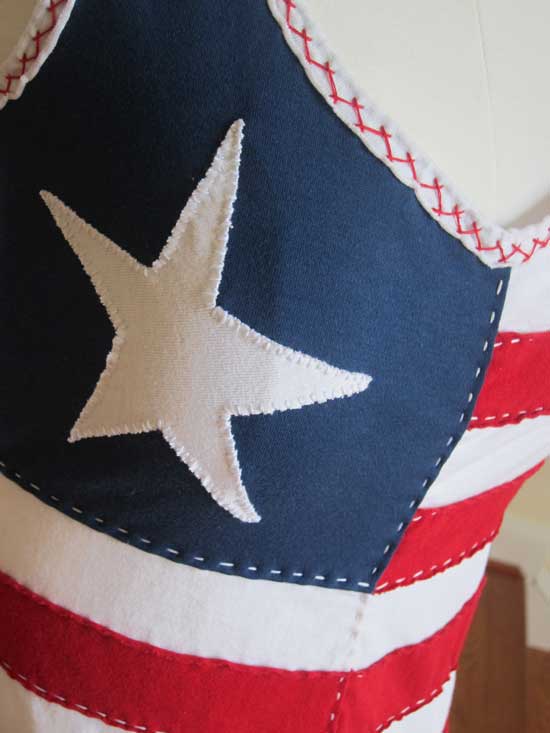
I chose to applique one star on the blue portion using a parallel whipstitch:
Binding the neck and armholes on projects like this is the most time consuming part for me. I have learned a few things over time and will share some tips with you here.
My favorite stitch for binding is the Cretan stitch (used here) but it is a very slow stitch for me to accomplish. I am VERY right handed and in order to make this stitch I have to turn the garment 180o for each stitch which really slows me down. So recently I decided to try the herringbone stitch which works up really, really fast. My first attempts at this stitch, however, left something to be desired. The stitches were all very uneven and unattractive. That's when I remembered a little trick I learned from my sewing mentor years ago: homemade Tiger Tape.
Tiger Tape has been used by hand quilters for years as a guide to keep their stitches uniform. The 1/4-inch tape is marked in small increments, and it is very easy to make your own version.
I typically use paper adhesive tape (from the first aid section of the drug store). Use caution when applying the tape to fabrics with a surface that might be easily marred by tape. I usually stick the tape to my t-shirt and pull it off several times to reduce the tackiness. Using a Sharpie or other permanent marker, mark the tape with whatever increment you choose; I used 1/2 inch for mine.
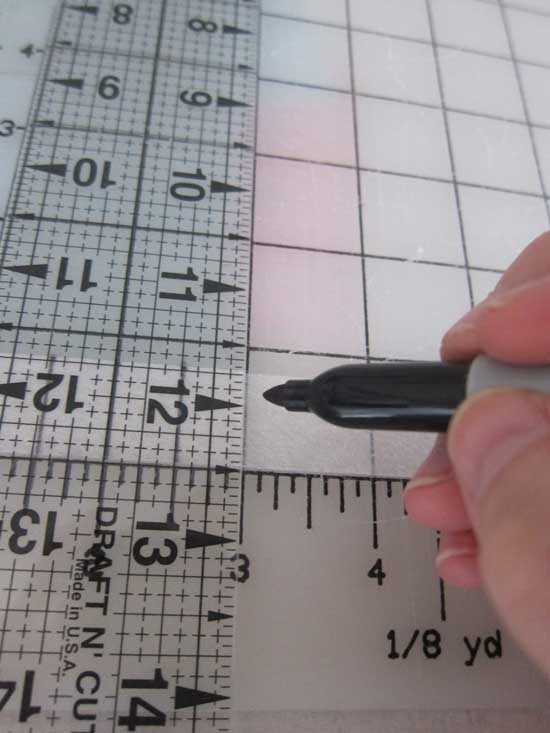
I then cut the tape in two pieces as I find a thinner width allows more flexibility around curves.

You can now apply this tape wherever you need some help in keeping your stitches even. It is a great application for hand-picked zippers.
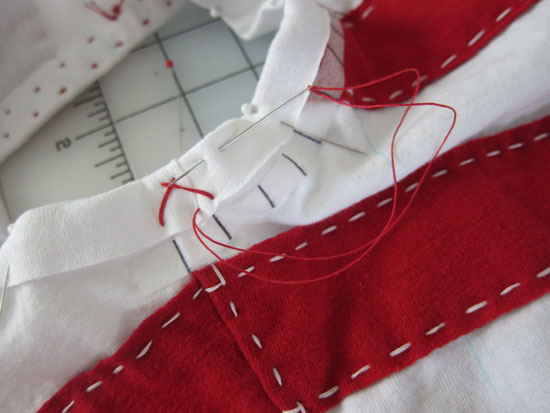
Here you can see that I have aligned the tape with the cut edge of the binding. I take one stitch in line with a marking and the next stitch halfway between two marks.
(One reason I like this stitch (and the Cretan) so much is that the stitches formed on the back of the binding securely hold the binding in place. In the background above you can see the little pick stitches along the inside of the binding, one row along the top edge of the binding and the other row along the bottom edge.)
Another hint for the herringbone stitch is a little mnemonic I use to remember where to lay my thread when I am taking a stitch. It goes like this: when you're down, you're up and when you're up you're down. This means that when you are taking the stitch along the bottom you will hold your thread to the top and vice versa. Here are some pictures:
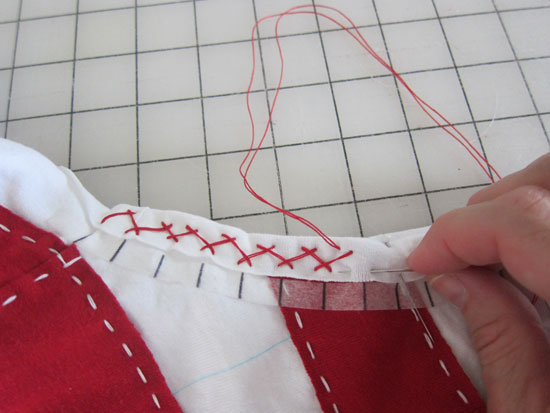
In this picture I am taking a stitch along the bottom edge of the binding so my thread is laid above.
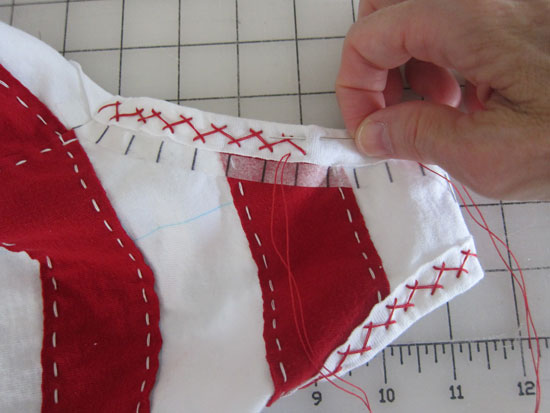
In the picture above I am taking a stitch along the top edge of the binding so my thread is held below. An additional tip is to always place your knots in the bottom row of stitching. This puts the knots and their thread tails on the inner edge which will prevent the thread tails from peeking out of the neckline or armhole.
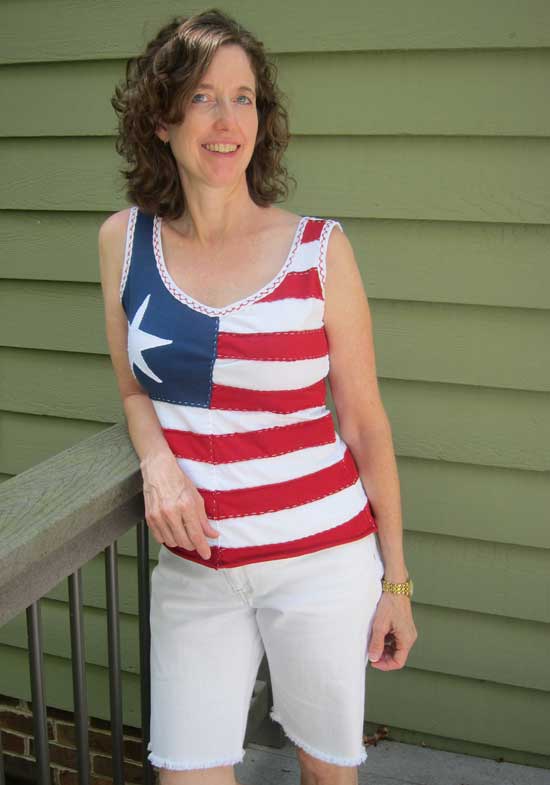
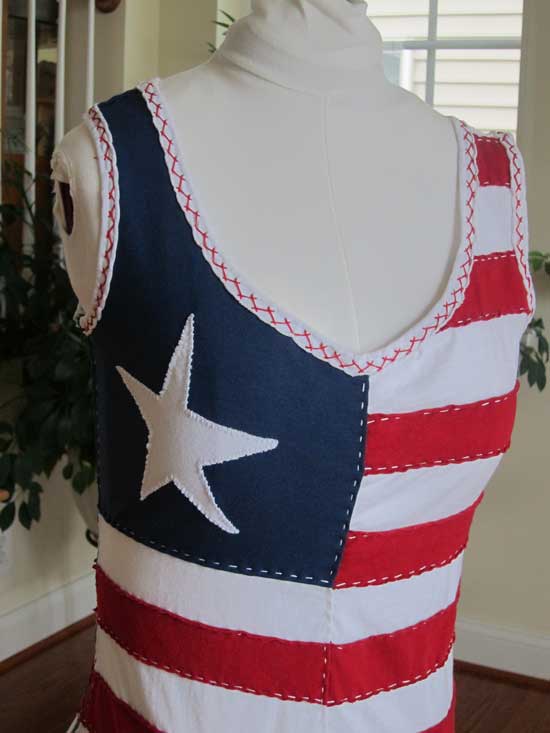
Here's a shot of the completed top, finished just in time to wear for July 4th. This project reminded me that last year I had the idea of making a flag bunting to hang from my porch for Independence day. I think I have enough scraps left to give me a good head start. Wishing all of my US friends a happy and safe holiday weekend.
 Julie Bowersett