


Making
Today, I joined in a Facebook discussion about what term those of us who sew like to be called: sewist, seamstress, sewer, etc. I have adopted the term Maker (from Natalie Chanin) as I think it best describes what I do. I make things. These things might come from my sewing studio (which I have not set foot in for weeks) or my kitchen, workshop, garden, computer, camera, the list goes on. (I love how Southerners say, "make a picture" for taking a photo).
So, while I haven't been sewing much, I have been making. I made cupcakes for a friend's birthday (using my favorite icing recipe). I made an attempt to organize my garage. But mostly I have been making my garden.
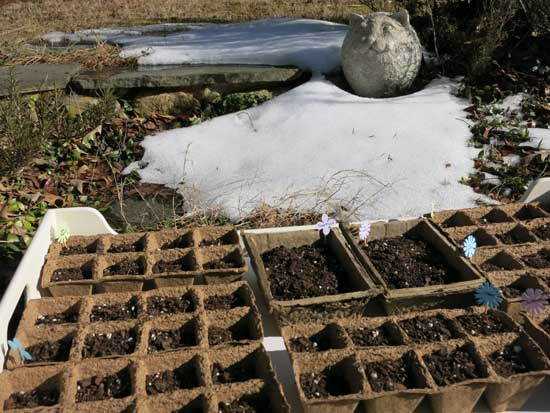
I started with a greens garden in a spot where there used to be lovely flowering perennials. Unfortunately, they were also tasty to our resident deer, and I decided that if I had to have an ugly fence to protect them, it somwhat defeted the purpose of the flowers. So instead, I planted all sorts of early spring greens along with other early vegetables and annual herbs.
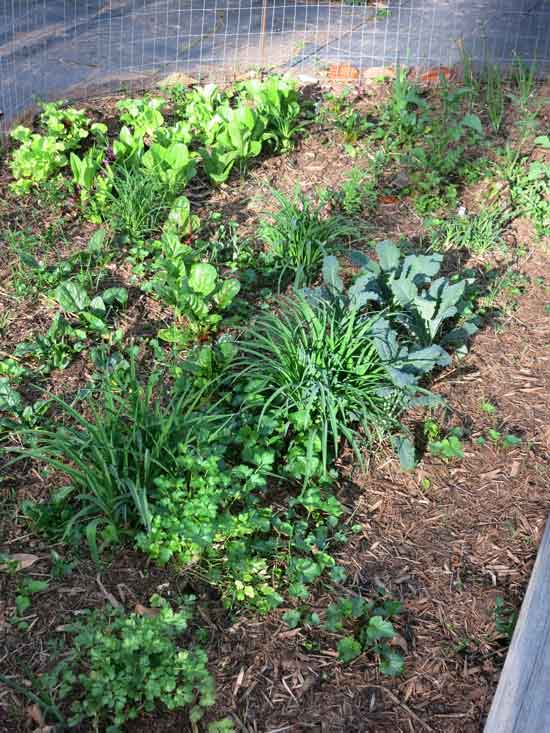
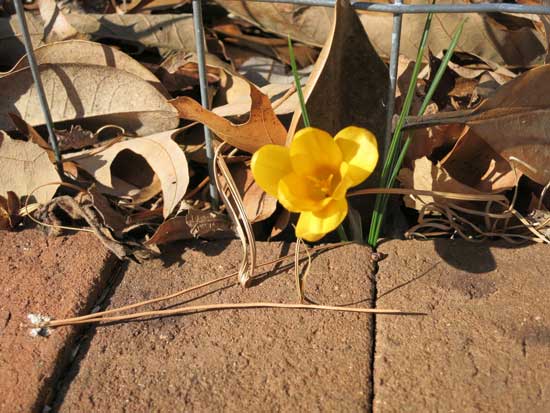
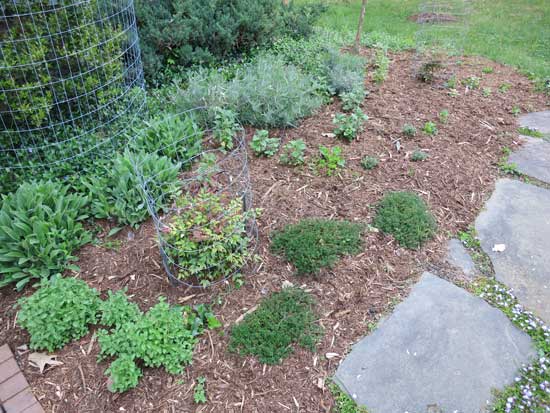
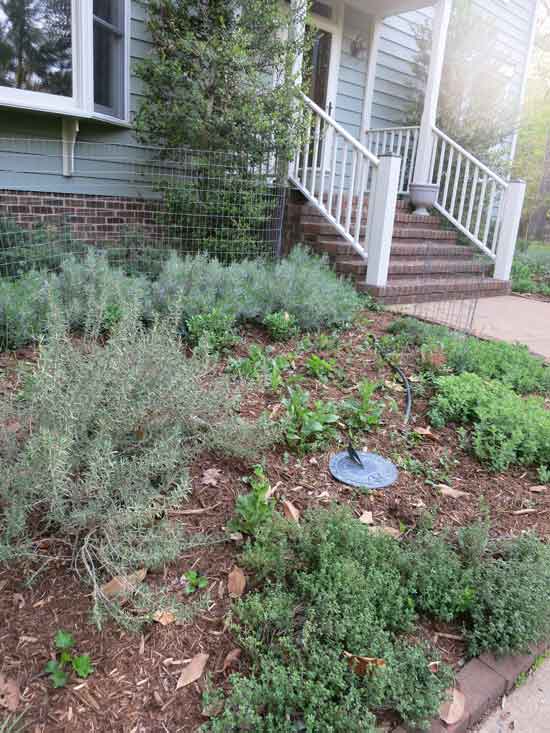
Next I tackled the beds in the front of my house which contain mostly perennial herbs and deer-resistant plants.
That holly bush next to the front door houses this little home at the moment:
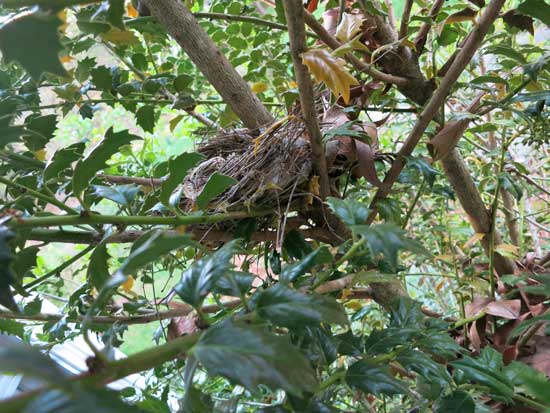
My apologies to mama cardinal who feels the need to retreat everytime I open the front door.
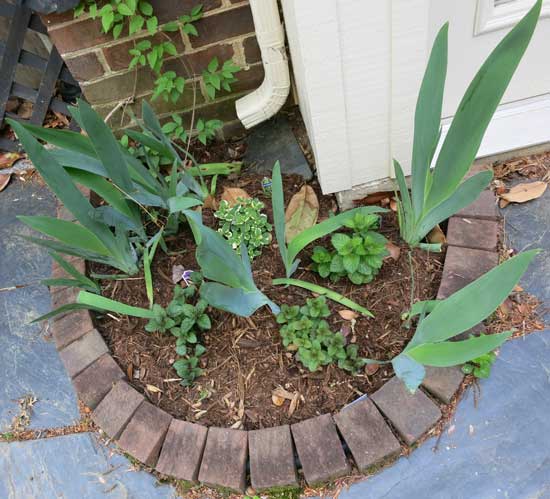
I also planted mint in an existing bed of irises
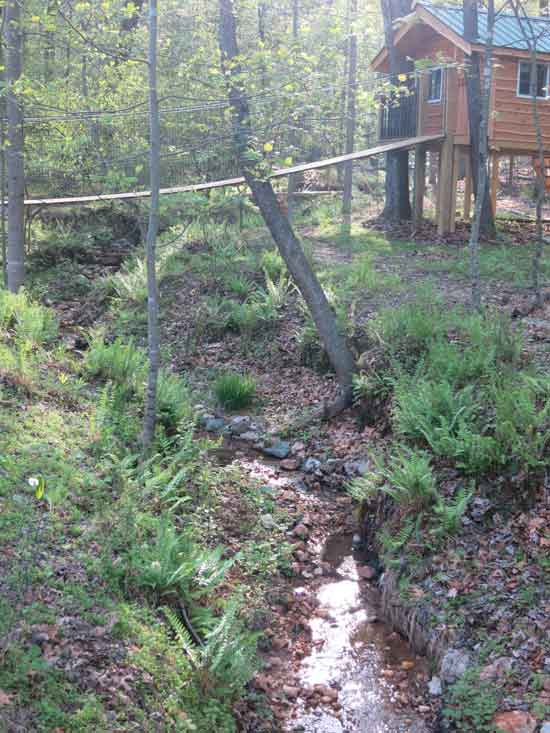
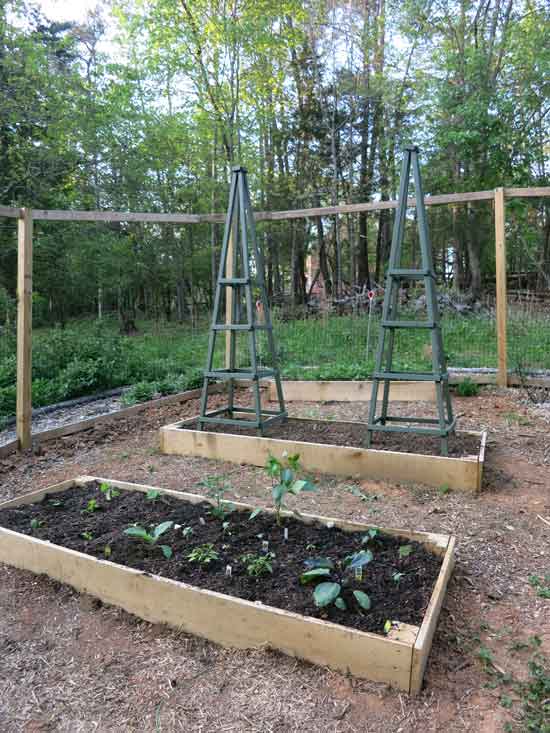
but most of the work has been going on in our new vegetable garden. To get there, you have to meander down a woodland path
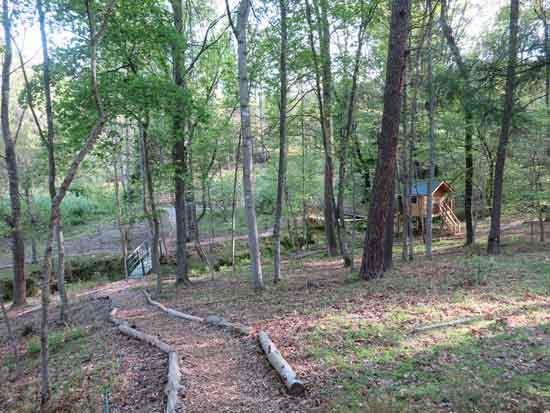
across the bridge
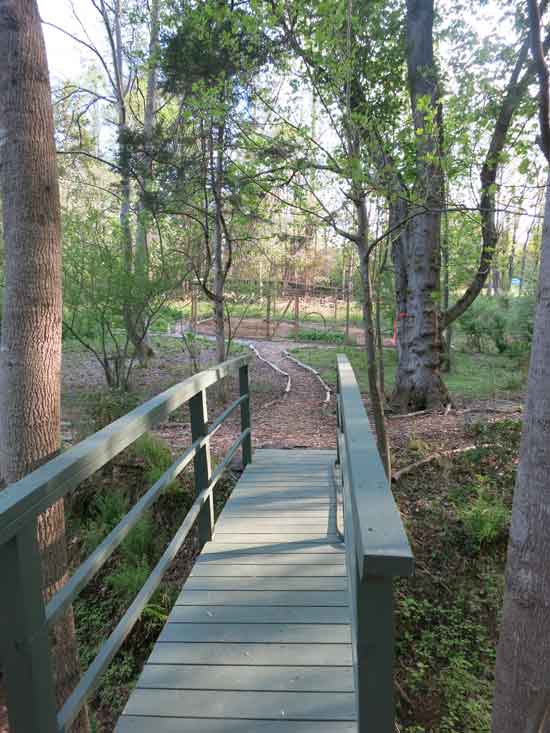
to the garden on the other side of the creek.
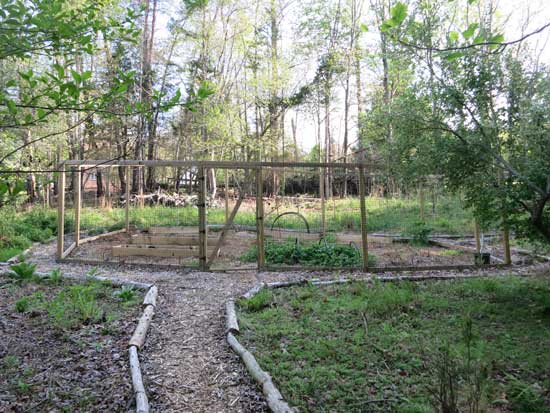
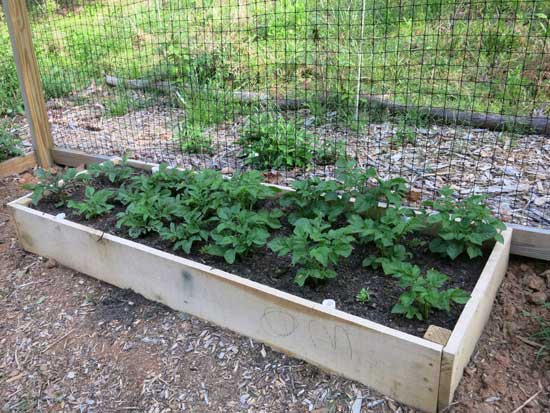
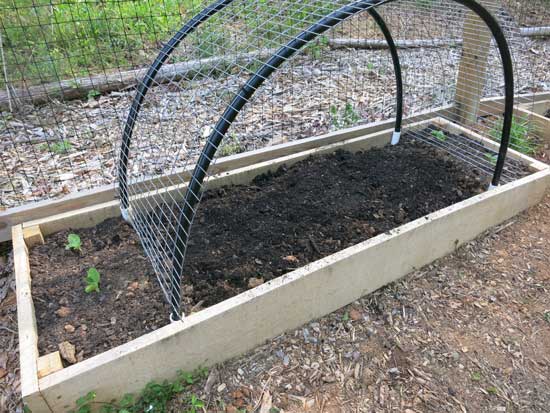
My husband has been busy making, too. Those raised beds, made from white oak lumber, are his handiwork.
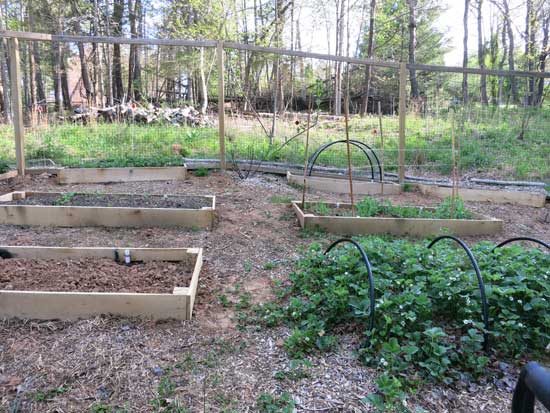
The beds have short pieces of PVC pipe attached to the inside which allows me to place long, arching sections of flexible pipe in them. These can then be covered with protection for the plants (against bugs or weather) or to create an arbor of sorts. I used cable ties to attach a length of fencing to the pipes.
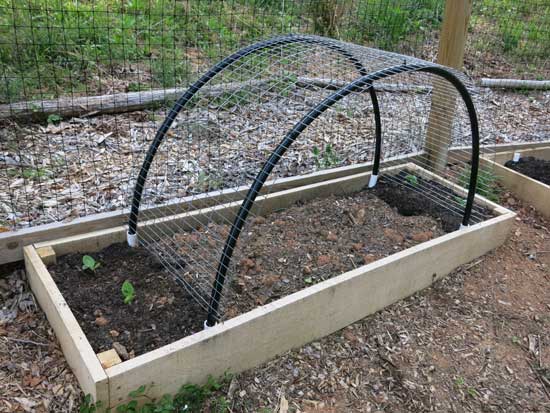
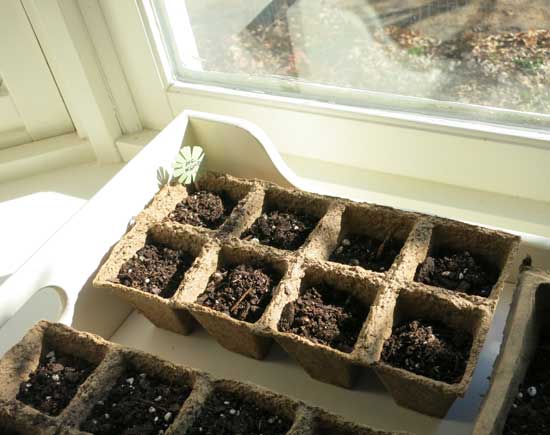
These are summer squash plants that will grow up and over the arbor, allowing me to use less space and also improving air circulation around the plants and keeping the fruit off the ground. Underneath the arbor I have planted carrots which can tolerate some shade. I tried a nifty little technique to make my own seed "tape" to plant my carrots.

I started with a paper napkin, unfolded and reduced to a single ply. I drew a 3" grid on the napkin with pencil. Using a flour/water paste, I "glued down" 1-2 carrot seeds at the intersection of each grid line (16 spots on each napkin.) I labeled the napkin with the variety of the carrot and let the paste dry.
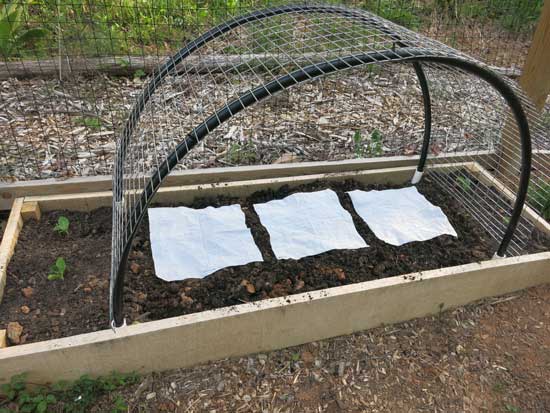
Planting my seeds was as easy as laying out the napkins over the soil
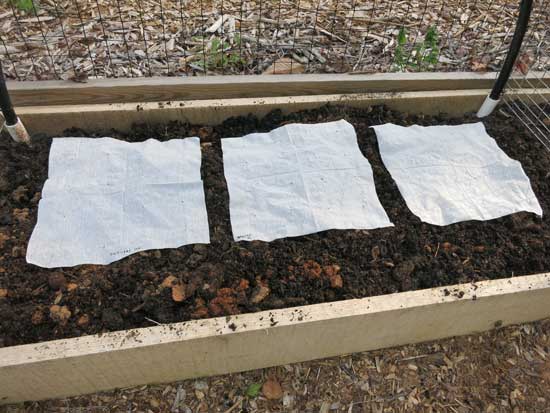
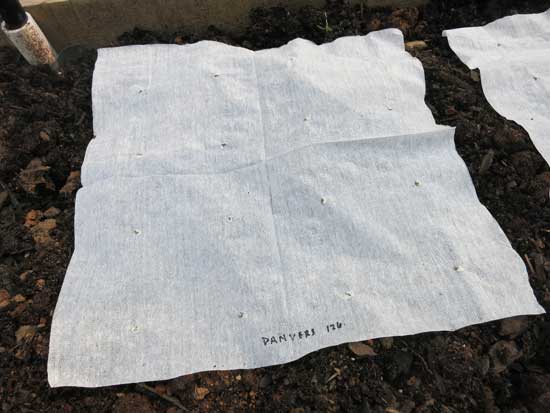
and covering them with additional soil. This ensures that the plants are optimally spaced and very little, if any, thinning will be needed.
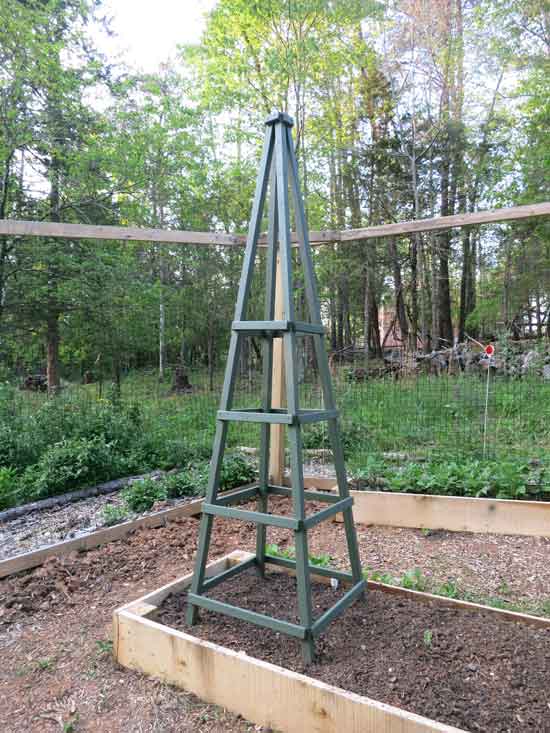
This past weekend my husband and I really got into the making spirit and put together these bean trellises.
These were built from stock lumber and took three times as long to paint as to build. I found the directions at this site.
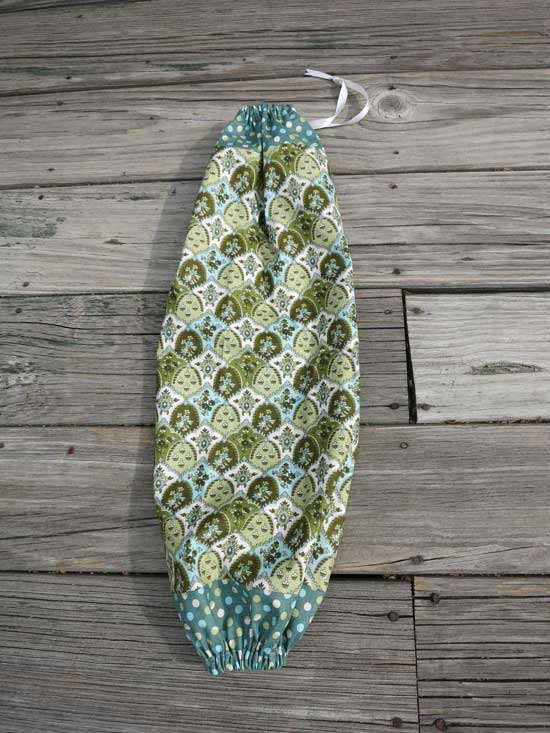
I did have the chance to do a little sewing a few weeks ago when I joined my sister near Surrey, Virginia for "sewing camp". I enjoyed the company of many nice women, some fine cooking and a chance to relax in a beautiful setting. I completed a couple of projects, a pair of pajamas which you will see soon (I'm working on a tutorial to accompany that post) and some much-needed storage for the plastic bags that seem to accummulate at my house.
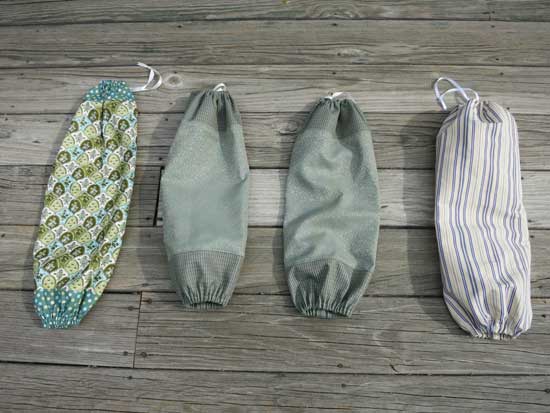
These are nothing more than fabric tubes with elastic at one end and a ribbon for hanging at the other. Plastic grocery bags are stored inside until needed, and then can be easily removed through the elastic opening.
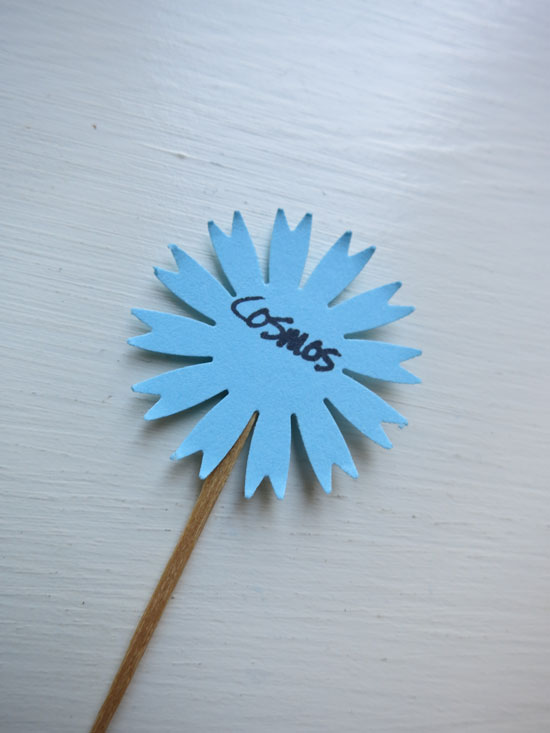
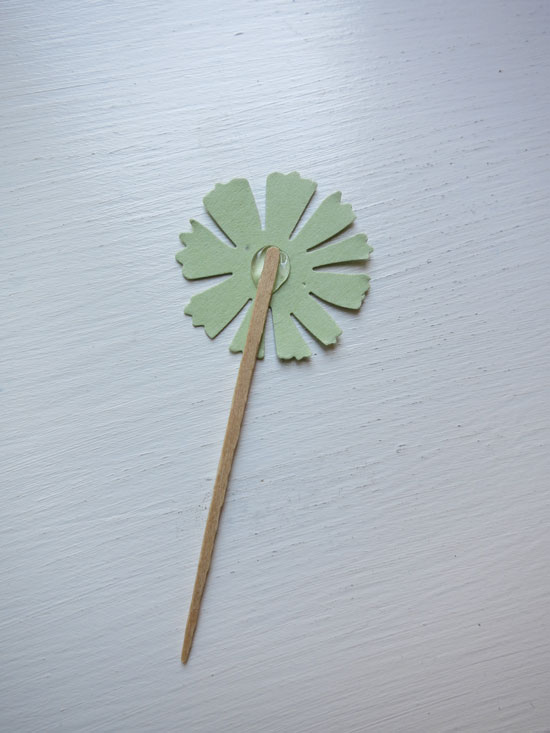
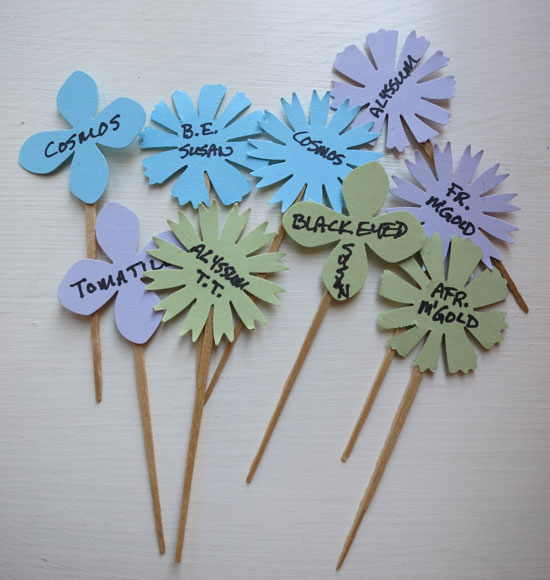
I'm still going to be making my garden for a few more weeks, and I'm sure I'll share some pictures once it is in all its glory. And that treehouse really needs a special flag, don't you think? What are you making?
 Julie Bowersett