The Cornice Board
I have been working on completing some window treatments for my great-niece’s nursery. It was a long project and an even longer story. You see, my sister originally started working on the various aspects of her granddaughter’s nursery and got some of the elements completed. Then she broke her leg. Yep, that little accident seriously set her back in the sewing department. So, I offered to help and finish what I could. Which is how I came to be working on these window treatments.
The project can be broken down into various elements and, over the next four weeks, I will be sharing each of these parts: cornice board construction, valance, Roman Shade, installation.
I will begin with the cornice board as that is the foundation I needed before I could create the valance and the shade. I have written a tutorial about how to create one of these for yourself. I have used a cornice like this several times in my own home, and I find them attractive and versatile, providing some display space above a window. It is a fairly easily and straightforward project, and you do not need fine woodworking skills (mine are rudimentary, at best). The project can be quite crude as it will be covered with lovely textiles and no one will ever see it.
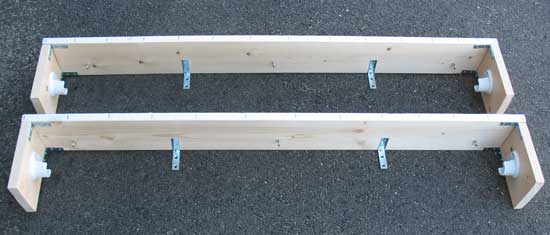
Here is a picture of the completed cornice, ready for hanging on the wall with wall anchors. I have applied Velcro (the hook side) along the top edge, wrapping around the sides which will be used to hang the valance. I have also used closet pole brackets and screw eyes which will both come into play when it is time to hang the Roman shade.
Check back next week as I show you how I created the valance.