This was my last big project before Christmas (if I don’t count all of the wrapping I still have left to do). I wanted to make my boys’ friends at school a little gift. Last year I made embroidered bag toppers filled with M&Ms. This year I decided to make cookies and give each child one packaged in an attractive way. I am not going to go into any detail about baking or decorating the cookies. There are lots of great sites that can do that much better than I (two that come to mind are Sweet and Bake at 350). I do want to tell you about two products I used during this project and about how I packaged the cookies.
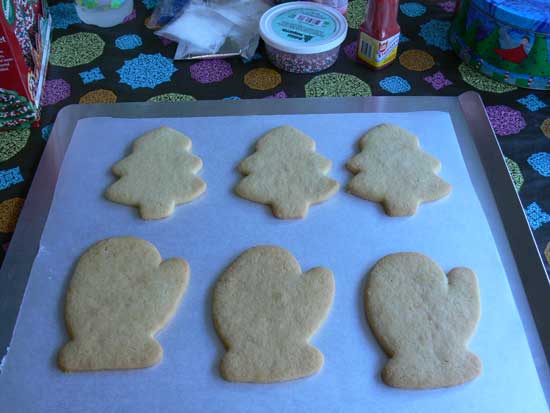
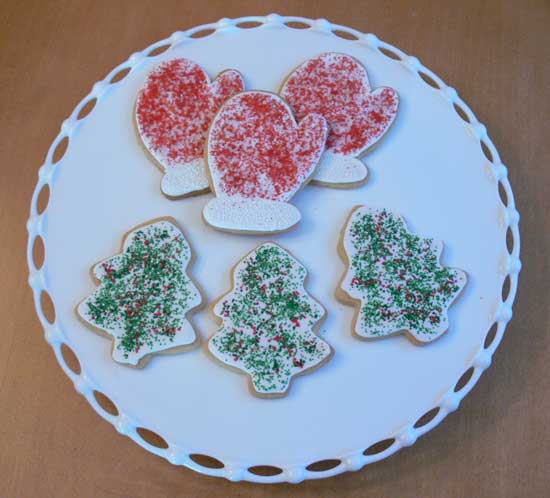
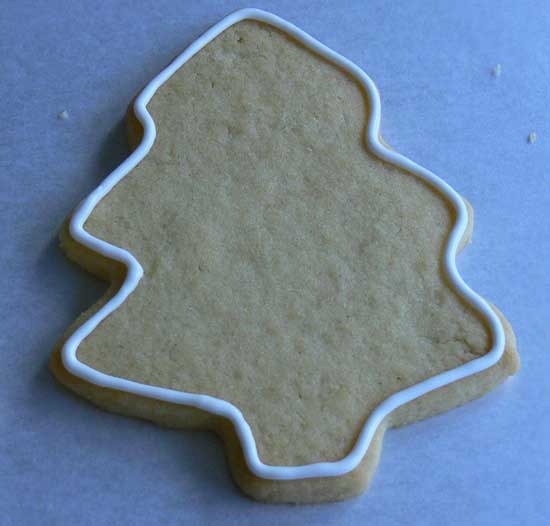
I was really in a time crunch by the time these cookies rose to the top of my to-do list so I decided to take a short cut and I am really glad I did. I used Trader Joe’s fabulous DIY (Decorate It Yourself) Cookie Mix. This was a truly inspired idea. TJ packaged together everything you need to make a batch of Christmas cookies: cookie dough mix, icing, decorating sugar and even the cookie cutters. All for $3.99. I wish I had bought a bunch of these as little holiday gifts. (Note: I went back today to buy more and they had been marked down to $0.99! Unfortunately, one of the store employees told me that this was not a popular item and probably won’t be coming back next year.) You add softened butter and 1 egg to the dough mix and that’s it. They taste fabulous. I made my own batch of royal icing and stirred in the icing from TJs. This icing looks pretty and is easy to use but doesn't taste like anything but sugar. I piped the icing around the edges and then filled in with a thinned down version of the same icing. Sprinkles finished them off.


The other product which contributed to the success of my cookies was a nifty little kitchen gadget I purchased from King Arthur Flour called Rolling Pin Rings. You slip a pair of these rubber rings onto the end of your rolling pin and roll out dough of a uniform thickness. No more thin edges on your cookies which burn when you bake them. These things work great and fit a variety of rolling pin sizes. I love them.

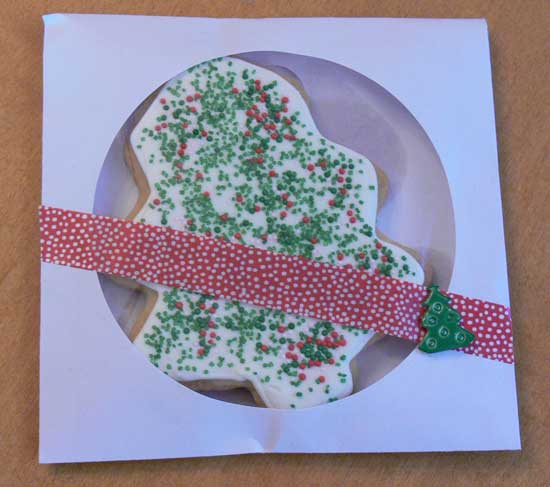
Once I had finished the cookies I had to package them. I used paper CD sleeves (the kind with the clear plastic window on the front) and gussied them up a bit with some paper tape and a holiday-themed brad. I slipped one cookie in and sealed the back with a sticker. I added another sticker with a Merry Christmas message and my child’s name. I think these look cute and were really easy to make but here is what I would do differently next time. I would put a piece of greaseproof paper under the cookie because the grease stained the back of the CD envelope. This made it difficult to keep the sticker on that sealed the top. Also, the hardest part was putting the brads on and next time I would just use a sticker.
I hope this gives you some ideas about gift giving for next year. Change the cookie theme and you could use these for a birthday party favor or even for a wedding.